element14 Community
element14 Community
    Register Log In
  • Site
  • Search
  • Log In Register
  • About Us
  • Community Hub
    Community Hub
    • What's New on element14
    • Feedback and Support
    • Benefits of Membership
    • Personal Blogs
    • Members Area
    • Achievement Levels
  • Learn
    Learn
    • Ask an Expert
    • eBooks
    • element14 presents
    • Learning Center
    • Tech Spotlight
    • STEM Academy
    • Webinars, Training and Events
    • Learning Groups
  • Technologies
    Technologies
    • 3D Printing
    • FPGA
    • Industrial Automation
    • Internet of Things
    • Power & Energy
    • Sensors
    • Technology Groups
  • Challenges & Projects
    Challenges & Projects
    • Design Challenges
    • element14 presents Projects
    • Project14
    • Arduino Projects
    • Raspberry Pi Projects
    • Project Groups
  • Products
    Products
    • Arduino
    • Avnet Boards Community
    • Dev Tools
    • Manufacturers
    • Multicomp Pro
    • Product Groups
    • Raspberry Pi
    • RoadTests & Reviews
  • Store
    Store
    • Visit Your Store
    • Choose another store...
      • Europe
      •  Austria (German)
      •  Belgium (Dutch, French)
      •  Bulgaria (Bulgarian)
      •  Czech Republic (Czech)
      •  Denmark (Danish)
      •  Estonia (Estonian)
      •  Finland (Finnish)
      •  France (French)
      •  Germany (German)
      •  Hungary (Hungarian)
      •  Ireland
      •  Israel
      •  Italy (Italian)
      •  Latvia (Latvian)
      •  
      •  Lithuania (Lithuanian)
      •  Netherlands (Dutch)
      •  Norway (Norwegian)
      •  Poland (Polish)
      •  Portugal (Portuguese)
      •  Romania (Romanian)
      •  Russia (Russian)
      •  Slovakia (Slovak)
      •  Slovenia (Slovenian)
      •  Spain (Spanish)
      •  Sweden (Swedish)
      •  Switzerland(German, French)
      •  Turkey (Turkish)
      •  United Kingdom
      • Asia Pacific
      •  Australia
      •  China
      •  Hong Kong
      •  India
      •  Korea (Korean)
      •  Malaysia
      •  New Zealand
      •  Philippines
      •  Singapore
      •  Taiwan
      •  Thailand (Thai)
      • Americas
      •  Brazil (Portuguese)
      •  Canada
      •  Mexico (Spanish)
      •  United States
      Can't find the country/region you're looking for? Visit our export site or find a local distributor.
  • Translate
  • Profile
  • Settings
Raspberry Pi
  • Products
  • More
Raspberry Pi
Raspberry Pi Forum Astrophotography With The 8MP Raspberry Pi Cameras
  • Blog
  • Forum
  • Documents
  • Quiz
  • Events
  • Polls
  • Files
  • Members
  • Mentions
  • Sub-Groups
  • Tags
  • More
  • Cancel
  • New
Join Raspberry Pi to participate - click to join for free!
Featured Articles
Announcing Pi
Technical Specifications
Raspberry Pi FAQs
Win a Pi
Raspberry Pi Wishlist
Actions
  • Share
  • More
  • Cancel
Forum Thread Details
  • State Verified Answer
  • Replies 20 replies
  • Answers 11 answers
  • Subscribers 668 subscribers
  • Views 6518 views
  • Users 0 members are here
  • debian
  • python programming
  • raspberry pi compute
  • raspberry pi iot
  • astrophotography
  • debian jessie
  • python 3
  • astro-pi
  • beagle bone black
  • raspberrypiprojects
  • raspberry_pi
  • raspberry pi
  • python code
  • astronomy
  • beagleboneblackwireless
  • linux
Related

Astrophotography With The 8MP Raspberry Pi Cameras

ninjatrent
ninjatrent over 8 years ago

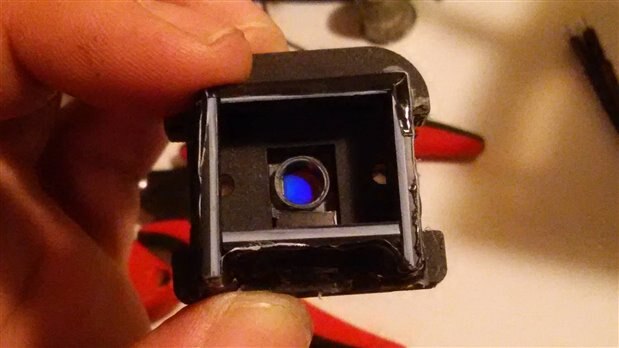
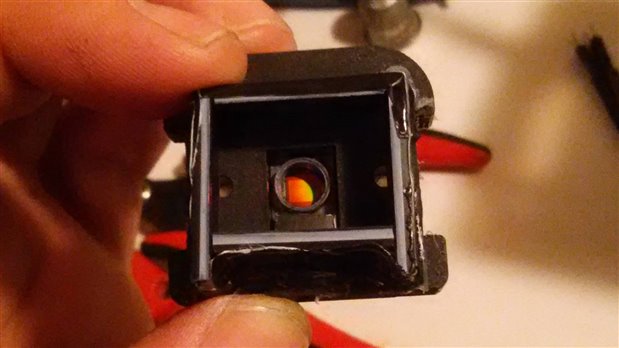
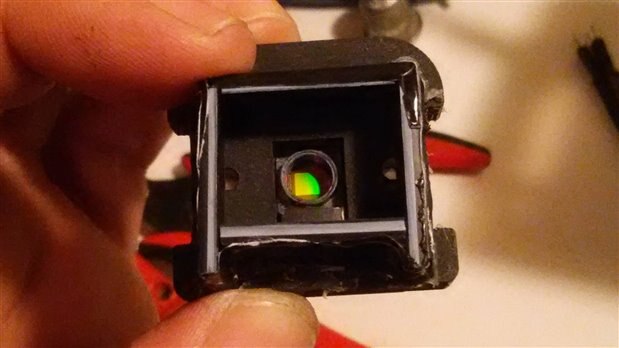
I will attempt to use the Raspberry Pi 8MP NoIR and standard v2 camera boards for capturing images of the night time sky, and also with specialized filters in the daytime.


My question for the E14 community,


Does anyone have experience in this application of the RPi 8MP v2 cameras?

  • Sign in to reply
  • Cancel
  • DAB
    0 DAB over 8 years ago

    Hi Trent,


    Check the RPi website.


    I have seen a number of projects attaching the Picamera to a telescope.


    Depending upon what you want to do, there are ways to do eyepiece projection for high magnification using the camera or you can go prime focus for wide angle.


    The first is just making a small tube to attach the camera to the eyepiece and use the lens on the Picamera for focus.


    To do prime focus you will probably have to remove the lens from the Picamera, which I believe is fixed, so you will have to do some complex surgery on the Picamera.


    See if you can purchase a T-adapter that fits your telescope.


    Then you can experiment with different mounting ideas for the Picamera.


    I hope this helps.


    DAB

    • Cancel
    • Vote Up +3 Vote Down
    • Sign in to reply
    • Verify Answer
    • Reject Answer
    • Cancel
  • rew
    0 rew over 8 years ago

    You know... There is something that I don't have the time to try, and I think it should work. So someone should take my idea and implement it. :-) 


    With astrophotography, there is always the problem that the stars tend to move during your (long) exposure.


    The standard trick is to make your camera move along with the rotation of the earth. (or actually to counter the rotation of the earth).


    My plan is to simply take say 1s exposures, but then say 300 of them to get a combined 5 minute exposure. Then in software,  you KNOW that each image is rotated by 1/240th of a degree.


    It's easiest if you start out by telling the software where the rotation point is. But you can optimize (with sub-pixel accuracy) for the rotation point if you have a few hundred images.


    Next, instead of taking a canvas of say 8 Mpixels, you use 128Mpixels. Each pixel is blown up 4x in each direction. But now after rotation by those tiny amounts, you get some sensor pixels that overlap a different set of about 16 pixels in the canvas.


    Next, instead of simply adding the results together you can run an optimization step (i'm explaining this in one dimension but of course it is easy to implement for two): suppose the REAL canvas has a single hot pixel. lets say 100. Now on the first image that means you get some value in pixel 25 of the sensor. Now suppose the sensor moves 1 canvas-pixel compared to the canvas. So next time you'll still get the value in pixel 25, only after 4 images does the measured value end up in the camera-pixel 24. So with the previous variant of the algorithm you'd be spreading the measured value out across 100-103 for the first image, and 101-104 for the second image, and only at the fourth image the 24-th pixel of the image would end up back on 100-103. So you would end up with a triangle of image intensity centered around pixel 103. Suppose we measure 100 in pixel 25 of the first image, and we spread that as 25-25-25-25 over 100-103 and add 8 images this way we'll get 50-100-150-200-150-100-50 in canvas locations 100-106.


    But if we assume simply that canvas pixel 103 has intensity 100 then all measurements would be precisely identical. So we can sharpen the resulting image. This can be done by deconvolving or by an iterative algorithm.


    So when we see pixel 25 with a value of 100 on the first image, we increase the values of 100-103 in the canvas, but when we measure 0 in pixel 24 in the second image this maps to canvas pixels 97-100 on the canvas and we'll decrease the running guesstimate of pixel 100 again. You should be able to reconstruct the original canvas with only pixel 103 bright much better than with the first iteration of the algorithm.


    Some complications prop up in practice. So if one second of exposure is sooo little that when digitizing the digital version only has black pixels, then this of course won't work. You need some noise in the captured images for this to work. So turn up the ISO as far as possible without getting saturated pixels. The individual images will look like *** but the resulting canvas should be fantastic....

    • Cancel
    • Vote Up +3 Vote Down
    • Sign in to reply
    • Verify Answer
    • Reject Answer
    • Cancel
  • DAB
    0 DAB over 8 years ago in reply to rew

    Hi Roger,


    What you propose has been done.


    There are a number of panorama pictures I have seen where photos were taken from dawn to dusk and then stitched into a all night sky view.


    The problem is that the short exposure times does not capture a lot of the faint objects, but it would get you the main visible stars down to 6 or 7 magnitude, depending on seeing conditions.


    DAB

    • Cancel
    • Vote Up +2 Vote Down
    • Sign in to reply
    • Verify Answer
    • Reject Answer
    • Cancel
  • rew
    0 rew over 8 years ago in reply to DAB

    I think that with my suggested techniques you should be able to also get the faint objects. But indeed, unforseen problems might crop up that make it impossible.

    • Cancel
    • Vote Up 0 Vote Down
    • Sign in to reply
    • Verify Answer
    • Cancel
  • DAB
    0 DAB over 8 years ago in reply to rew

    I am not sure.  If you get enough overlap to stack the images, then maybe.


    Why not set up your camera and take a series of shots over say an hour or so and see what you get.


    You can play around with the images to assess how easily they stitch and to see if you get enough overlap to do some stacking.


    DAB

    • Cancel
    • Vote Up 0 Vote Down
    • Sign in to reply
    • Verify Answer
    • Reject Answer
    • Cancel
  • ninjatrent
    0 ninjatrent over 8 years ago

    Here is the Pi Camera with factory lense removed. This is my first attempt of constructing an adapter. I need a 3D printer or CNC to develop a better design.

    image

    image

    imageimageimageimageimageimageimage

    • Cancel
    • Vote Up +3 Vote Down
    • Sign in to reply
    • Verify Answer
    • Reject Answer
    • Cancel
  • DAB
    0 DAB over 8 years ago in reply to ninjatrent

    I would get a T-adapter.

    You want to place the sensor in the middle of the field of view to get the flat field over the entire width of the sensor.


    You also want repeatability, so you want a robust mount for the camera.


    DAB

    • Cancel
    • Vote Up +1 Vote Down
    • Sign in to reply
    • Verify Answer
    • Reject Answer
    • Cancel
  • ninjatrent
    0 ninjatrent over 8 years ago in reply to DAB

    Where might I find a T-Adapter? I found a perfect adapter but the the price of $155 is out of my range. They were $90 a few months ago before the solar eclipse. Here is a link to the website. The company is located in Florida.


    http://www.truetex.com/raspberry_pi_c-mount_lens_adapter.pdf


    Raspberry Pi


    Ordering page -- Raspberry Pi C-mount and M12 lens adapter


    I really wish the Raspberry Pi Foundation would release an official case for the Pi 3 and the Pi Zero W that has an adapter built in for C-Mount and M12 lens type applications. Even just a top piece designed to fit the official Pi Case similar to the official Pi Zero W case would be great. I tried the Zero's Top that has a camera mount.


    image

    One of three tops that come with the official Pi Zero Case

    image

    And the Official Raspberry 3 Case, with to my knowledge, no camera mount.


    There is a Black Edition of this case.


    The material needed to construct a perfect adapter would need to be completely black to prevent any unwanted light from entering the picture.

    • Cancel
    • Vote Up +1 Vote Down
    • Sign in to reply
    • Verify Answer
    • Cancel
  • ninjatrent
    0 ninjatrent over 8 years ago in reply to DAB

    Thank you for the suggestion. I found this encouraging post on the Raspberry Pi website.

    https://www.raspberrypi.org/blog/astrophotography-with-the-camera-board/

    • Cancel
    • Vote Up +1 Vote Down
    • Sign in to reply
    • Verify Answer
    • Cancel
  • balearicdynamics
    0 balearicdynamics over 8 years ago in reply to ninjatrent

    How did you removed the lens from the sensor without breaking the camera ?

    • Cancel
    • Vote Up +1 Vote Down
    • Sign in to reply
    • Verify Answer
    • Cancel
>
element14 Community

element14 is the first online community specifically for engineers. Connect with your peers and get expert answers to your questions.

  • Members
  • Learn
  • Technologies
  • Challenges & Projects
  • Products
  • Store
  • About Us
  • Feedback & Support
  • FAQs
  • Terms of Use
  • Privacy Policy
  • Legal and Copyright Notices
  • Sitemap
  • Cookies

An Avnet Company © 2025 Premier Farnell Limited. All Rights Reserved.

Premier Farnell Ltd, registered in England and Wales (no 00876412), registered office: Farnell House, Forge Lane, Leeds LS12 2NE.

ICP 备案号 10220084.

Follow element14

  • X
  • Facebook
  • linkedin
  • YouTube