RoadTest: Microchip AVR-IoT Cellular Mini Dev Board for LTE-M and NB-IOT Prepaid SIM
Author: aaryan2134
Creation date:
Evaluation Type: Development Boards & Tools
Did you receive all parts the manufacturer stated would be included in the package?: False
What other parts do you consider comparable to this product?: Any IoT cellular board
What were the biggest problems encountered?: Connectivity to LTE-M Network. I was unable to get that done due to call of connectivity in India from Truphone
Detailed Review:
Hi Readers!
This is my Roadtest Review for Microchip AVR-IoT Cellular Mini Dev Board. I was really looking forward to test this board as it offers some great features out of the box and with plug and play functionality.
I am Aaryan. I am currently a 3rd year student at Delhi Technological University pursuing Computer Engineering.
Email: aaryan2134@gmail.com
Github - aaryan2134
Unfortunately, due to the lack of LTE-M coverage in India by Truphone, I was not able to test the complete functionality of the kit.
I was really excited to unbox this new board:
Contents
| {gallery}Unboxing |
|---|
|
Package: |
|
Box Front: |
|
Box Back: |
|
Contents: |
|
Microchip Board with Antenna |
|
Backside with TruPhone Sim Card: |
The AVR-IoT Cellular Mini development board is a hardware platform to evaluate and develop IoT solutions with the Microchip AVR128DB48 AVR® microcontroller, ATECC608B secure element, and the Sequans Monarch 2 GM02S cellular module. Included with the development board is a SIM card from Truphone with 150 MB data ready for activation.
The Sequans Monarch 2 GM02S requires a connection to a LTE-M or NB-IoT capable cellular network. With a connection to a capable cellular network the ATECC608B can be used to authenticate the hardware with the cloud to uniquely identify every board.
Out of the box, the MCU come preloaded with a firmware image that enables you to quickly connect and send data to the Microchip Sandbox in AWS using the on-board temperature and color sensors. Once you are ready to build your own custom design, you can easily get started with development using the Arduino. The AVR-IoT Cellular Mini has full Arduino support through a library build on top of the open-source DxCore.

Select your development board - AVR-IoT Cellular Mini

Note:
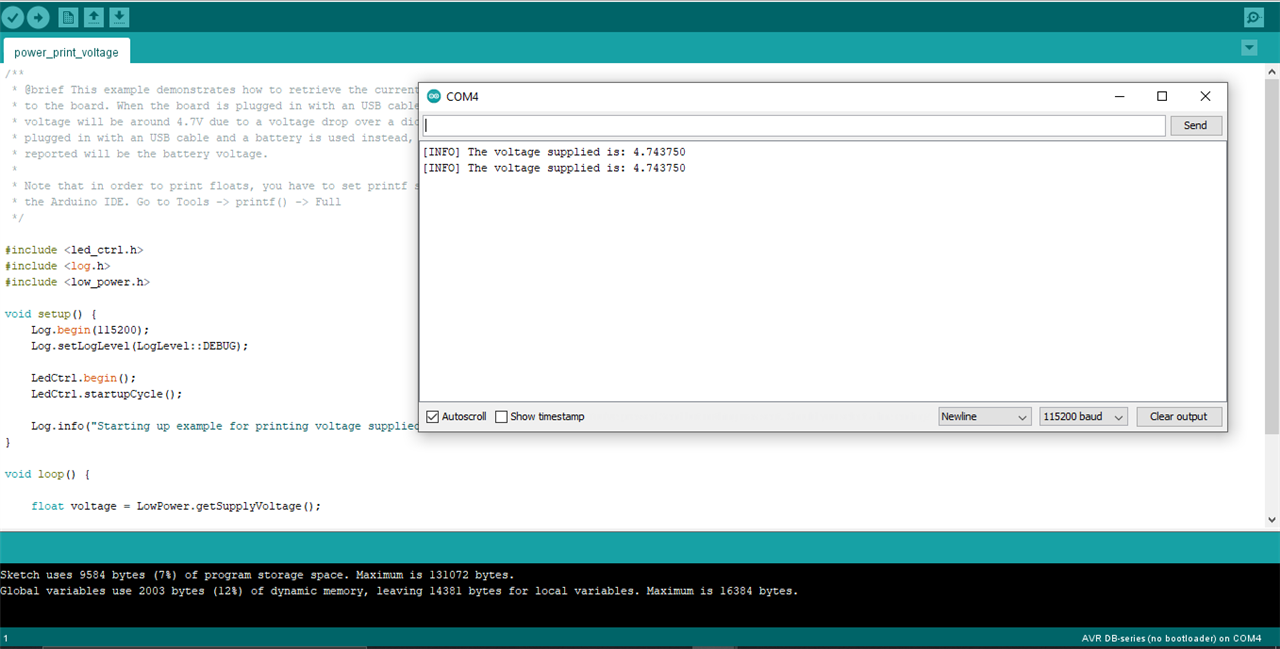
For me, this part did not work out. So I tried the following steps:
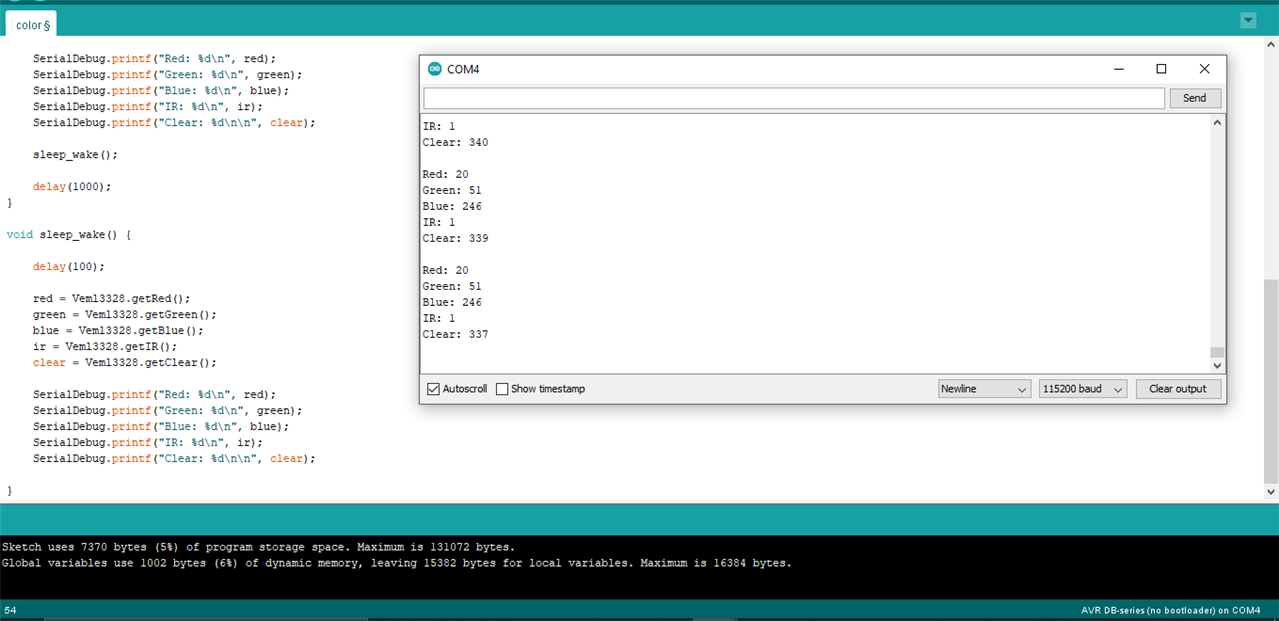
So, in conclusion, the microchip board was working perfectly fine and I was able to use the features which did not require an IoT connection.
I found from the logs that my board was unable to connect to the operator and was just stuck at this step. With the help of the community and the organizers we finally established that Truphone SIM might not be working. After confirming from the manufacturer, we got to know that currently TruPhone does not offer LTE-M service in India and there are no real alternatives as well.

Using this example and drag-drop the compiled file


#include <veml3328.h>
#define SerialDebug Serial3 // Add this to print via Serial

uint8_t err = 0;
int16_t red, green, blue, ir, clear = 0;

/* Forward function definiton */
void sleep_wake();

void setup(void) {
    /* Initialize serial interface */
    SerialDebug.begin(115200);

    /* Initialize VEML3328 library */
    err = Veml3328.begin();
    if (err) {
        SerialDebug.println("Error: could not start VEML3328 library");
    }

    /* Initialize with custom I2C address (optional) */
    // err = Veml3328.begin(0x2);
    // if (err < 0) {
    //     SerialDebug.println("Error: could not start VEML3328 library with custom address");
    // }
}

void loop() {
    red = Veml3328.getRed();
    green = Veml3328.getGreen();
    blue = Veml3328.getBlue();
    ir = Veml3328.getIR();
    clear = Veml3328.getClear();

    SerialDebug.printf("Red: %d\n", red);
    SerialDebug.printf("Green: %d\n", green);
    SerialDebug.printf("Blue: %d\n", blue);
    SerialDebug.printf("IR: %d\n", ir);
    SerialDebug.printf("Clear: %d\n\n", clear);

    sleep_wake();

    delay(1000);
}

void sleep_wake() {

    delay(100);

    red = Veml3328.getRed();
    green = Veml3328.getGreen();
    blue = Veml3328.getBlue();
    ir = Veml3328.getIR();
    clear = Veml3328.getClear();

    SerialDebug.printf("Red: %d\n", red);
    SerialDebug.printf("Green: %d\n", green);
    SerialDebug.printf("Blue: %d\n", blue);
    SerialDebug.printf("IR: %d\n", ir);
    SerialDebug.printf("Clear: %d\n\n", clear);

}

The documentation and Arduino Library is great. Very easy to work with and ample of examples to try and learn from.
Make sure you check for LTE-M connectivity in your region before purchasing the kit.
Overall, the Microchip board is great. Well made, good amount of documentation available and comes with plug and play functionality more or less. It comes with extra add ons like IoT, Color Sensor, Temperature sensor etc on top of all Arduino functionalities and easy of use features.
Just make sure to check about the connectivity. Once that is done, you are all set for making some great projects with this kit!
Download AVR-IoT Cellular Mini Schematics
Download AVR-IoT Cellular Mini Altium Project
Download AVR-IoT Cellular Mini Design Documentation
AVR-IoT Cellular Arduino Library
IoT Provisioning Tool Binary Releases