Table of Contents
Introduction
Judging from some recent comments, I’m not the only one curious about how people actually use AI tools to get things done.
In this blog post, I decided to walk through how one assistant, called Google Antigravity, can be used. I cannot claim this is the best way to do things; there many excellent approaches.
This blog post puts some text around some screenshots and comments I placed in earlier discussion threads, and also, the specific project example (which happens to be a real project) I use in this blog is immaterial; the goal is to discuss a workflow/procedure, rather than the actual project.
Also, (just in case it needs to be said) this blog post was not written by AI - all mistakes are my own.
Get Your PC Ready
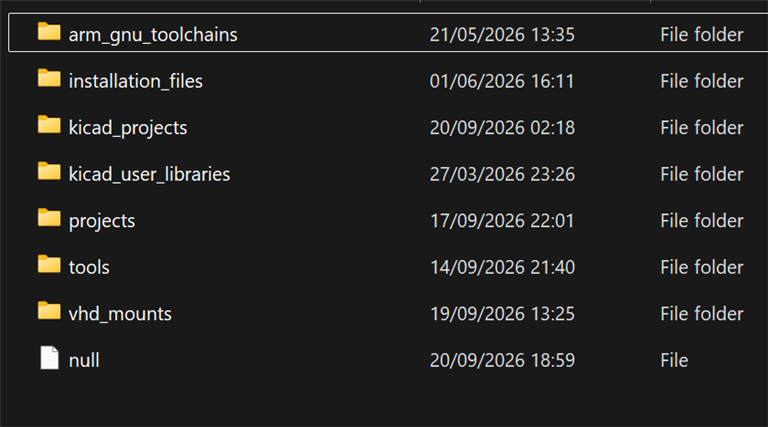
It possibly helps to keep folders organized and with sensible human-understandable names. The AI assistant can peek around (if you give it permission) so you want to help it. Here are the contents of my C:\DEV folder; I create a folder inside the projects folder, for any new project I wish to work on.
You will require a Google account, but that is free.
Next, I opened a shell (a normal Linux shell, or, in my case, PowerShell on Windows) and typed a command to install Antigravity (scroll down to the section Antigravity CLI on the Antigravity webpage; no need to download directly from the page, unless you want to work in a graphical environment; I cannot comment on that, since I have not tried that!).
CLI is in many ways easier, because it encourages one to script everything (or get AI to write the scripts of course) to simplify the automation of building things, and the speeding up of testing them. For instance, let's say you're working on an Arduino project. You could click on the sideways arrow in the Arduino IDE, to build and launch your code. If you wish Antigravity to be able to do that, then it's a lot easier if you install Arduino CLI; then, whenever the code needs to be built (or even run), you (or Antigravity) can just issue a command from the shell, such as:
arduino-cli compile "my_project_name"
Launching Antigravity
If you’re using the CLI version like I am, then the general method is, to go ahead and create a project folder like you may normally do for any project, and prepare as you wish. For instance, if you want to use particular formats, example data, custom hardware interfaces or scripts or configs, you could place them in the project folder. Placing them in a sub-folder could be a good idea, named (say) info or debug_scripts or example_data or anything that makes sense. Personally, I like to write up the project requirements in a file (make it a .txt or .md file perhaps, although other file formats can work), and place that in the project folder too (call it requirements.txt or phase1_requirements.txt for instance, but the name doesn’t matter). You could also write any conventions you have in a separate file (for instance, how you like code formatted).
From the shell, go into your folder, and then type what looks like a typo:
agy
You’ll be prompted whether you trust the folder, hit Enter to accept, and a colorful logo screen will appear (it will look similar but slightly different to the screenshot, since Google likes altering things).
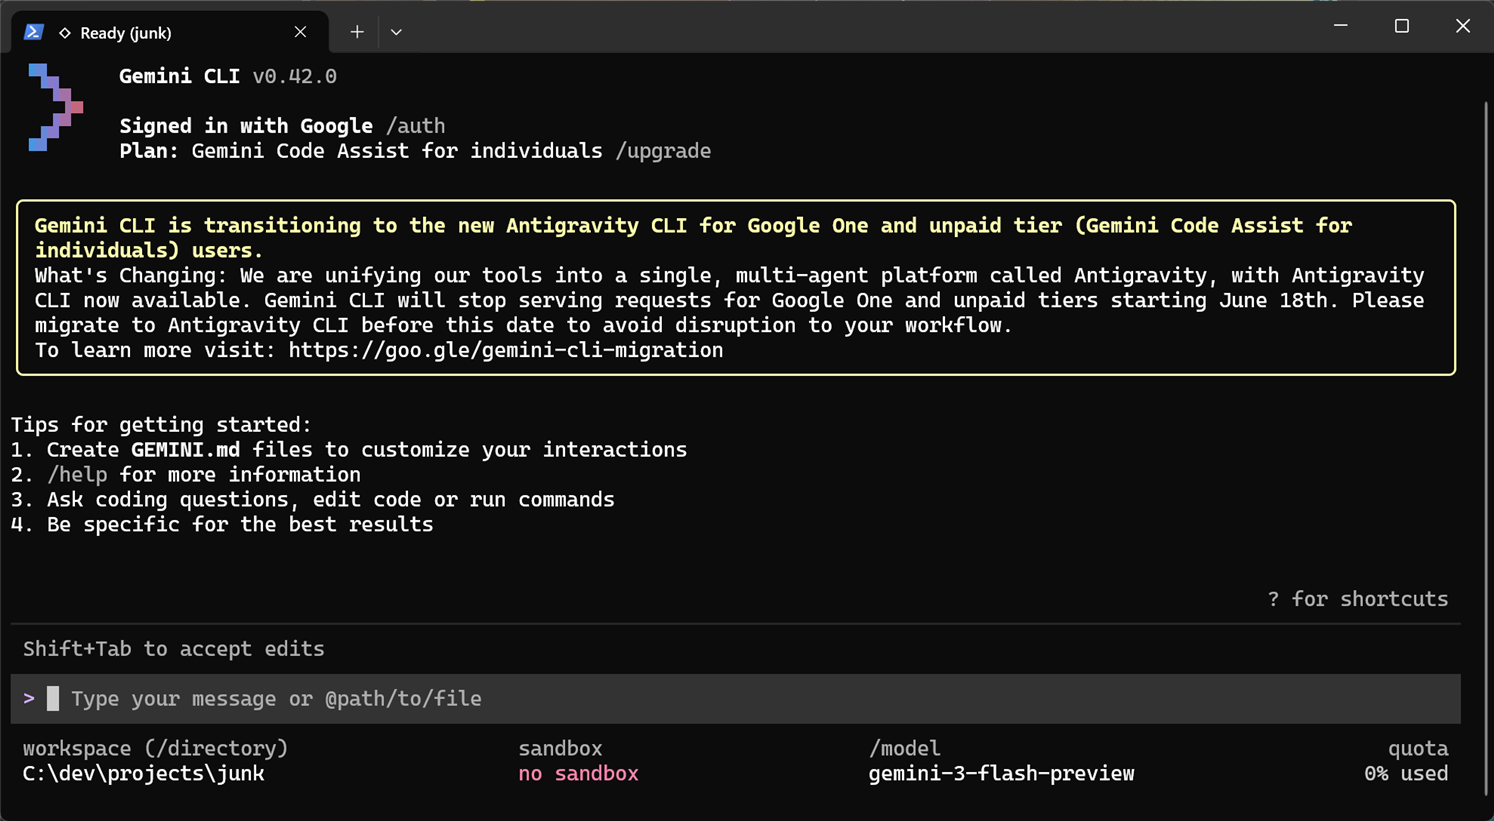
Near the bottom of the screen is the prompt waiting for instructions from the user.
Project Requirements
I didn’t have any requirements written up beforehand for this particular project, so I instructed the AI to write the requirements into a file, in this case called GEMINI.md (but the name doesn’t matter). I typed the following in the command prompt:
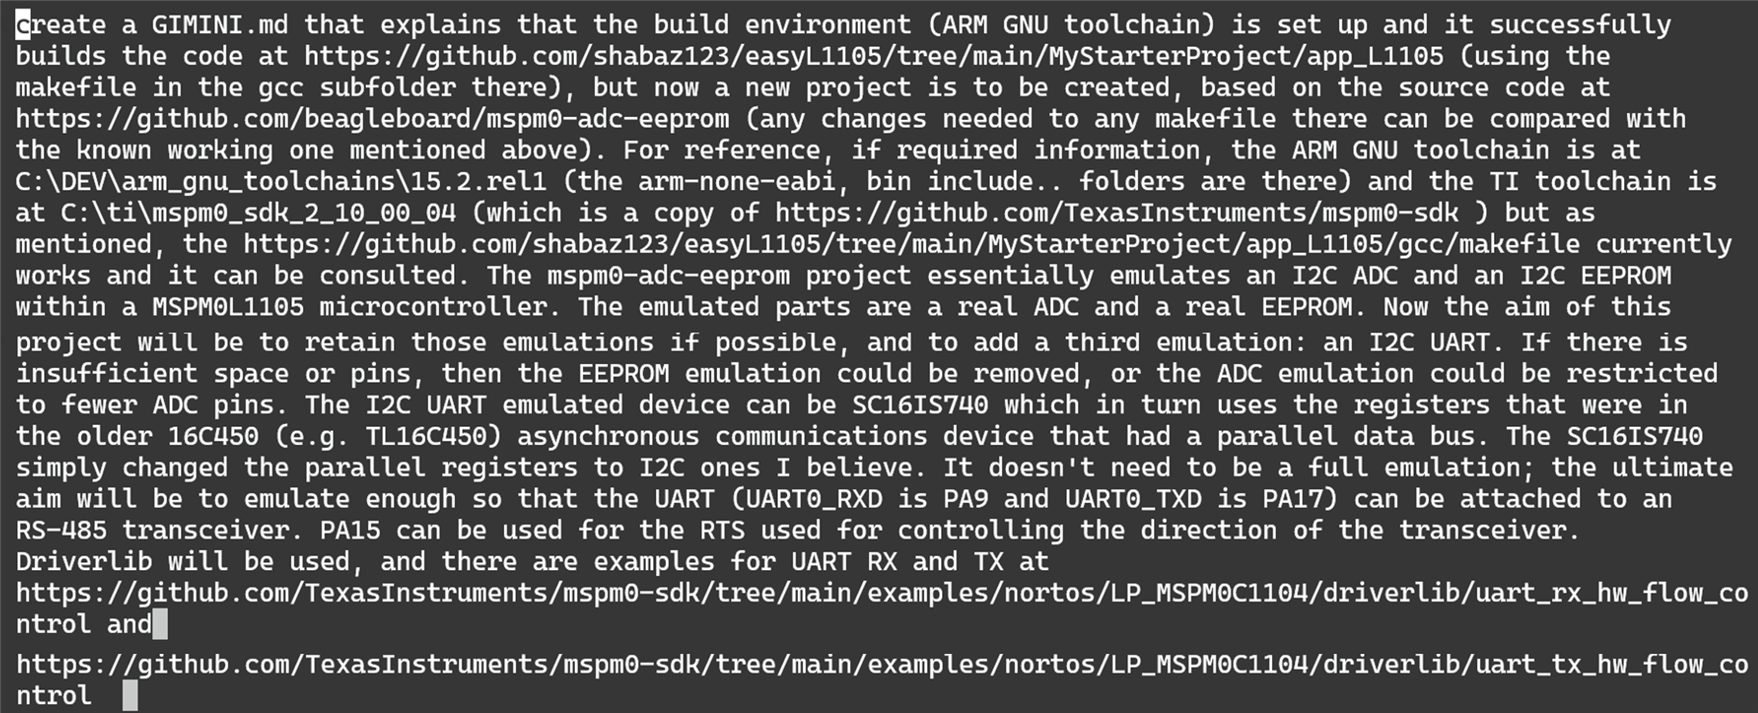
Antigravity can frequently prompt the user to allow or reject suggestions/changes. The default is allow, so you can keep you hand hovered over the Enter button mostly. You could choose to read the detail, or mostly ignore it if you don’t care about implementation in some areas of the project, beyond what you’d already put down in the requirements.
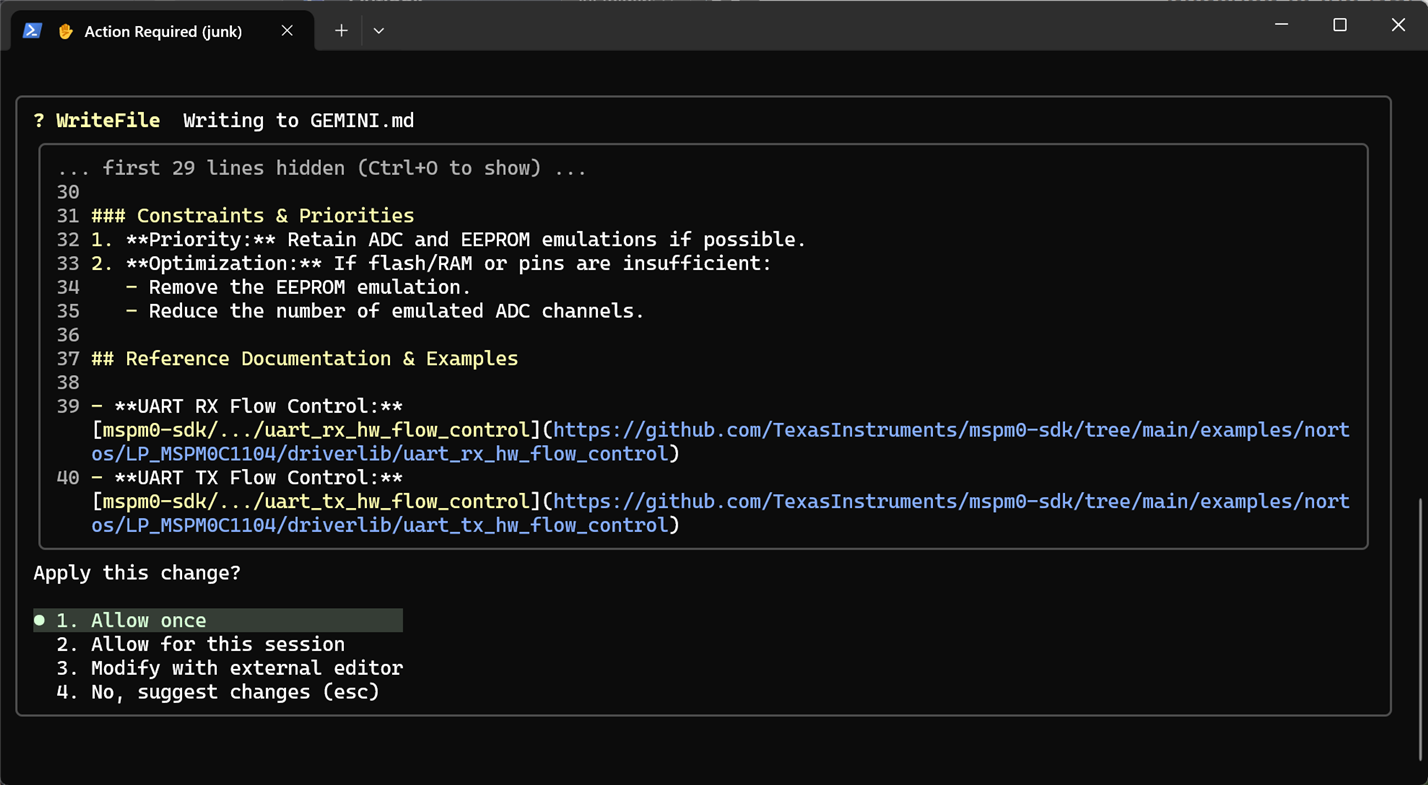
How much should one write in an initial prompt or requirements file to the agent? The jury is still out, people have different approaches, but in practice Antigravity can consume as much as you provide it. It's not inconceivable to write a dozen pages even for a basic project, if you feel the project needs the detail, but at the same time you might not want to be so prescriptive for certain parts of the project if they don't matter as much, or, on the other hand, you may prefer a more incremental approach, splitting each phase of a project into lots of steps.
Also, please note I'm using the word 'requirements' loosely, it is up to you if you take that literally to mean a project requirements list, or if you actually go further and state some of the high-level design, or if you request Antigravity to assist with that. I'd suggest you should also actually state the goal and and any example uses for the project, so that there is more context. I don't have an answer to what is the "best" approach, and there probably isn't a best approach.
Building and Testing a Skeleton Project
Whenever Antigravity pauses for a response, nothing will break if one selects No, even if the agent seems to want to do more.
For some projects, it can be desirable to first prove things can compile (I’m assuming this is a software project for now, but it doesn’t need to be), so at this point I requested the AI to quickly get to a state where I can compile the skeleton code, even if it does nothing.
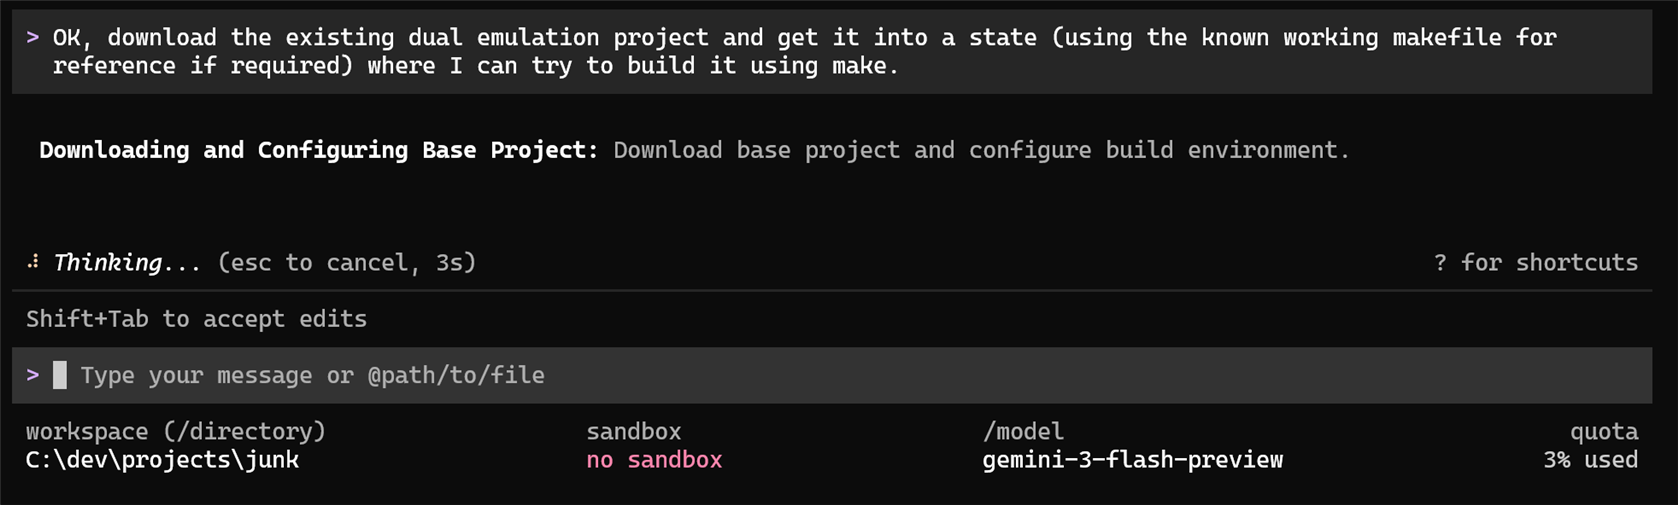
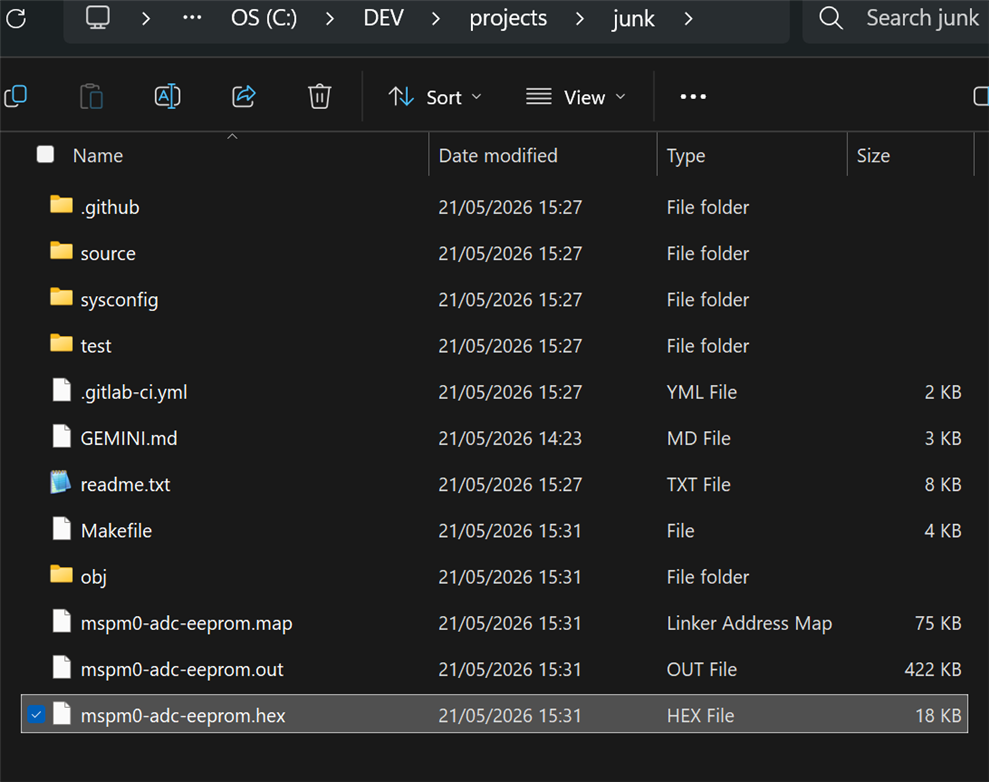
Antigravity went off and searched for the tools installed on the PC (it requests permission for anything outside of the project folder) and made any changes needed to be able to compile the code (it made changes to a Makefile in my case), and voila, I had a binary executable all ready to run (on a microcontroller for this example project).
Implementing the Project
I typed in the prompt for Antigravity to proceed with the implementation based on the requirements. A snapshot of what it did is below; at that point it was reading some files and doing Google searches:
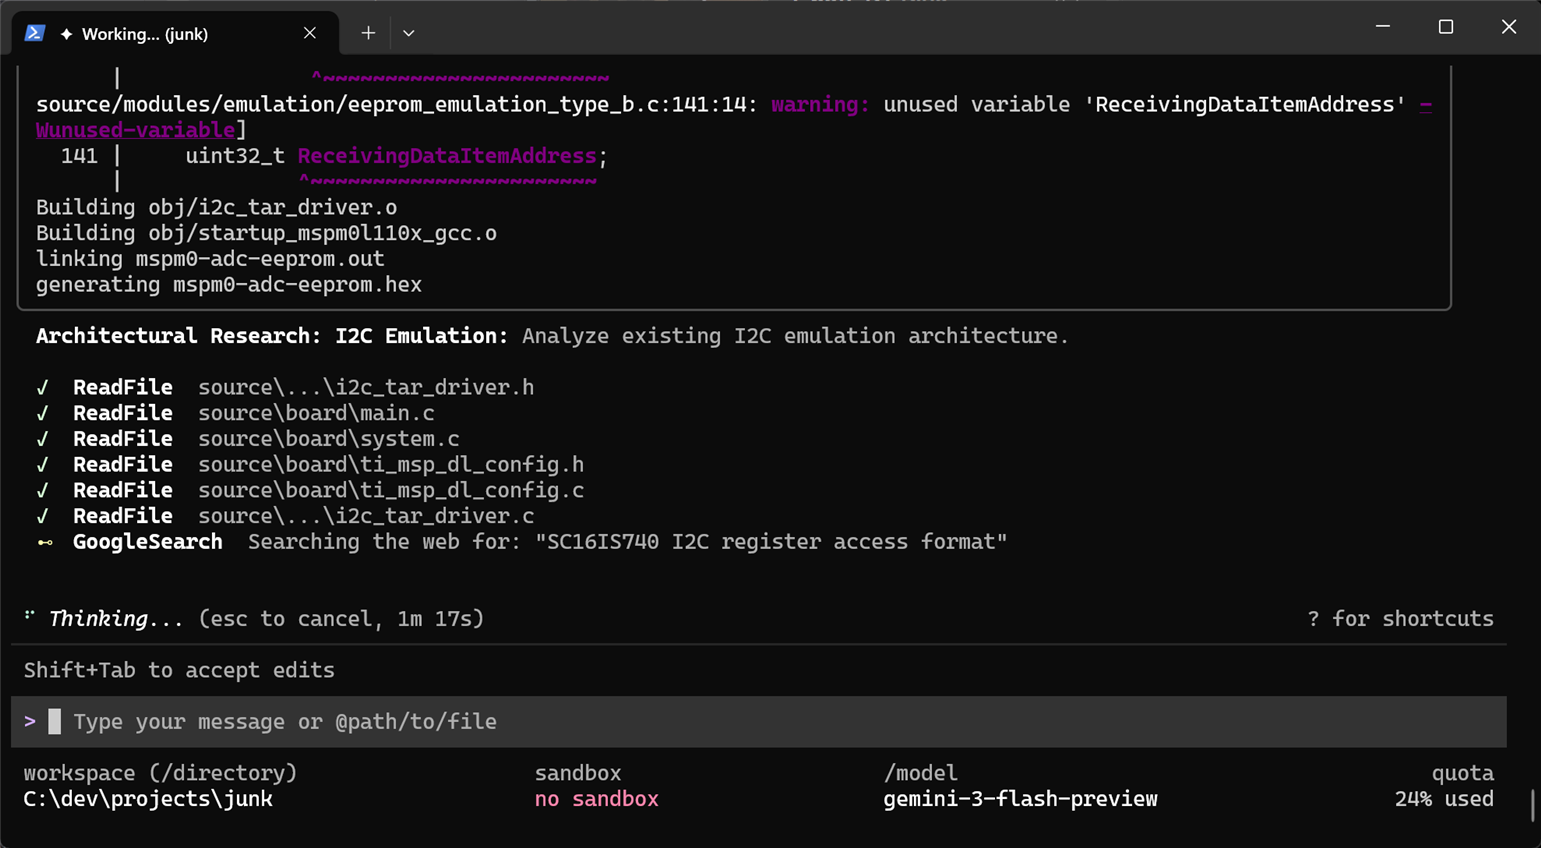
After a while (it can take minutes or tens of minutes depending on the complexity):
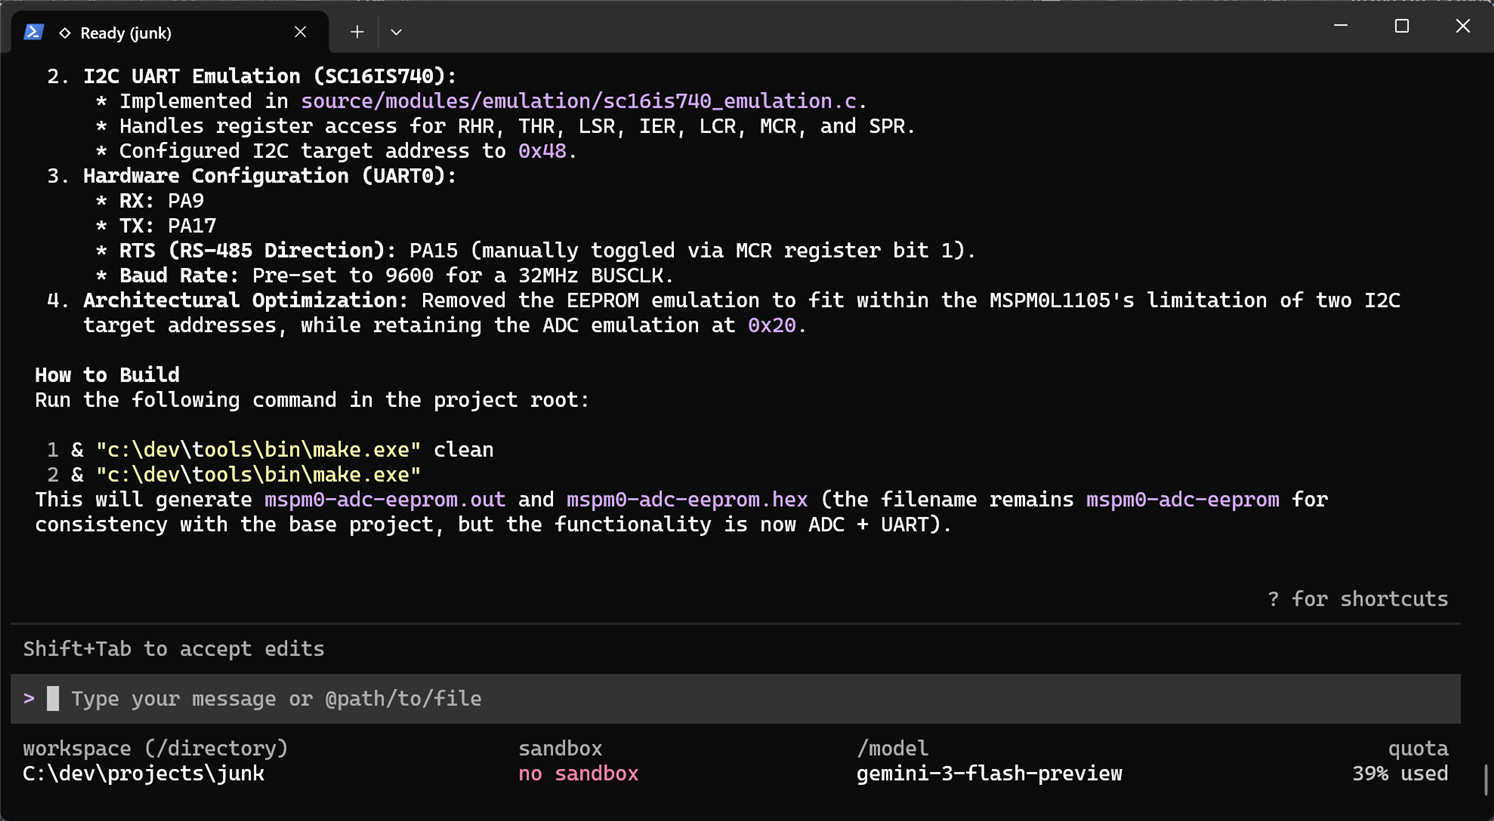
Antigravity had “completed” the project, and written up some notes in the shell, for me to scroll through and read. At this point I could install the built software and run and test it, and type up any problems at the prompt.
Note that Antigravity can be extremely trigger-happy, and implement a load of work before you’re even ready for it. It can be controlled by explicitly typing as part of the prompt, to provide information first for approval, before implementation.
Another simple approach is to use another LLM : ) I sometimes use Chat GPT for drafting what I wish Antigravity to do, and that way I can have a discussion with no immediate action from Antigravity, comfortable in the knowledge that ChatGPT isn’t talking to it behind my back. You can get to a point where you're merely a carrier pigeon between the two AIs.
Documentation
Since I was unsure what Antigravity had done specifically in a few areas of interest to me, I requested it to write some notes:

After some thinking:
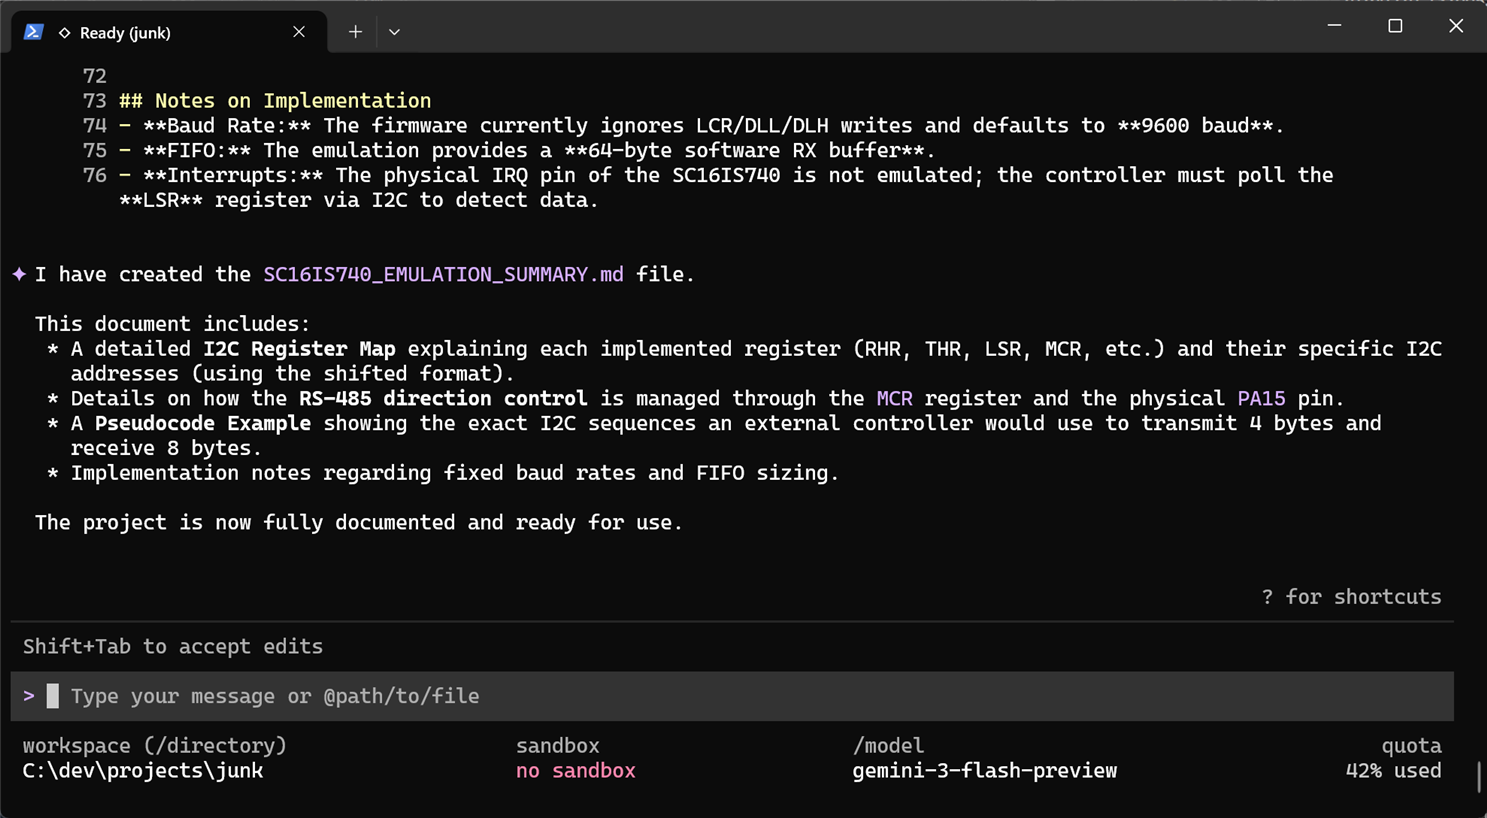
Here’s a snippet of the final documentation it wrote:
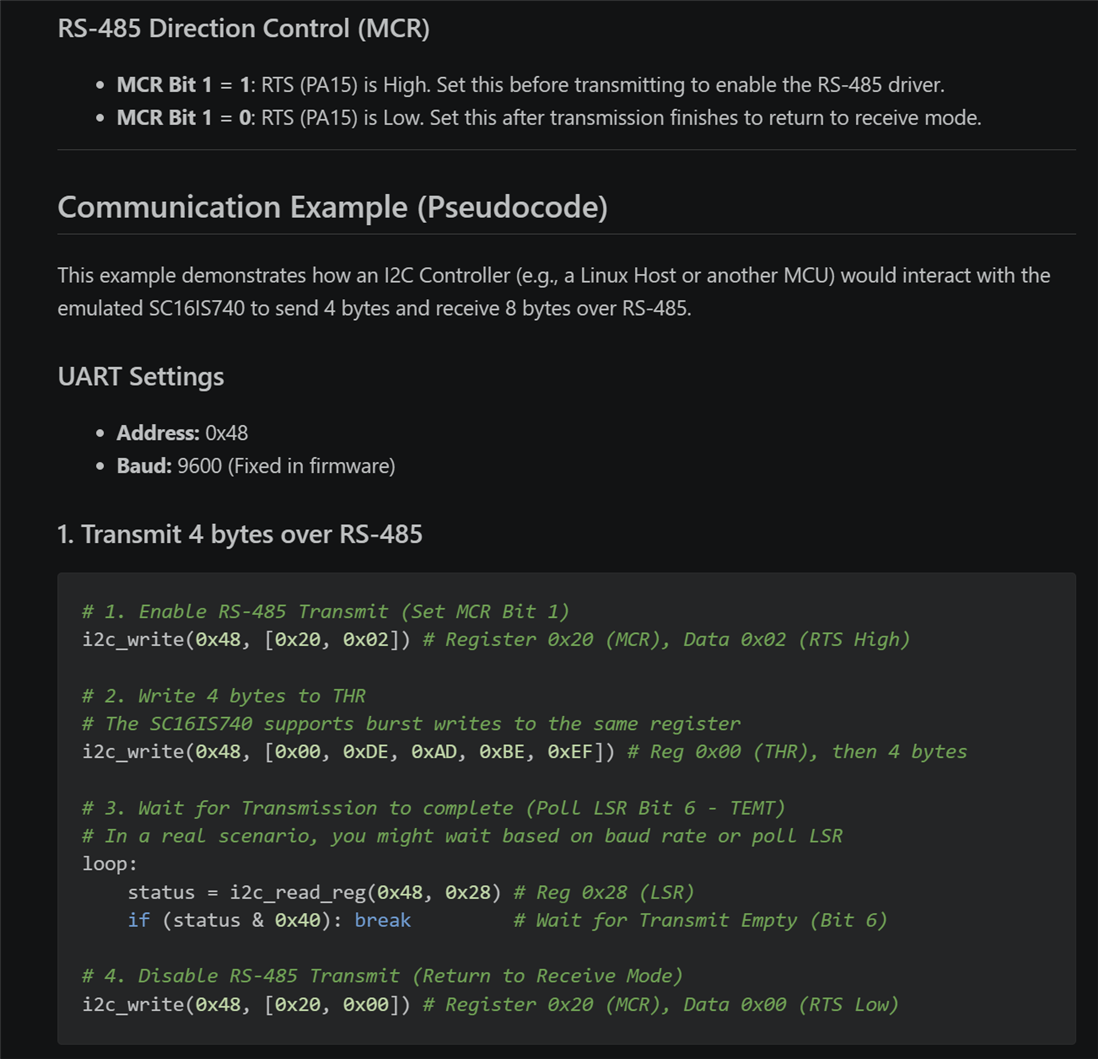
Testing
In order to test the project, it is possible to request Antigravity to write and run test-cases. For hardware projects, if you’ve exhausted stubbed-out hardware test cases, then unless there is a way to provide stimulus and retrieve responses between the hardware and the AI, you’ll have to be the hands and eyes on behalf of it. Therefore, it does make sense to spend time automating if possible. You could use test equipment with USB or network interfaces. The AI is perfectly happy grabbing screenshots from test equipment on its own accord, spot issues, and fix and retest.
For this simple project, I used the AI to write Python software for a manually operated test harness; it was admittedly a waste of time, when the AI could have tested by itself, with a little more effort from me setting things up.
Summary
Using Antigravity is a smooth experience; setup is quick, and it works from the command-line, which I prefer. You can start off with a blank project folder, or place some helper files in there, and that and some initial requirements were all that were needed to start building an app.
It is worth thinking about how a project will be tested, and if anything can be done to remove the slow human from that loop.
It was free to use Antigravity, but you can very quickly run out of credits using the free account. I noticed Google currently has an offer, charging about $5 per month for three months, before the cost is raised to $20, for the bottom tier. I think it’s worth it.
It would be great to hear about how others use either Antigravity or any other agents.
Thanks for reading!