Table of Contents
- Introduction
- Getting Started
- Adding CapSense
- How to Configure The OLED Display
- Device Assembly
- Programming, Test and Troubleshooting
- Summary
**********************************************************************************************************************
In this section I will show you the steps to follow to assemble the drink dispenser and the mounting of the electronic devices.
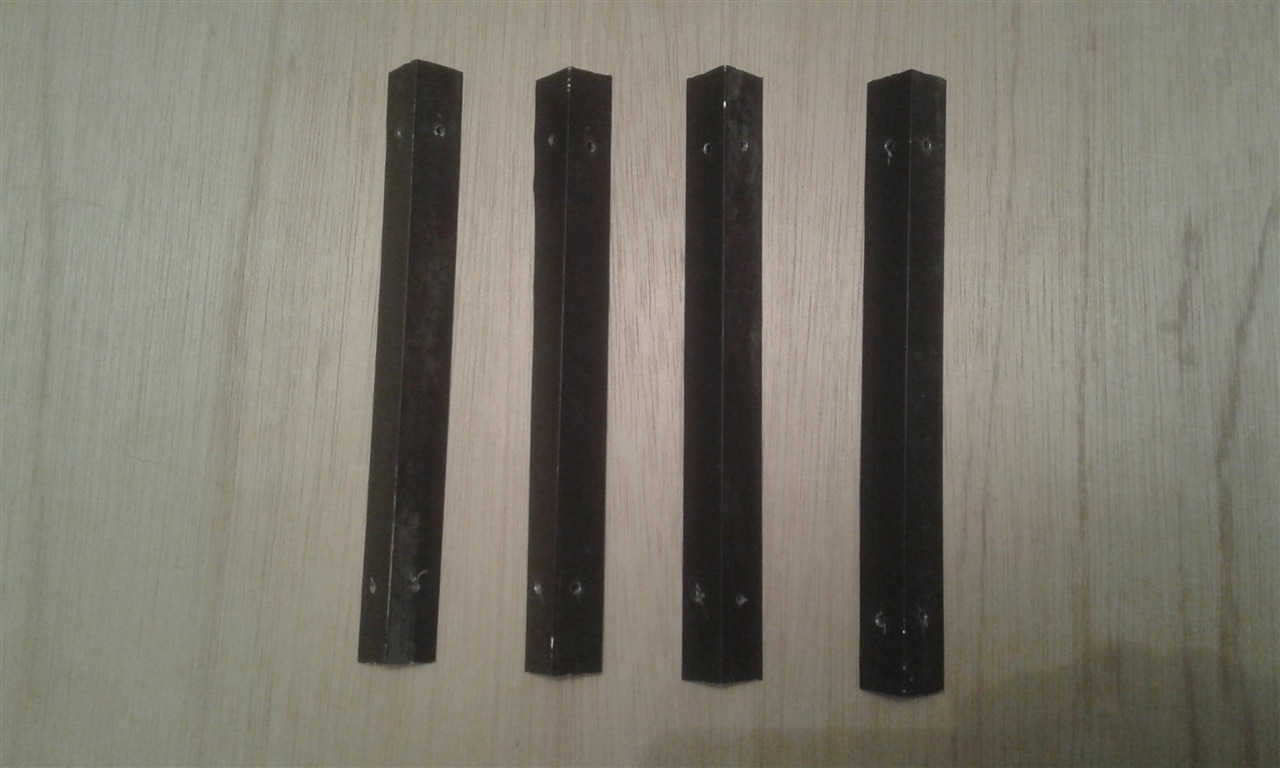
Step 1. Get four aluminum angles of 20 cm. long approx., and drill them as shown in the image below.

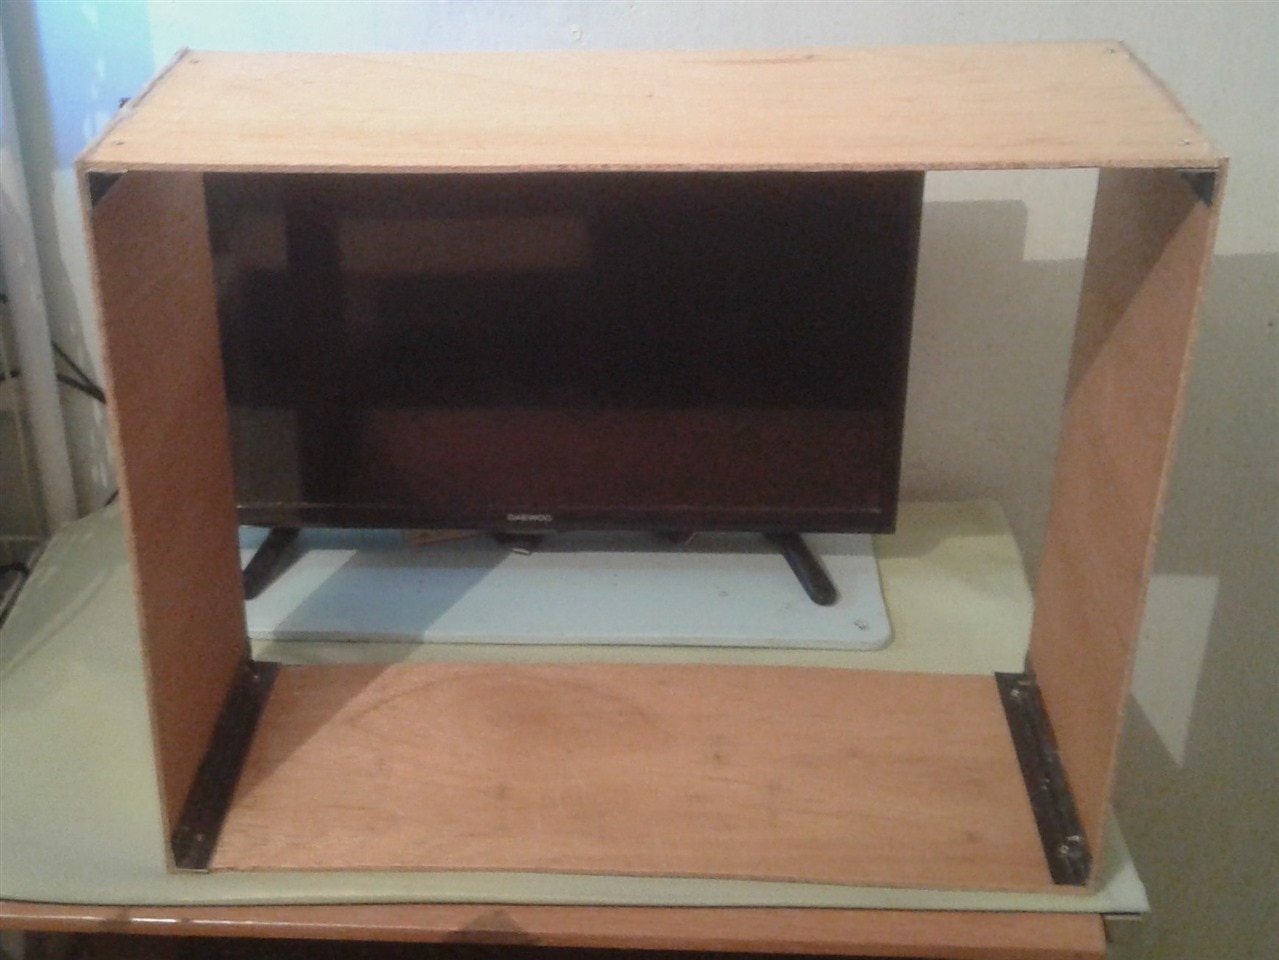
Step 2. We need two wooden boards of 50(L)cm x 20(W)cm, and two boards of 40(L)cm x 20(W)cm. Use the aluminum angles to join the boards as shown in the image below.

Step 3. Assemble a 50(L)cm x 20(W)cm board as shown in the image below. This board will be part of the front view of our drink dispenser.

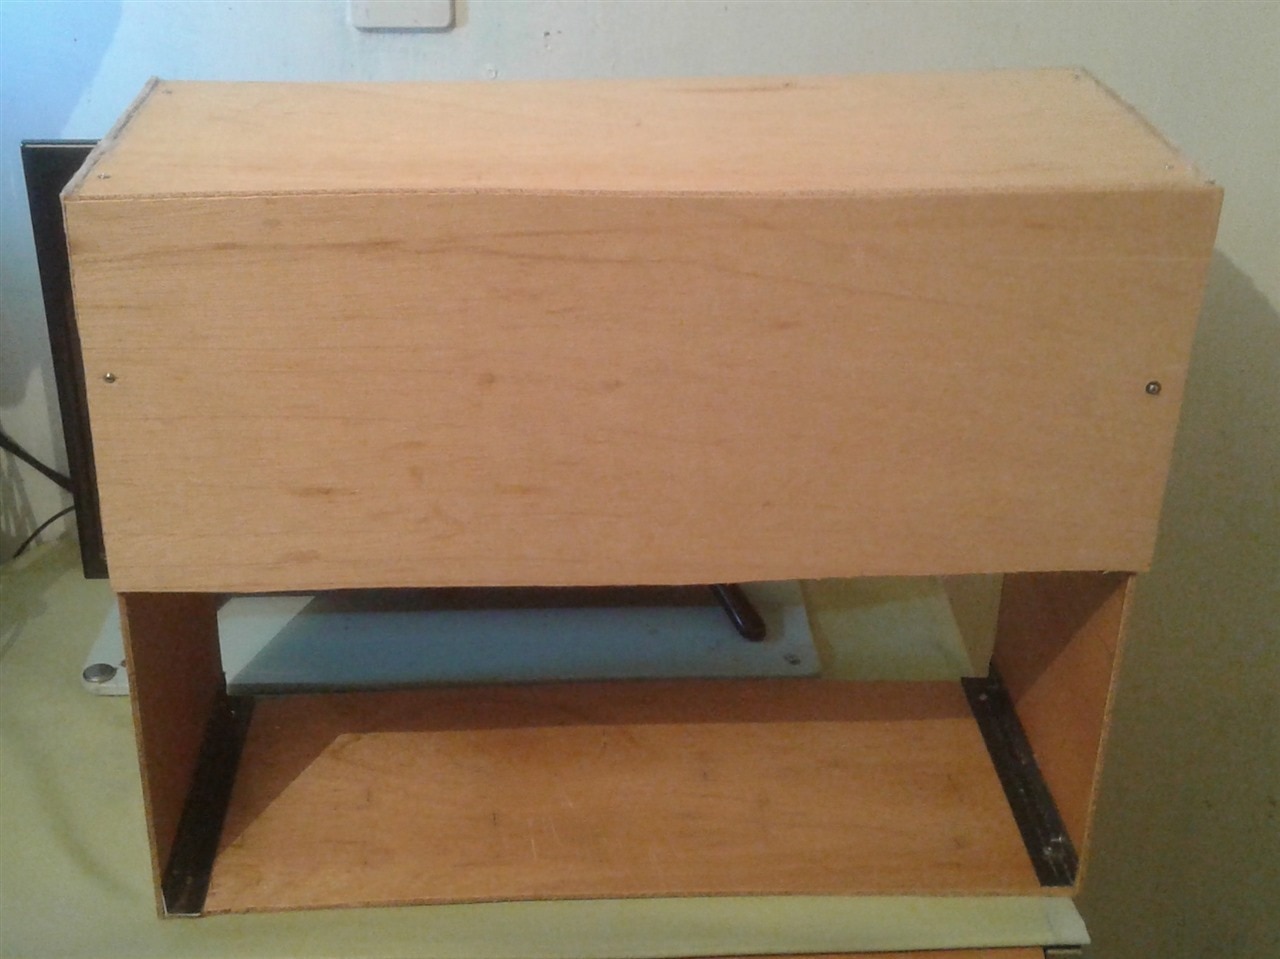
Step 4. Another board of 50(L)cm x 20(W)cm will be used to mount at 9 cm approx. from the front view of our device. I have fixed all the boards with screws and additionally I have used silicone to join more strongly and cover air gaps. Below I show you the device from its back view.
Step 5. Now it's time to insert a 50(L)cm x 9(W)cm board to join the pieces from steps 3 and 4. In the image below I show you the front view of the device.
Below you can see the back view of this device.
Step 6. It's necessary to make two holes in the board assembled from step 5, and which will be used to insert the two hoses of the water pumps. I placed them 15 cm from both sides of the board.
Step 7. We insert the hoses and connect them with the mini water pumps.
Step 8. Now we fix the L298N driver on the upper wood of the drink dispenser. In this way we prevent it from falling on any of the drink containers.
Step 9. I have siliconized the USB connector as shown in the image below. Don't forget to connect the USB cables of the mini water pumps.
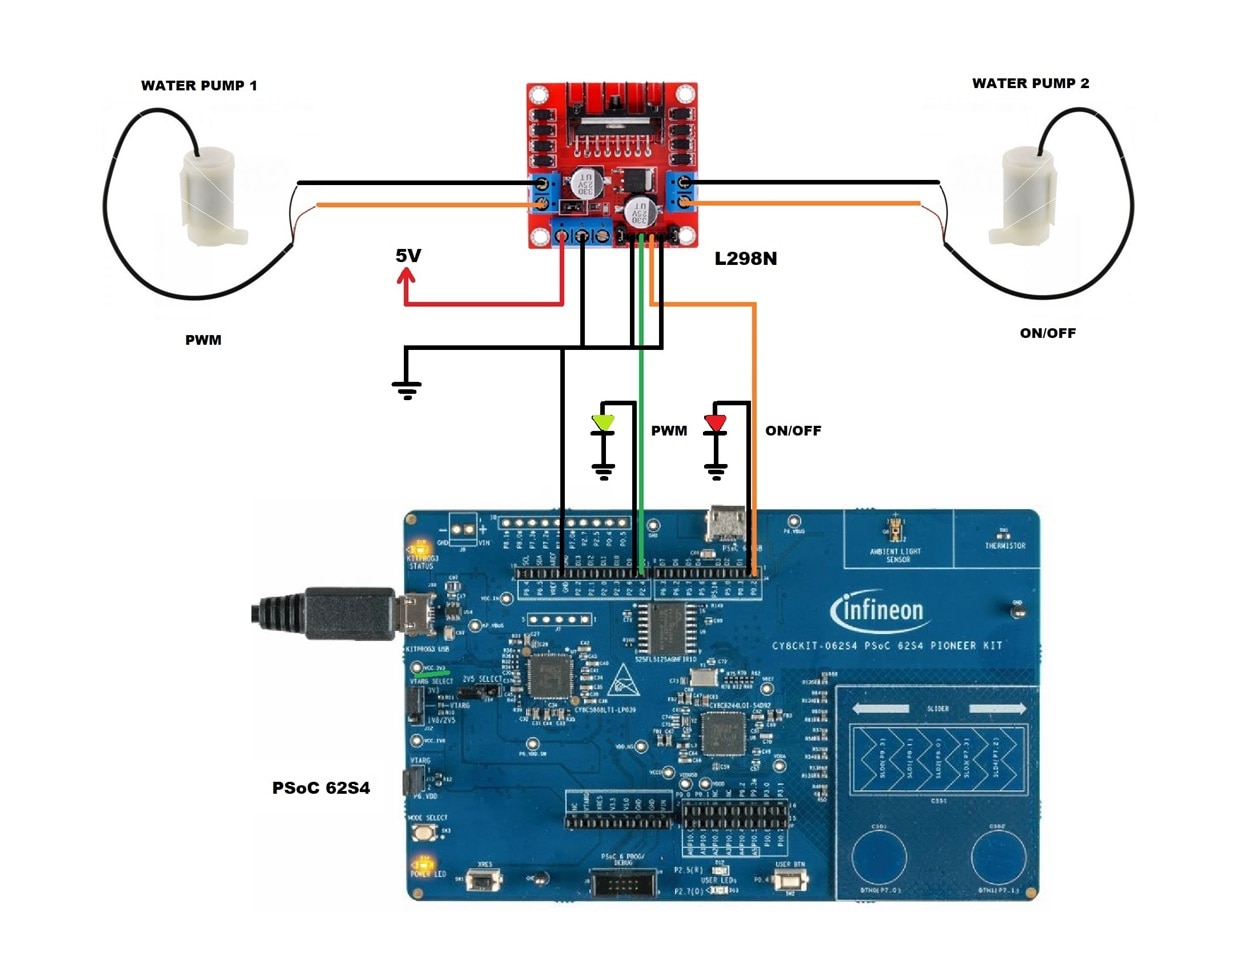
Step 10. According to the schematic diagram below, make the wiring of the PsOC 62S4 board.

The circuit wiring would look like the one shown below.
This is all for now. In the final chapter I will show you the programming of the board, the bugs that stopped me, and the final test of my project.

