


Recap
I am building a robotic system that identifies the charging port on an EV and automatically moves a charger arm to plug the charger in.
Past Forum Posts:
- DockBot - Part 1 - The Concept
- DockBot - Part 2 - Positioning with Aruco Markers
- DockBot - Part 3 - New Plan, New Hardware for Better Sensing
- DockBot - Part 4 - Getting the Arduino Q to move the tank motors
This is going to be a short post, the kind you write finishing your assignment on the eve of the deadline. We have a robot base, we have a guidance system - what's left (mechanically) is an actuator to actually place a mock charger on the car.
The actuator design
With the platform able to move itself around the floor, all I needed was an actuator that could lift and position the mock charger at different heights. That height adjustment matters because different car models have their charging port at different heights, and the mock charging dock on the car side won't always be identical either.
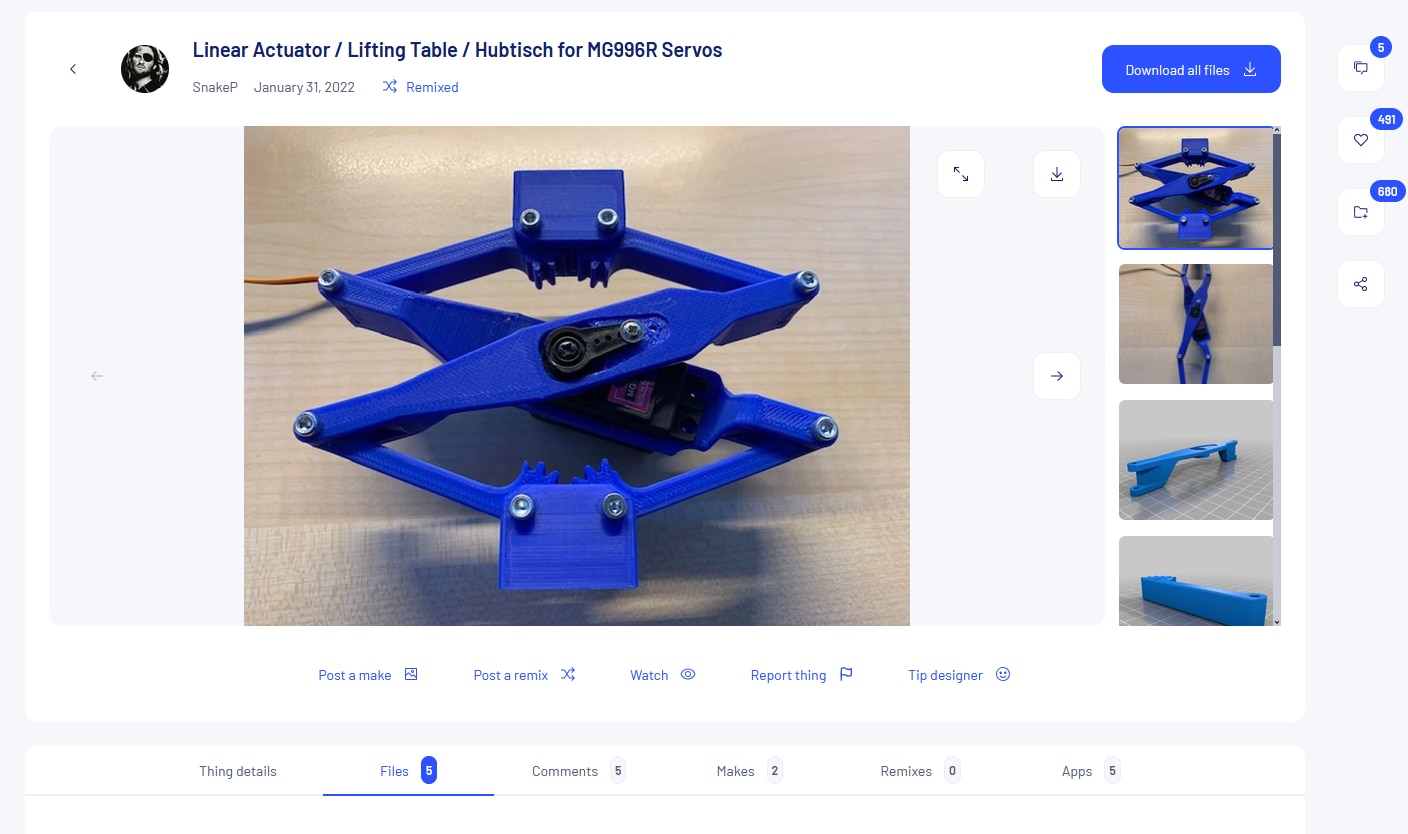
I found a design that did exactly this at thingiverse.com/thing:5225652 - credit for that goes to SnakeP (thingiverse.com/SnakeP). It worked brilliantly, and mounting it on the Devastator platform was painless.
I was able to lift around 300gms safely. I dare not try more, as I printed in the parts in the default infill of 15% and I do not have the time to reprint it if I broke it just to see how much weight it can lift.
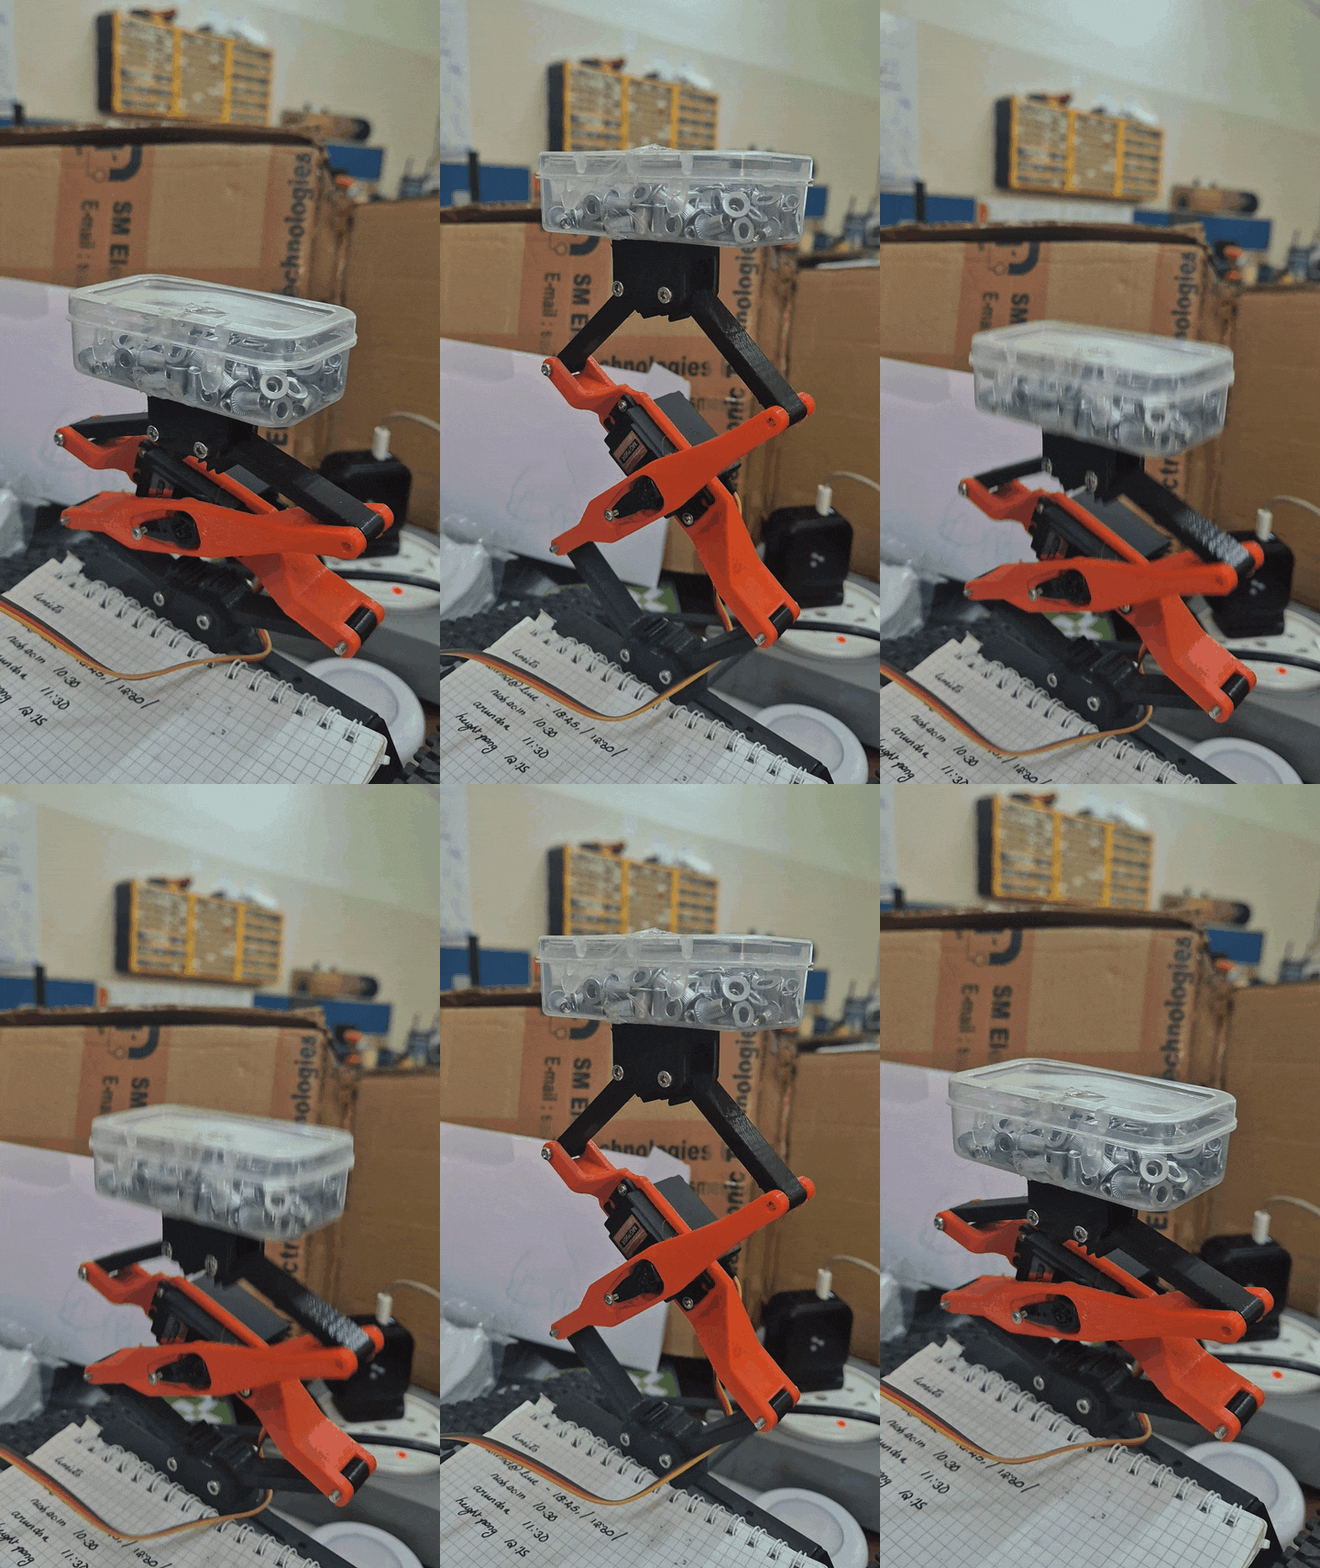
.
The mock charger design
I wanted the charger itself to be forgiving of small positioning errors - remember Part 3 measured up to 3% error on positioning at range. So I leaned into a poka-yoke design (Mistake Proofing) : the charger is made from a length of PVC pipe with a flange on each end. Eventually I'll add a magnet so it sticks to the car once docked. For the robot to actually grab it, I gave the handle two chamfered collars, so the geometry itself nudges the handle into alignment even if the robot's approach isn't perfectly centered.

The grabber design
The grabber is four fingers with a wide opening - essentially a V shape that guides the handle into the locking area, oriented perpendicular to the charging handle itself. Between the chamfered collar and the V fingers, the mechanism forgives about ±1.8cm of positioning error.
I also designed a small dock for the charger to rest in when it's not "charging a car."

Final Notes
The results worked brilliantly in my hand. Now I hope things don't fall apart tomorrow when i integrate everything. I still have not received the diametrically magnetized magnet for my encoder. So I will have to improvise (again???, This entire projects had way too many improvisations)

