


This is my fifth blog post in a series that covers my experience going through the training courses of the Path to Programmable 3 challenge. The first four blog posts, Blog1, Blog2, Blog3, and Blog4, have covered the beginning of participating in this challenge and my learning experience from going through all the SW training labs and part of the HW training labs. Now I am continuing with the HW labs and then I move to Petalinux training labs.
Lab 4 took me through the steps of using the TCL (Tools Command Language) to perform project related tasks. The first experiment was primarily introductive to open the project and explore the project files. The second experiment was very informative for understanding how to use TCL commands.
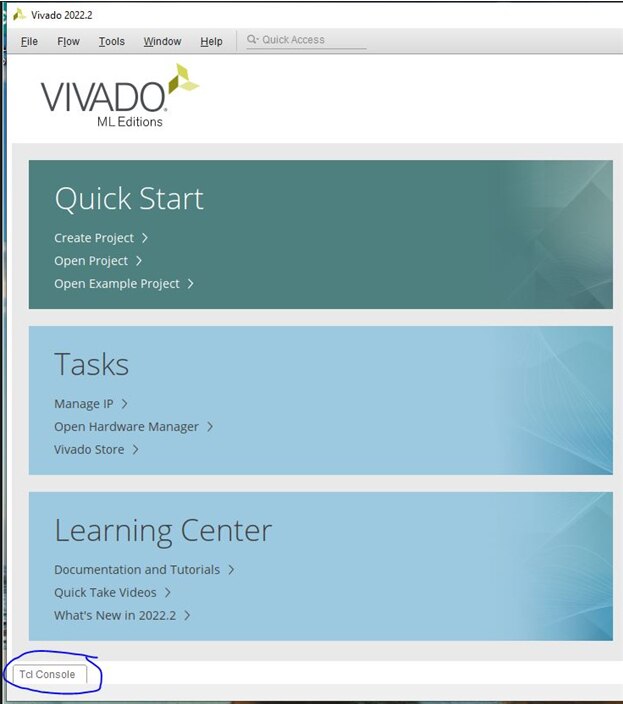
Vivado startup screen has a button at the bottom left corner labeled “TCL Console” that opens a form in which we can type TCL commands:
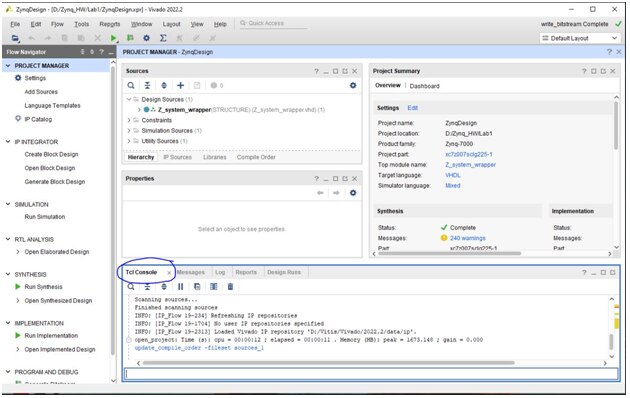
After opening the project, the TCL console is accessible in the group of tabs at the bottom of the Vivado window:
Next I have just followed Lab 4 steps in the instructions all the way to the end. I would consider this work more like “a routine activity”, where the instructions take me on a certain path to show me how TCL commands work. This is good to know, as I believe knowing how to run TCL commands and how to write TCL scripts can speed-up my work in the future.
I then moved to Lab 5, which has exposed me to adding and configuring a BRAM (Block RAM) IP in the PL of the Zynq SoC and configuring the AXI peripherals to connect the BRAM to the PS of the Zynq SoC.
The first experiment was quite clearly explained in the instructions and it worked well for me except in my project the memory width and depth were different than what was shown in the instructions:
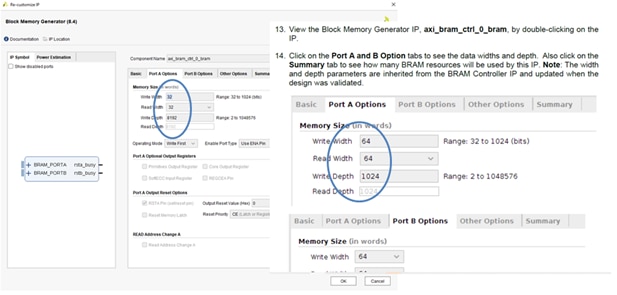
The instructions mention that the width and depth are inherited from the BRAM controller IP, so to my understanding this is not an issue if the width and depth are updated during deign validation. I then continued to the rest of the steps, which didn’t create any issue for me. In the end yes, the address width and depth have been automatically updated, but the bus width came as 32 not 64. This is probably correct, though for some reason I thought it will come to 64 not 32.

I then moved to Lab 6, which went smoothly for me by just following the instructions step-by-step. I didn’t do any variation from the provided steps to speed-up the time since I had the feeling that I am moving too slow through these training labs. I like that this lab has exposed me to creating a C software application but I didn’t have time to play with creating a C code myself so I just went with importing the C source code as shown in the instructions.
Next, in Lab 7 I went faster through the creating of the IP project since I have done this before and I was familiar with the process. Then, I have spent more time with the adding of interrupt routine to the Zynq PS. I had some experience with adding interrupts but for me I feel a lot more comfortable on low level programming like for example many years ago when I worked with Z80 processors in assembly language. Assembly language brings me closer to the hardware, and I feel that I have more control on how the interrupts are processed. In higher level programming languages, I don’t feel the same “grasp” on controlling the hardware, so it takes me more analysis to make sure the interrupts will always be processed the way I want especially when setting up priorities. This lab went okay for me in the sense that I pretty much followed the instructions step by step watching how things happen as expected.
Lab 8 was more complex as it expanded on the Lab 7 concepts. I went through Lab 8 and I have successfully completed but some of the concepts are still kind of a “cloud” in my head that I need to come back later and clarify.
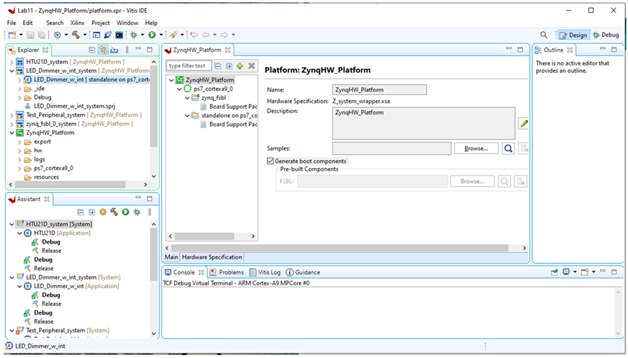
At the beginning by just following the lab instructions I’ve got some errors, so I had to poke around debugging it:

To me it seems that the peripheral test application was there (not missing).
So, I restarted the lab “from scratch” and this time it went well without showing that error. I don’t know exactly what was wrong the first time, but I was happy to see it working the second time.
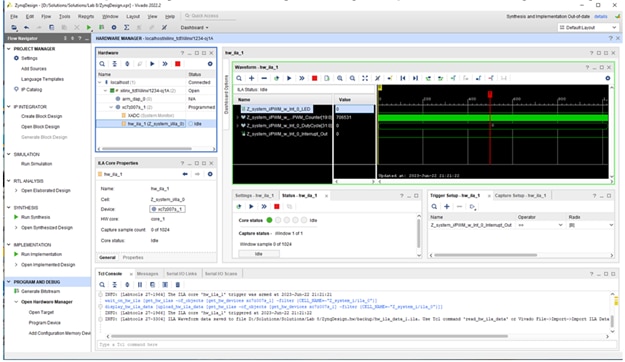
Then I moved the Experiment 2 that uses the Vivdo hardware analyzer. I liked this experiment as it has guided me through setting up and using this hardware analyzer tool that I think is very useful for debugging. So, I first opened the hardware manager tool:
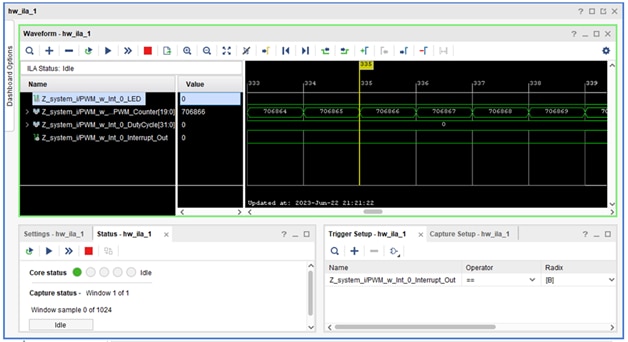
Next, I selected the block hw_ila_1 and I zoomed in on the time scale:
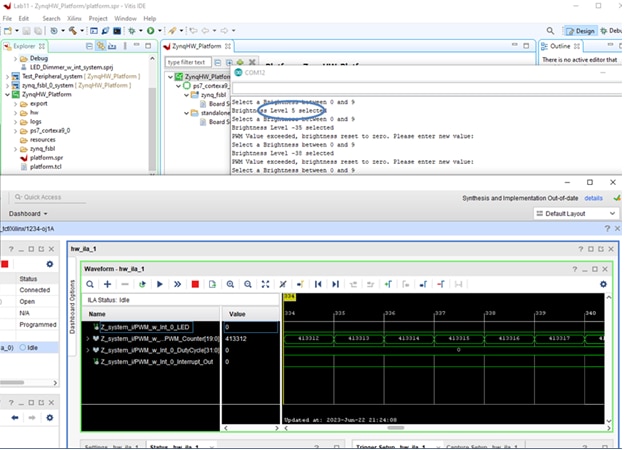
Then, in the serial monitor window I changed the brightness settings for the LED and I watched the values changing in the hardware analyzer tool:
For LED brightness of “5” set in the COM serial monitor I read 413315 in the hardware analyzer:
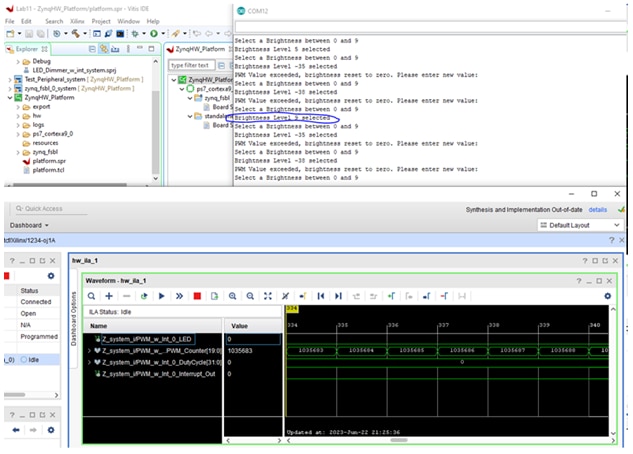
For a setting of “9” I read 1035684 in the hardware analyzer; however, the serial monitor pointed out an error that the value “9” has exceeded the limit. I think that is a bug somewhere in the code since the hardware responded with changing the value not railing it to min.
So, after finishing Lab8 I moved to Lab 9. Lab 9 has focused more on using TCL commands and scripts. I have found the instructions quite informative especially for learning how to write TCL scripts; however, at my stage in learning I kind of put the learning of TCL scripts at a lower priority since I feel that I need to focus more on the fundamentals of working with PL and PS in Vivado and Vitis. Once I get confident on those skills, then learning how to write TCL scripts will be a plus (and a very useful skill to have).
This has concluded my hardware training, so I moved to the Petalinux training, starting with Lab0. Here, the first obstacle I have bumped into was the access to the pre-built virtual machine file:
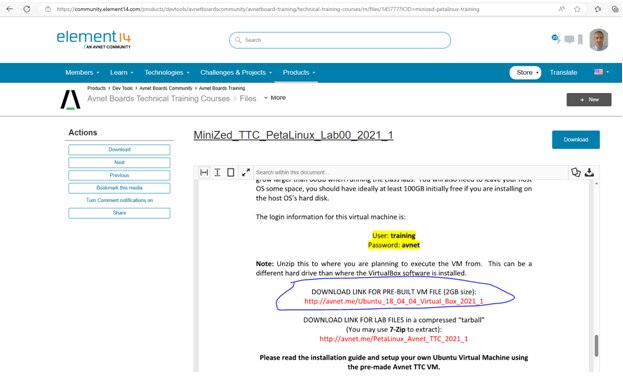
Following this link I’ve got an error, so I have posted a question in the forum:
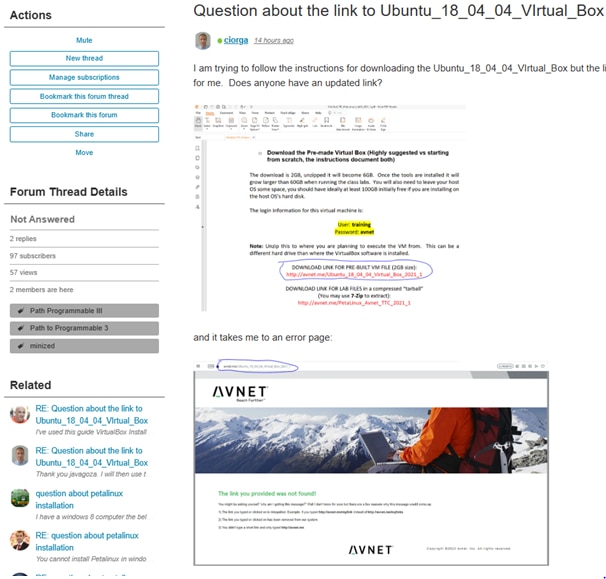
As it always happens, someone in the Element 14 community jumps in promptly and provides an answer. This is a considerable strength of our Element 14 community. This time thank you “javagoza” for answering my question so quickly:

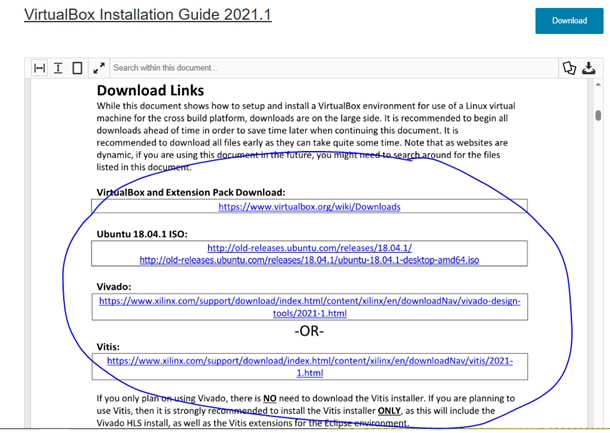
This is a different guide that goes through the installation of Virtual Box, and then Ubuntu, Vivado, and Vitis, instead of having them all pre-installed in a single image:
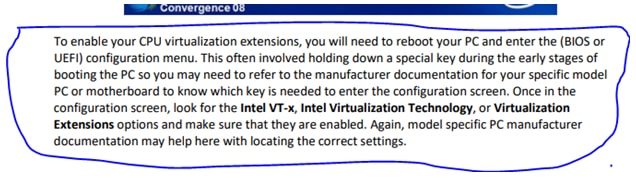
So I started with the first step of preparing my computer for these installations:
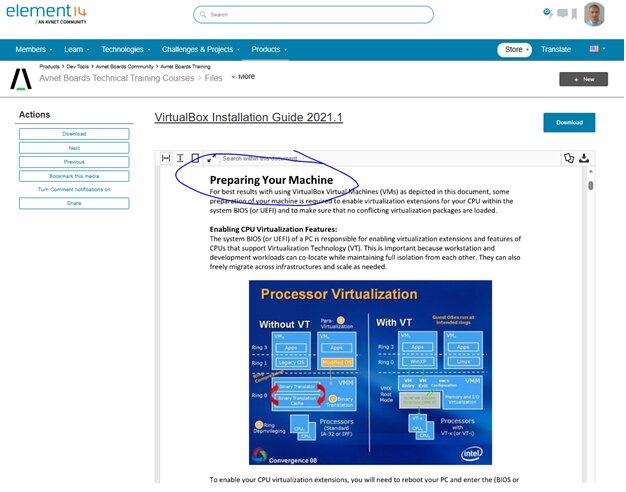
These steps are very well detailed in the instructions document. The concept of processor virtualization is explained in the text with reference to a very nice diagram that shows the system without and with virtualization.
Part of the first step was to enable the virtualization in the Bios of my computer:
So I started with this step. I managed to start my computer into the bios setup and then I started to look for a setting that enables the CPU virtualization:
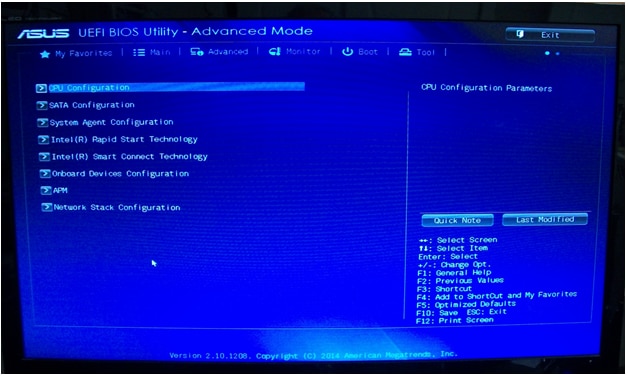
Then I have clicked on "CPU Configuration" and I got to the bios settings related to the CPU:
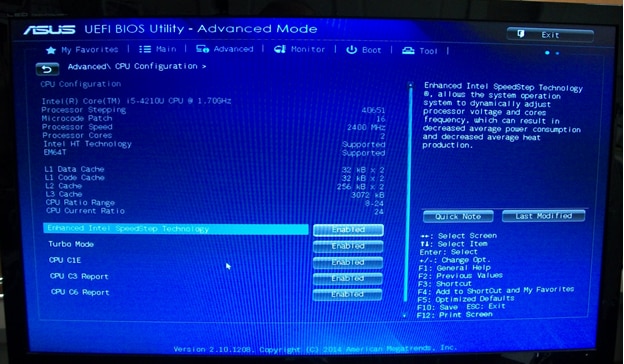
There is a “Intel HT Technology” which is marked a “Supported” and which cannot be changed, but I think this is different than the Virtualization setting that I was looking for. Nothing here suggested me that is related to the CPU Virtualization. Next I have searched all the other panels in the bios settings, but I haven’t been able to find any setting related to CPU Virtualization. So I continued with booting the computer into the Windows operating system.
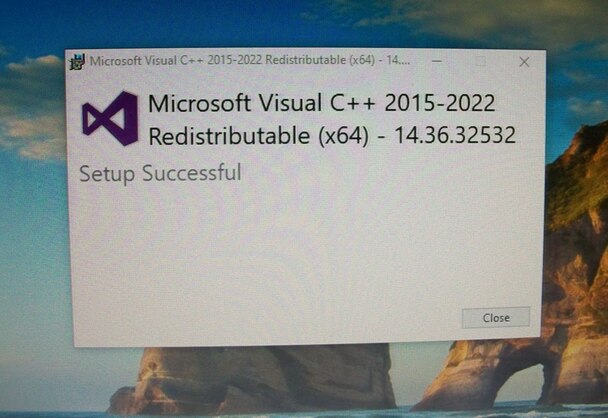
Next I tried to install the Virtual Box even though couldn't find the CPU virtualization setting and maybe this CPU or computer does not support virtualization. First attempt resulted in an error related to missing Microsoft Visual C++ redistributable 2019:
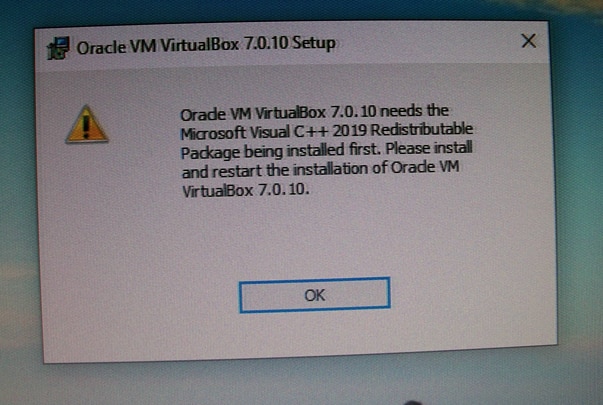
, so I have searched for it and then I installed it:
Next, I tried again to install the virtual box. This time the installation went through without errors:
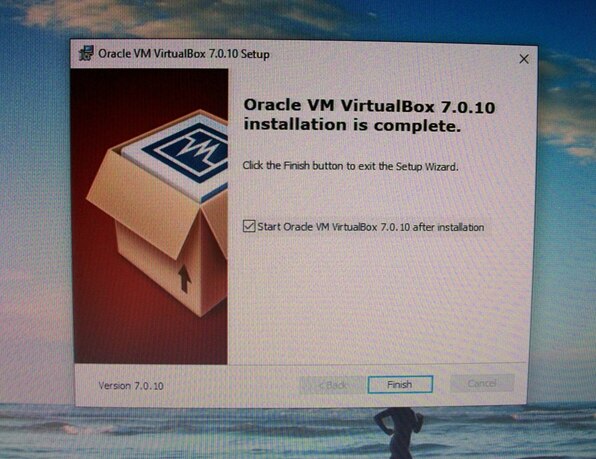
The Virtual Box application seems to work even though I am not sure if my computer supports virtualization or not:

So I am ready for the next steps of creating a virtual machine with Ubuntu 18.04 and continuing with the Petalinux training. I am planning to start on the challenge project in parallel, since the time is short, and I need to account for any potential issues that may require time to solve. My plan for the challenge project is to do it primarily in Vivado and Vitis, so doing the Petalinux training in parallel will not have any impact.
I will conclude this blog post here and I will come back with updates as I get more work done. Until then, all best wishes to the readers and the rest of participants.
Cosmin