Today a quick update. I wrote a small program to extract the GNDVI and BNDVI images as explained in my previous post.
Previous posts:
[Pi IoT] Plant Health Camera #8 - Aligning the images
[Pi IoT] Plant Health Camera #7 - Synchronizing the cameras
[Pi IoT] Plant Health Camera #6 - Putting the slave Pi to work
[Pi IoT] Plant Health Camera #5 - OpenCV
[Pi IoT] Plant Health Camera #4 - Putting the parts together
[Pi IoT] Plant Health Camera #3 - First steps
[Pi IoT] Plant Health Camera #2 - Unboxing
[Pi IoT] Plant Health Camera #1 - Application
Python code for extracting GNDVI and BNDVI
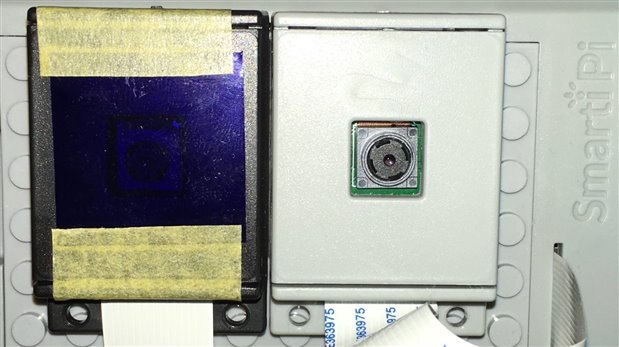
As explained last week I added the infra-blue filter in front of the Pi NoIR Camera, in order to get rid of the red part of the scene.
Then I wrote a small Python program which grabs a color image and converts them to GNDVI and BNDVI:
The range of the original NDVI images is -1 to +1. In order to display this properly I converted these values to the range 0-255 and applied a colormap such that NDVI value 0 is green, -1 is blue and +1 is red:
-1 |  | +1 |
ndvicam.py
# import the necessary packages
from picamera.array import PiRGBArray
from picamera import PiCamera
import time
import numpy
import cv2

# initialize the camera and grab a reference to the raw camera capture
camera = PiCamera()
rawCapture = PiRGBArray(camera)

# allow the camera to warmup
time.sleep(0.1)

# grab an image from the camera
camera.capture(rawCapture, format="bgr")
color_image = rawCapture.array

# extract red green and blue channel
nir_channel = color_image[:,:,0]/256.0
green_channel = color_image[:,:,1]/256.0
blue_channel = color_image[:,:,2]/256.0

# calculate and show gndvi
gndvi = (nir_channel - green_channel)/(nir_channel + green_channel)
gndvi = (gndvi+1)/2
gndvi = cv2.convertScaleAbs(gndvi*255)
gndvi = cv2.applyColorMap(gndvi, cv2.COLORMAP_JET)
cv2.imshow("GNDVI", gndvi)

# calculate and show bndvi
bndvi = (nir_channel - blue_channel)/(nir_channel + blue_channel)
bndvi = (bndvi+1)/2
bndvi = cv2.convertScaleAbs(bndvi*255)
bndvi = cv2.applyColorMap(bndvi, cv2.COLORMAP_JET)
cv2.imshow("BNDVI", bndvi)

# display the image on screen and wait for a keypress
cv2.imshow("Image", color_image)

# save images
cv2.imwrite("./images/color.jpg",color_image)
cv2.imwrite("./images/gndvi.jpg",gndvi)
cv2.imwrite("./images/bndvi.jpg",bndvi)

cv2.waitKey(0)
Unfortunately at the time of writing sunset has passes already two hours ago, so I couldn't image the plants in my garden.
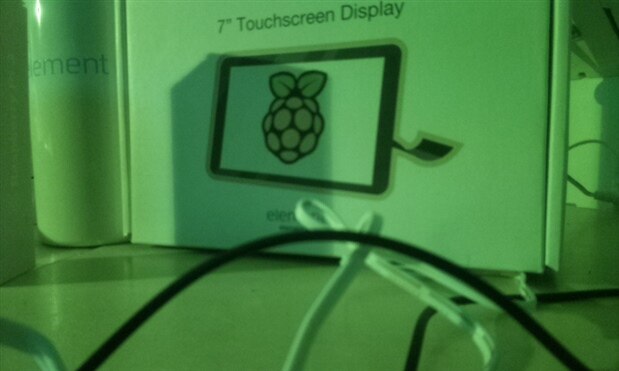
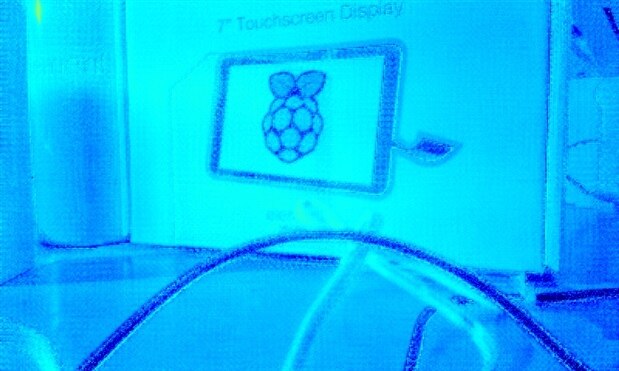
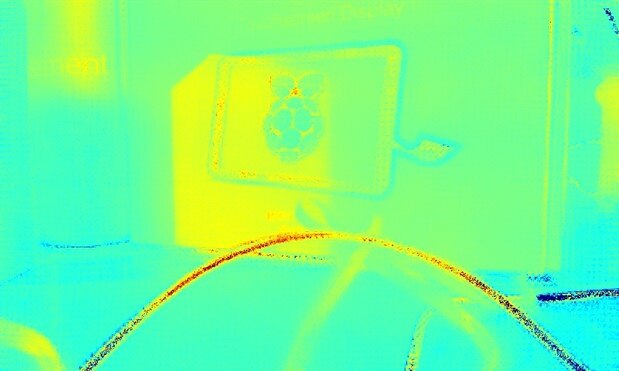
The only agricultural stuff I could image was a raspberry:
Color image: (note how green it is due to filtering out the red)
GNDVI:
BNDVI:
Stay tuned for real plant images and 'real' NDVI images using the other cameras red channel.


Top Comments
-

volly
-
Cancel
-
Vote Up
0
Vote Down
-
-
Sign in to reply
-
More
-
Cancel
Comment-

volly
-
Cancel
-
Vote Up
0
Vote Down
-
-
Sign in to reply
-
More
-
Cancel
Children