element14 Community
element14 Community
    Register Log In
  • Site
  • Search
  • Log In Register
  • Community Hub
    Community Hub
    • What's New on element14
    • Feedback and Support
    • Benefits of Membership
    • Personal Blogs
    • Members Area
    • Achievement Levels
  • Learn
    Learn
    • Ask an Expert
    • eBooks
    • element14 presents
    • Learning Center
    • Tech Spotlight
    • STEM Academy
    • Webinars, Training and Events
    • Learning Groups
  • Technologies
    Technologies
    • 3D Printing
    • FPGA
    • Industrial Automation
    • Internet of Things
    • Power & Energy
    • Sensors
    • Technology Groups
  • Challenges & Projects
    Challenges & Projects
    • Design Challenges
    • element14 presents Projects
    • Project14
    • Arduino Projects
    • Raspberry Pi Projects
    • Project Groups
  • Products
    Products
    • Arduino
    • Avnet Boards Community
    • Dev Tools
    • Manufacturers
    • Multicomp Pro
    • Product Groups
    • Raspberry Pi
    • RoadTests & Reviews
  • Store
    Store
    • Visit Your Store
    • Choose another store...
      • Europe
      •  Austria (German)
      •  Belgium (Dutch, French)
      •  Bulgaria (Bulgarian)
      •  Czech Republic (Czech)
      •  Denmark (Danish)
      •  Estonia (Estonian)
      •  Finland (Finnish)
      •  France (French)
      •  Germany (German)
      •  Hungary (Hungarian)
      •  Ireland
      •  Israel
      •  Italy (Italian)
      •  Latvia (Latvian)
      •  
      •  Lithuania (Lithuanian)
      •  Netherlands (Dutch)
      •  Norway (Norwegian)
      •  Poland (Polish)
      •  Portugal (Portuguese)
      •  Romania (Romanian)
      •  Russia (Russian)
      •  Slovakia (Slovak)
      •  Slovenia (Slovenian)
      •  Spain (Spanish)
      •  Sweden (Swedish)
      •  Switzerland(German, French)
      •  Turkey (Turkish)
      •  United Kingdom
      • Asia Pacific
      •  Australia
      •  China
      •  Hong Kong
      •  India
      •  Korea (Korean)
      •  Malaysia
      •  New Zealand
      •  Philippines
      •  Singapore
      •  Taiwan
      •  Thailand (Thai)
      • Americas
      •  Brazil (Portuguese)
      •  Canada
      •  Mexico (Spanish)
      •  United States
      Can't find the country/region you're looking for? Visit our export site or find a local distributor.
  • Translate
  • Profile
  • Settings
Pi Chef Design Challenge
  • Challenges & Projects
  • Design Challenges
  • Pi Chef Design Challenge
  • More
  • Cancel
Pi Chef Design Challenge
Blog KCON - Pi Chef Challenge Setup Blog
  • Blog
  • Forum
  • Documents
  • Polls
  • Files
  • Events
  • Mentions
  • Sub-Groups
  • Tags
  • More
  • Cancel
  • New
  • Share
  • More
  • Cancel
Group Actions
  • Group RSS
  • More
  • Cancel
Engagement
  • Author Author: jkutzsch
  • Date Created: 4 Feb 2018 4:50 AM Date Created
  • Views 819 views
  • Likes 7 likes
  • Comments 3 comments
  • pi chef design challenge
  • kitchen
Related
Recommended

KCON - Pi Chef Challenge Setup Blog

jkutzsch
jkutzsch
4 Feb 2018
  1. Intro Blog
  2. Unboxing
  3. Setup   <<<---
  4. Gourmet Install
  5. Load up some Recipes!
  6. Enclosure Planning.
  7. 7inch Touchscreen Time
  8. AIY Build / Google Voice
  9. AIY API & Certs
  10. Succes with Google AIY!


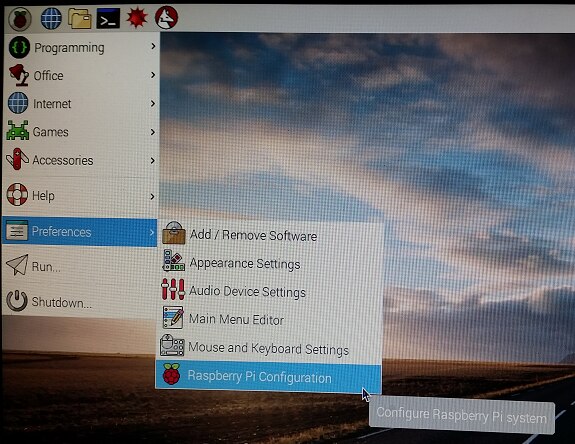
With tonight's Blog I wanted to go through the basics of the setup/install of the Raspberry PI before branching out into the more custom options I will be implementing.


image

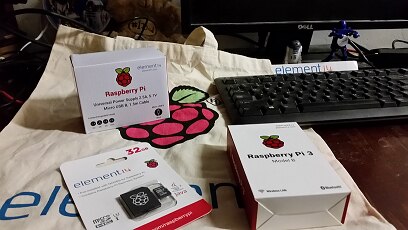
Here we have the 3 main parts for this post.

1.  The universal Power Supply

2.  The 32 MB card with Noobs installed.

3.  And of course the Raspberry Pi 3.


image


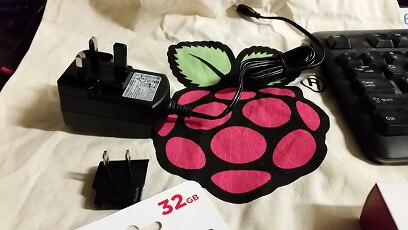
Starting off I open up the Universal Power supply, you can see by default this will not work for my standard US power options.


image


A quick and easy change by pressing in on the middle tab seen above allows me to switch out the plugs.  Now we are ready to roll.


image


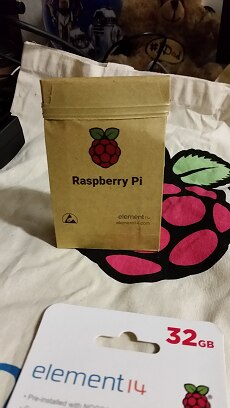
Opening up the Raspberry Pi 3 box reveals inside is this neat brown paper packaging.  I feel like I am opening up an actual dessert!


image


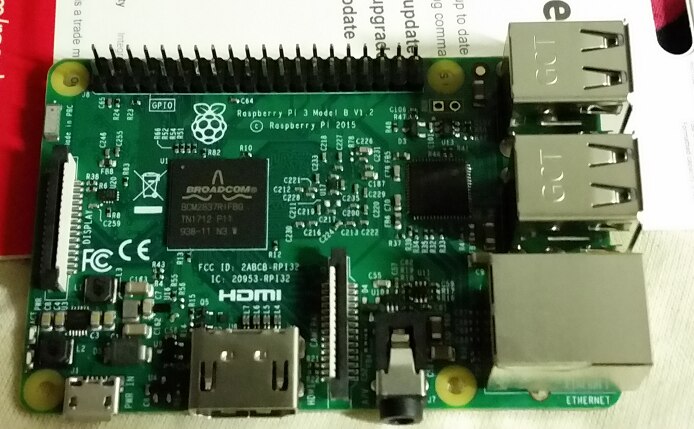
Here we have the Raspberry Pi 3 card revealed in all it's glory.  Can't wait to get it plugged in and installs begun!


image


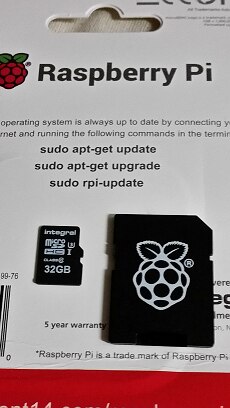
On to the memory card.  Here you can see we have the MicroSD card as well as an adapter if we need to load it into another device that requires the SD card size.  In addition on the product packaging you can see the suggested first steps for Update, Upgrade and Rpi-Update.


image


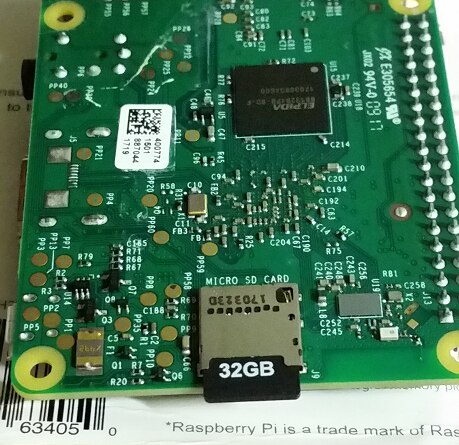
Raspberry Pi 3 flipped over and the card inserted.


image


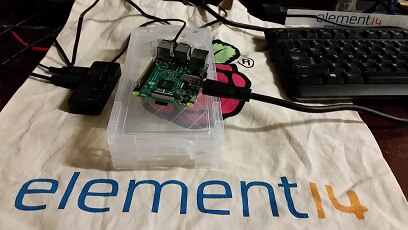
Here I have added a small usb hub which has my keyboard and mouse off of that and of course an HDMI cable going to the monitor.


image


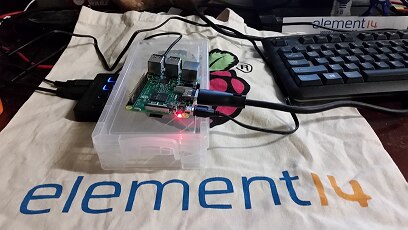
Add some power and the little Raspberry Pi is loading up!


image


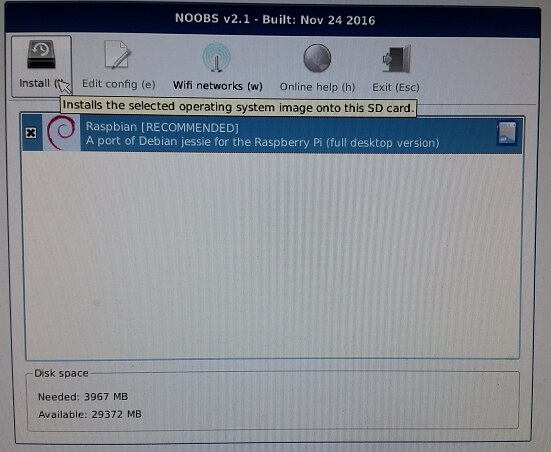
Here is the default load screen.  I am going to run with the standard installation options to to maximize the potential for others to duplicate on their own. 


image


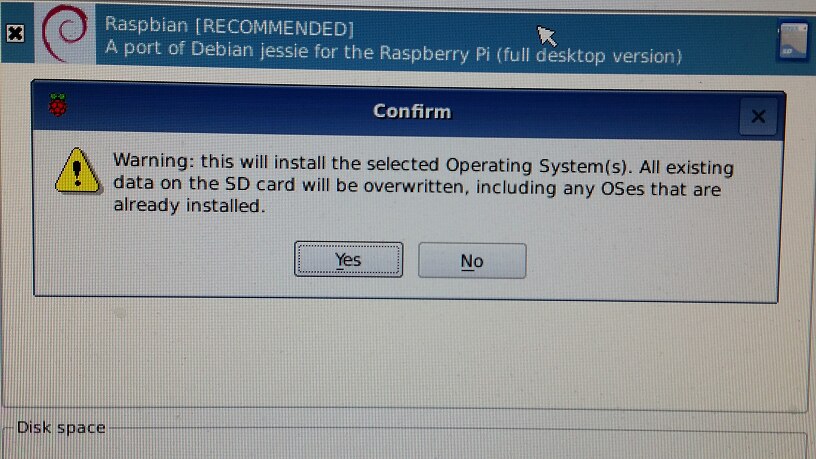
Yes, new installation means no worries for overwrites.  :-)


image


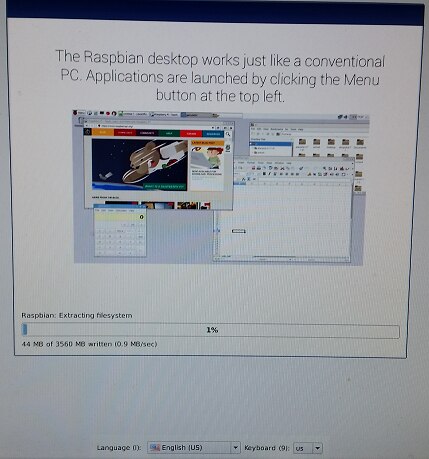
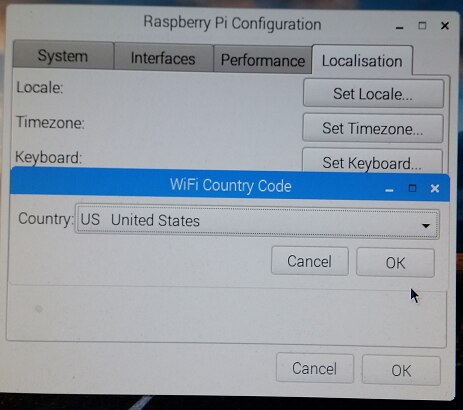
Here is the screen I will be watching for the next 30+ minutes.  At the bottom I noticed there was a place to change from default UK to US so I flipped the options but I am expecting it to have been too late.  Really needed to have noticed that before I hit the Yes in the above.


image


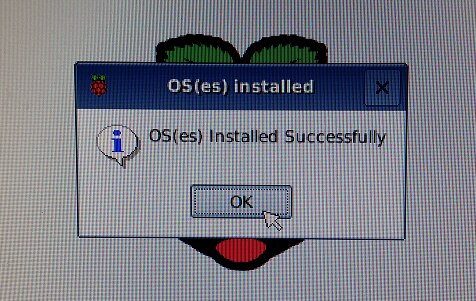
Eventually, 30+ minutes later we have success!


image


Time to check if those UK to US options took or if I need to start changing some items.


image


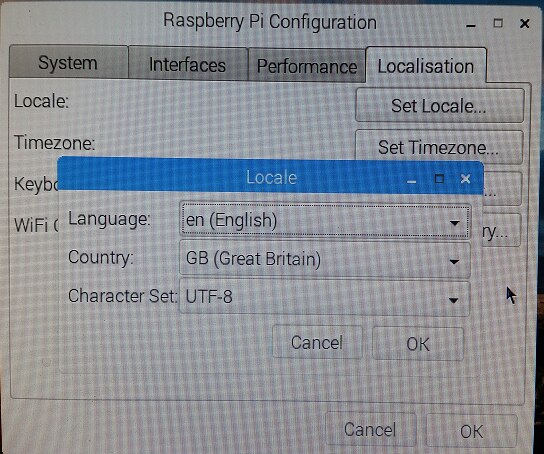
Yep, as I had guessed I was too late to get it switched.  Time to change over the various options to match my location and preferred options.


image


image


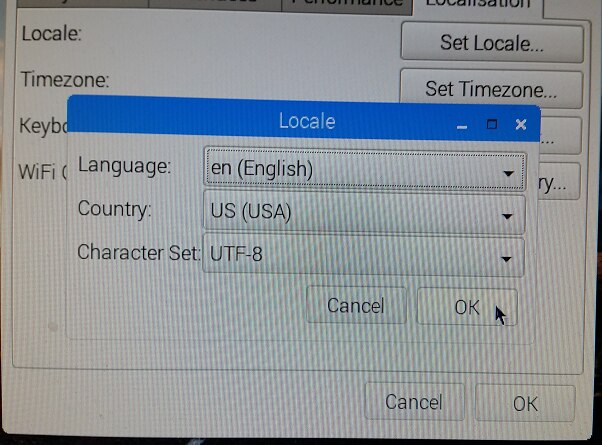
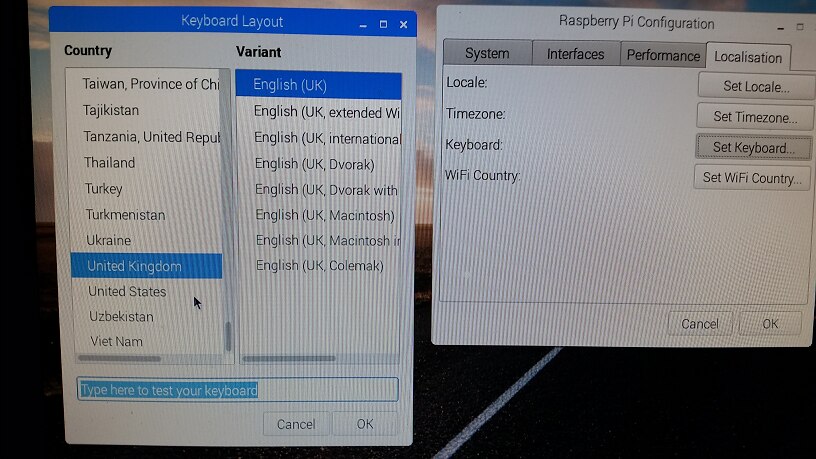
More changes needed.


image


image


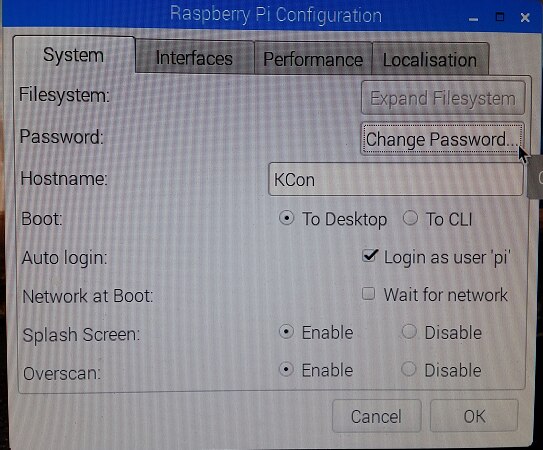
Don't forget to use this screen option to change your Hostname as appropriate and change the default password from raspberry.


image


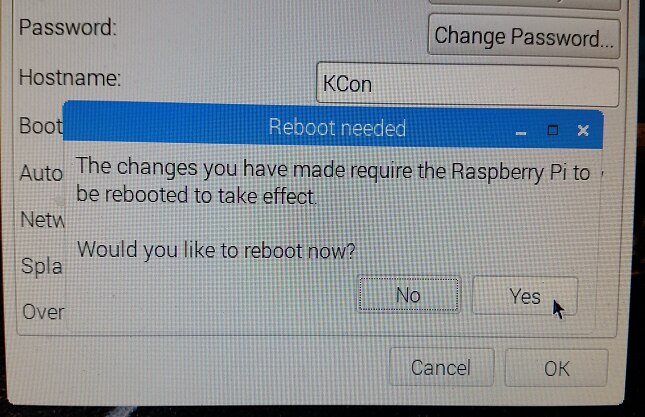
Reboot required.  After that make sure you have networking and get ready to sudo apt-get update and upgrade followed by sudo rpi-update.


image


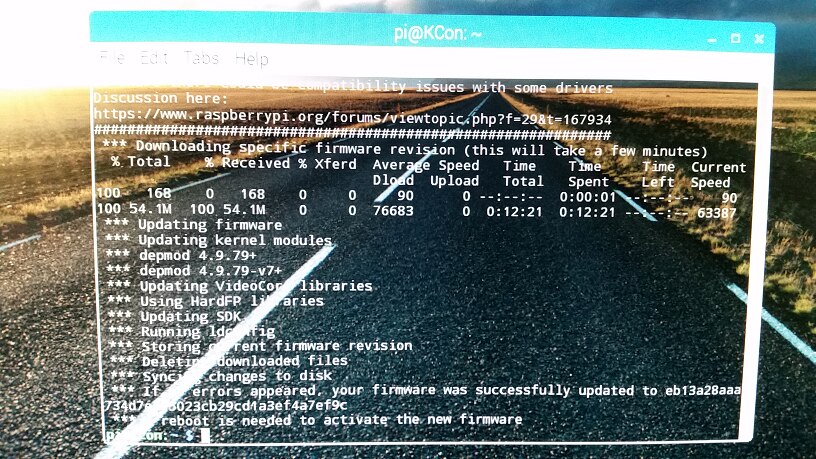
This is my final screen after performing the update/upgrades.


This took awhile to get everything loaded and installed so be prepared to let it run for a bit with occasional checks to go to the next stage.


With my next blogs we shall start branching into the more custom options so check back!

  • Sign in to reply
  • e14phil
    e14phil over 7 years ago

    A solid start!

    • Cancel
    • Vote Up 0 Vote Down
    • Sign in to reply
    • More
    • Cancel
  • DAB
    DAB over 7 years ago

    Nice update.


    I do like the new Noobs installer.  It was much cleaner than the one I used before.


    DAB

    • Cancel
    • Vote Up 0 Vote Down
    • Sign in to reply
    • More
    • Cancel
  • genebren
    genebren over 7 years ago

    Nice write-up on the bring up process. I look forward to seeing more of your updates as your project continues.  Keep up the good work!

    Gene

    • Cancel
    • Vote Up 0 Vote Down
    • Sign in to reply
    • More
    • Cancel
element14 Community

element14 is the first online community specifically for engineers. Connect with your peers and get expert answers to your questions.

  • Members
  • Learn
  • Technologies
  • Challenges & Projects
  • Products
  • Store
  • About Us
  • Feedback & Support
  • FAQs
  • Terms of Use
  • Privacy Policy
  • Legal and Copyright Notices
  • Sitemap
  • Cookies

An Avnet Company © 2025 Premier Farnell Limited. All Rights Reserved.

Premier Farnell Ltd, registered in England and Wales (no 00876412), registered office: Farnell House, Forge Lane, Leeds LS12 2NE.

ICP 备案号 10220084.

Follow element14

  • X
  • Facebook
  • linkedin
  • YouTube