


I suspect this is a common problem; lots of old Hi-Fi equipment have worn out pots and other controls, and it can be quite difficult locating exact replacement parts.
A friend had a music device (It’s a sort of DJ CD player with a lot of controls) around 30 years old, and it had a really worn down front panel. The controls were scratchy to operate, and in some cases, the grease had hardened, and the controls were very stiff. Some controls didn’t work, and others were crackly. Someone had already tried to clean it with a can of WD40.
Ordinarily I would turn down such a repair request, but it’s a friend, and he was pretty passionate about this particular device, he had no desire to replace with a modern digital solid-state music player. I decided to fix it, and ran into the problem that I simply couldn’t find alternative potentiometers that would precisely fit.
I briefly considered reverse-engineering the entire front panel board to rebuild it from scratch, but that would have been a lot of work. I decided to focus on the potentiometers instead.
I searched around and found some potentiometers that had the correct shaft (my friend didn’t want the plastic knobs to be altered from the original ones), but the potentiometers themselves were a lot smaller. After some brainstorming, I realized that I could make a little plastic adapter, and use a flexible PCB to route the pins of the potentiometer to match the original potentiometer.
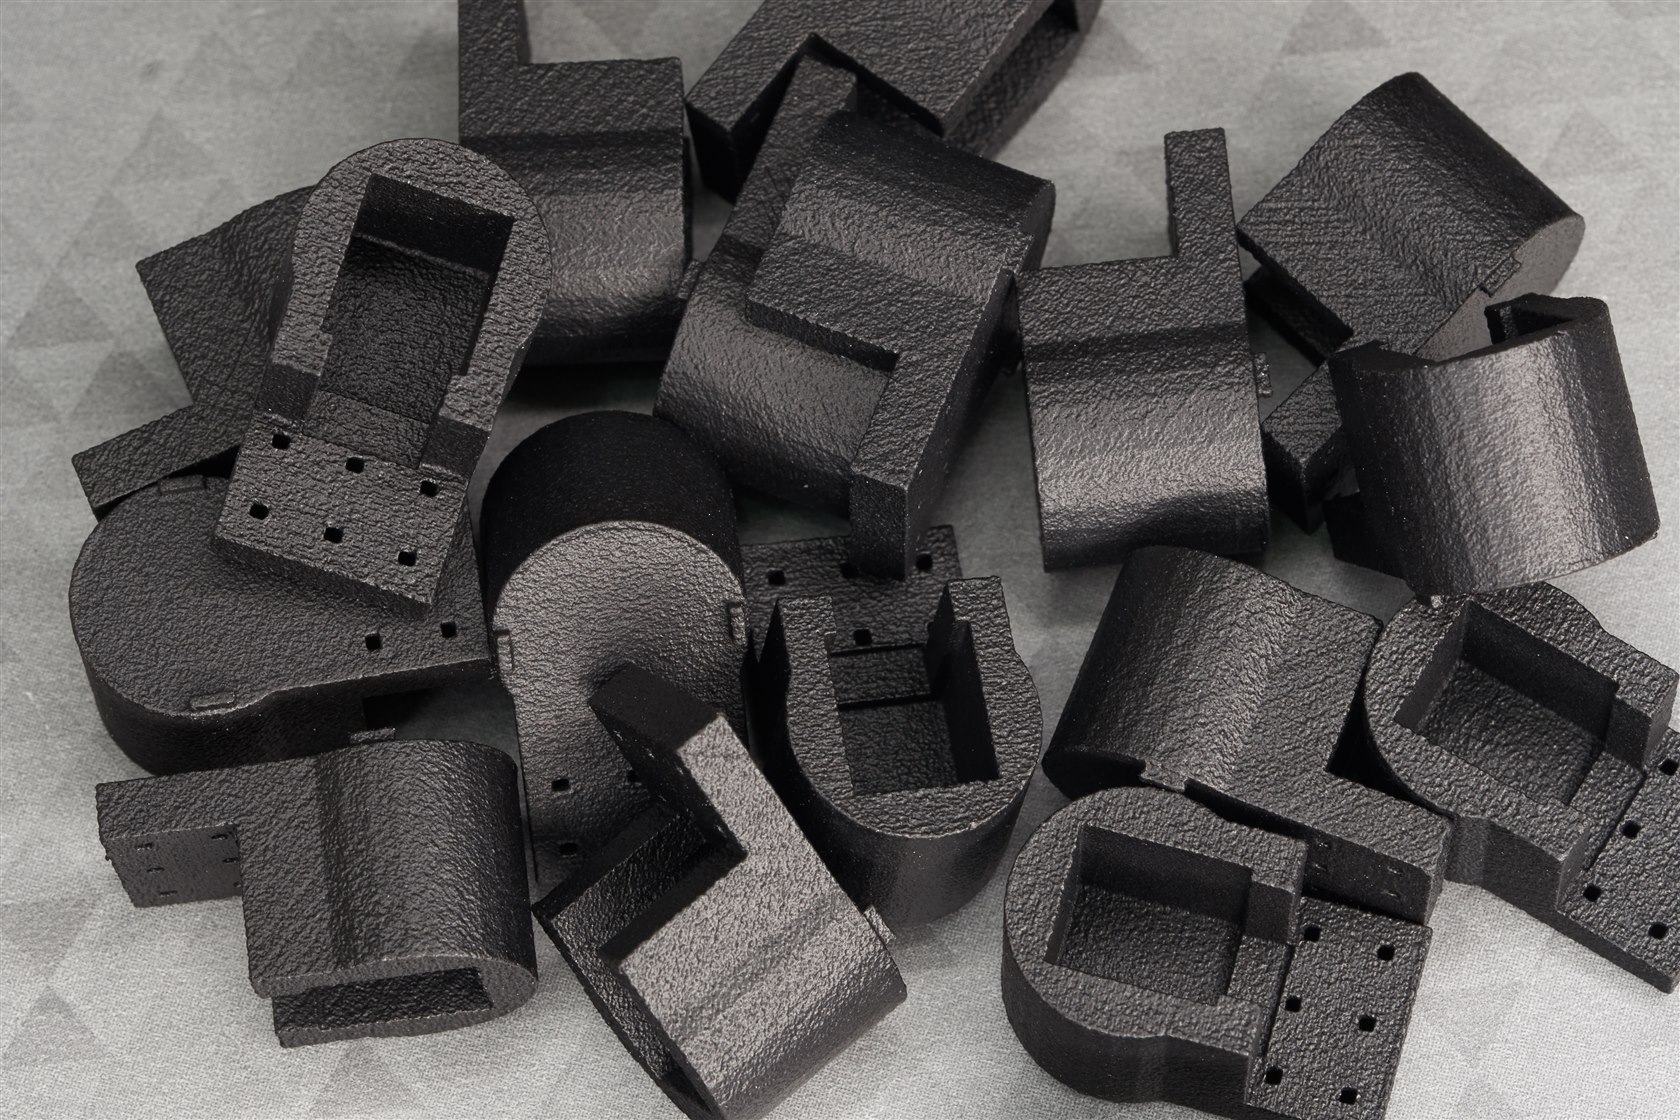
I designed it using FreeCAD (I am still a learner, hence the design is simplistic).

I don’t own a 3D printer, so I had to use a 3D printing service (I used J.L.C.), it was surprisingly low-cost. I chose to print in nylon, which is quite tough and reasonably heat-resistant.
I designed the flexible PCB using KiCad, and again used the overseas manufacturer to order it. See Creating a Flexible PCB!
For the potentiometer pins, I used 2.54 mm pin headers, and pulled out every other pin since I needed 5.08 mm spacing.

For the slider potentiometers, I did a similar thing, only I was able to use a normal PCB instead of a flexible one:

And here’s the final result! I used epoxy glue to fix the rotary potentiometer into its new 3D printed housing, and to attach the slider pot PCB onto its 3D printed base.

One down, about 23 more to go!
Thanks for reading.
Top Comments