


First thing first
mkdir Avnet20201;
cd Avnet 20201;
git clone https://github.com/Avnet/petalinux.git -b 2020.1;
git clone https://github.com/Avnet/hdl.git -b 2020.1;
git clone https://github.com/Avnet/bdf.git -b master;

Now, lets source our environment with Vivado and petalinux settings.
source /home/bartek/Xilinx/Vivado/2020.1/settings64.sh
source /home/bartek/petalinux20201/settings.sh


If you don't know where are these files, look in the installation folder.

Now, navigate to Avnet petalinux folder and run "make_minized.sh" script.
cd petalinux/scripts; ./make_minized.sh;

The script should build full fledged petalinux project and package it to BSP.

Non-essential cleanup
Let's free some space on Minized FPGA.


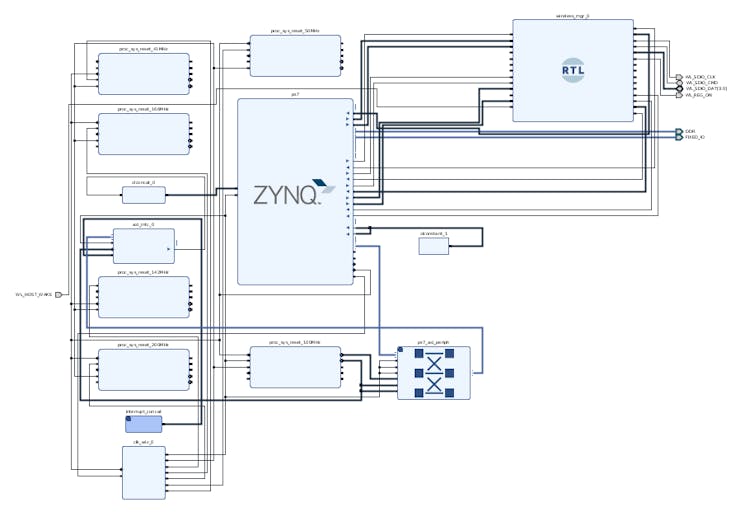
Save design and generate bitstream.
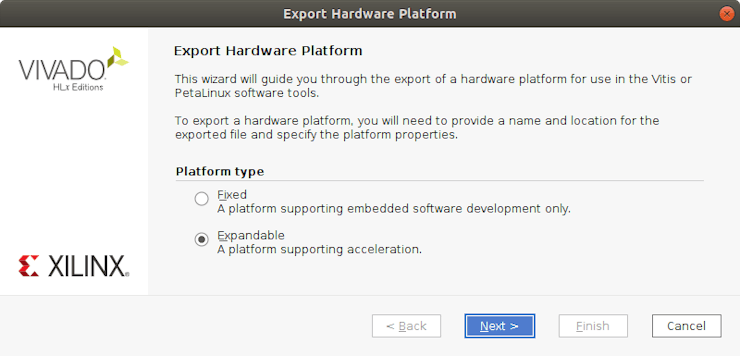
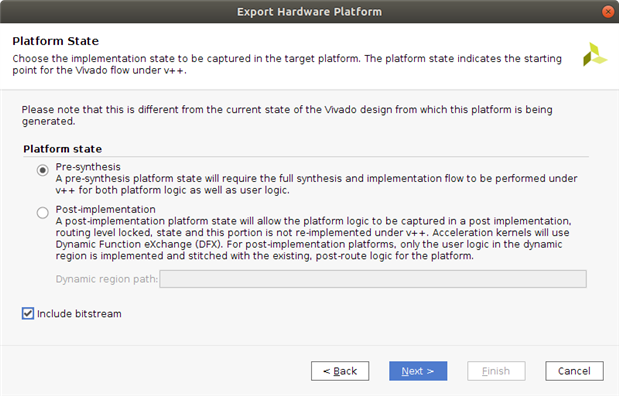
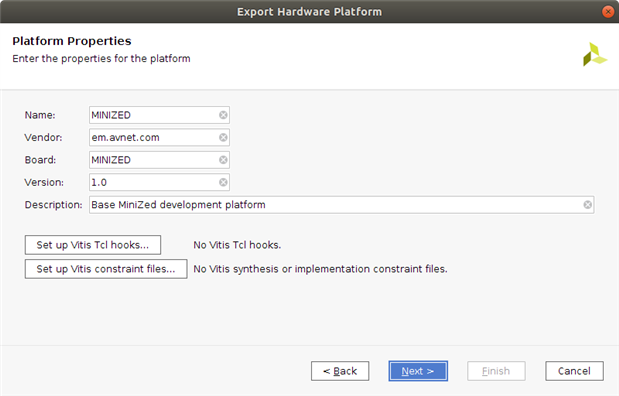
After bitstream generation is finished, export hardware project for petalinux and Vitis.
Click File → Export → Export
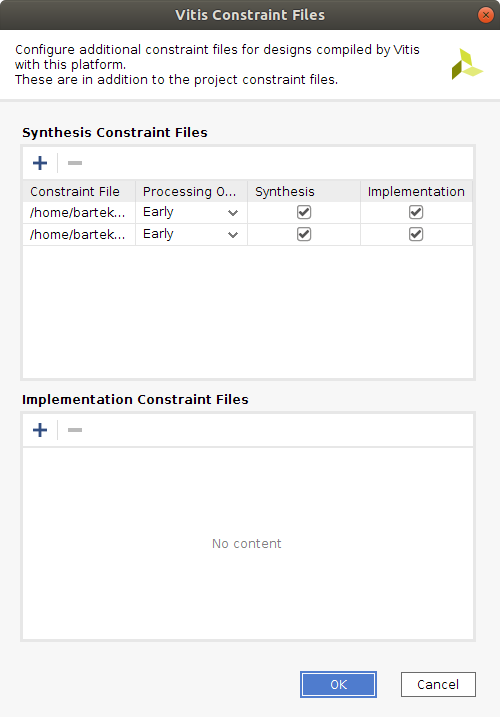
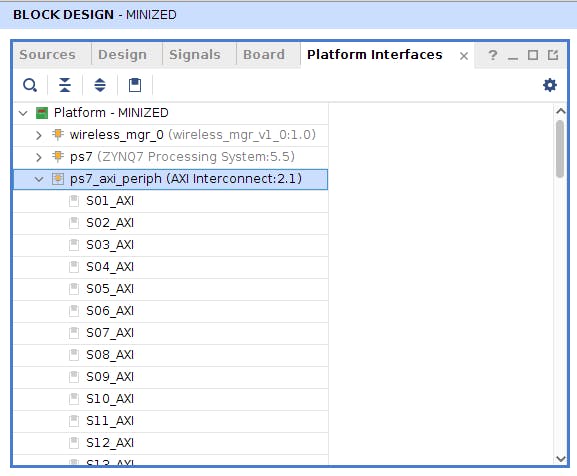
Constrains should be located in your project folder.
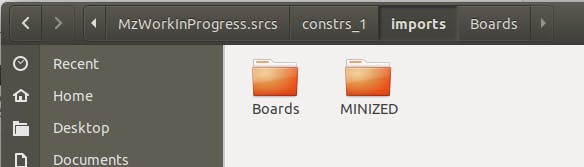
Inside "Boards" and "MINIZED" you will find project constrains
petalinux-create -t project -s minized_2020_1.bsp -n MinizedFromBSP
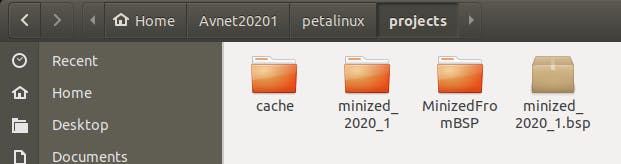
cd MinizedFromBSP;
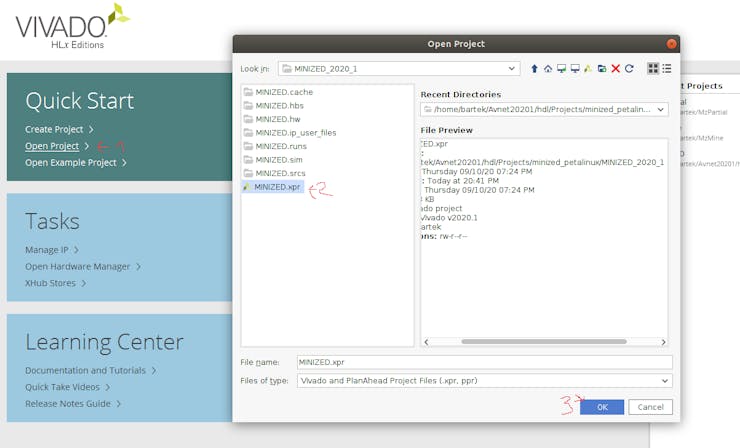
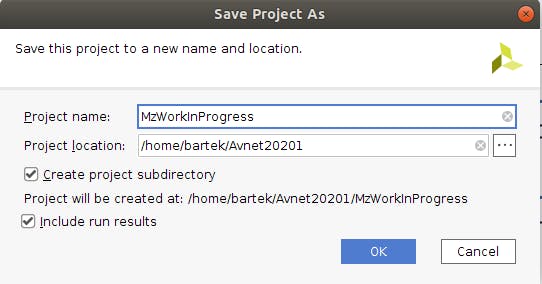
petalinux-config --get-hw-description=/home/bartek/Avnet20201/MzWorkInProgress/
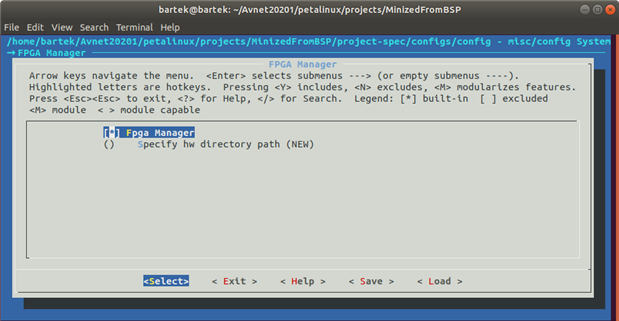
Add extra.ext4 image format.

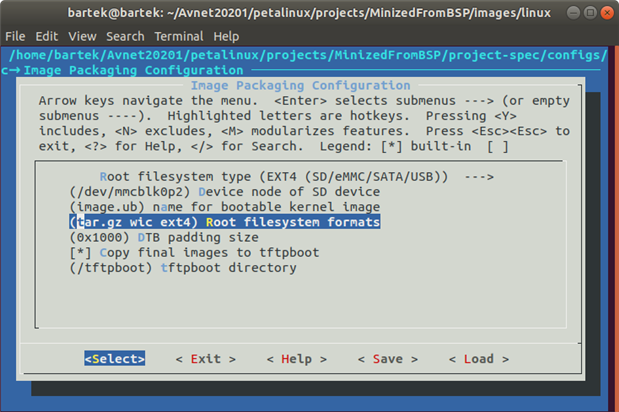
Exit and save.
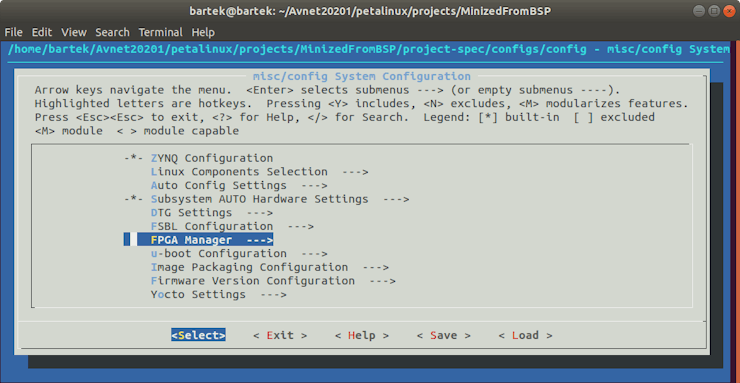
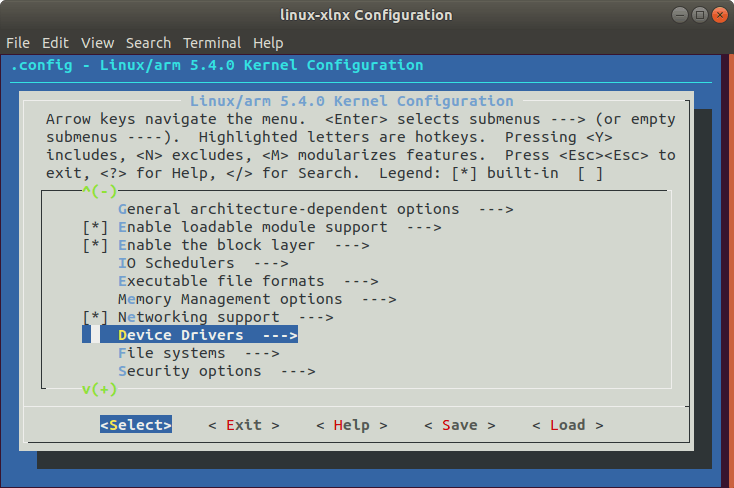
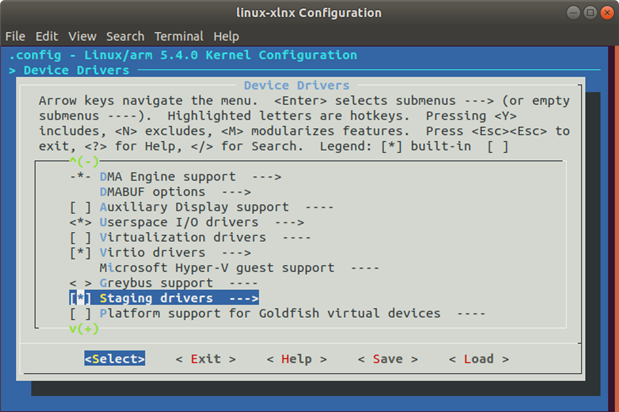
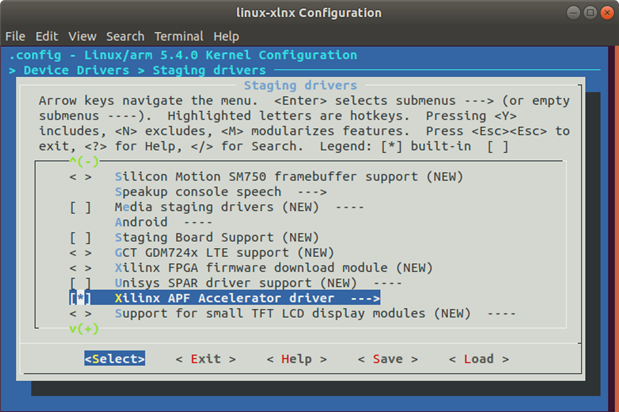
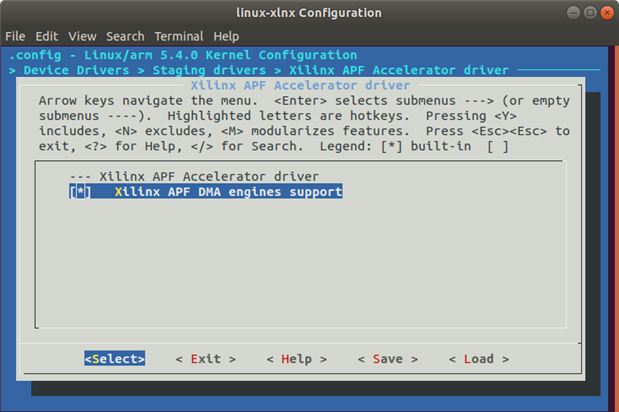
We need to add Xilinx APF driver for XRT platforms.
Type:
petalinux-config -c kernel

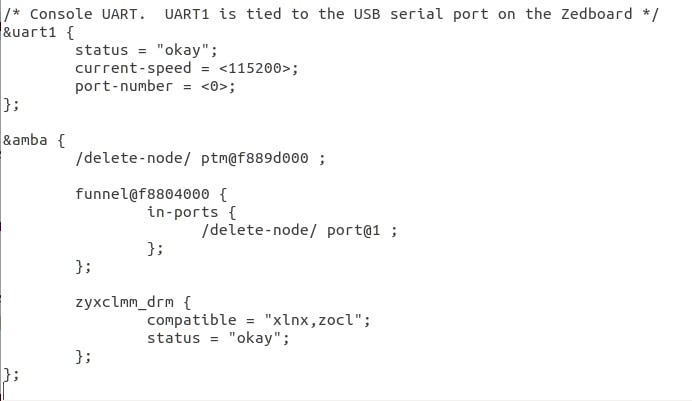
zyxclmm_drm {
compatible = "xlnx,zocl";
status = "okay";
};
to &amba.You should get something like this:
Go to terminal and type:
petalinux-create -t apps --template install -n jupyterandwifi --enable
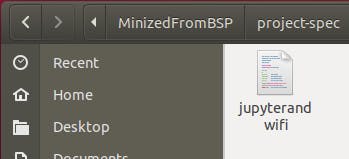
Go to meta-user → reciepes-apps→jupyterandwifi
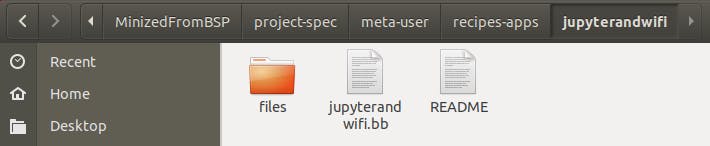
Open.bb append and change do_install()
do_install() {
 install -d ${D}/${bindir}
 install -m 0755 ${S}/jupyterandwifi ${D}/${bindir}
}
inherit update-rc.d
INITSCRIPT_NAME = "jupyterandwifi"
INITSCRIPT_PARAMS = "start 99 S ."
do_install() {
  install -d ${D}${sysconfdir}/init.d
  install -m 0755 ${S}/jupyterandwifi ${D}${sysconfdir}/init.d/jupyterandwifi
}
FILES_${PN} += "${sysconfdir}/*"
Open "jupyterandwifi" script.
#!/bin/sh
set -e

echo "Hello PetaLinux World"
FLAG="/usr/local/bin/quicksetup.log"

#Turn on WIFI
cp -f /usr/local/bin/wpa_supplicant.conf /etc/.
wpa_supplicant -Dnl80211 -iwlan0 -c /etc/wpa_supplicant.conf -B
sleep 2
udhcpc -i wlan0 &
sleep 1

#Start jupyter
if [ ! -f $FLAG ]; then
 #Setup jupyter-notebook
 jupyter-notebook --generate-config
 jupyter-notebook password
 touch $FLAG
fi
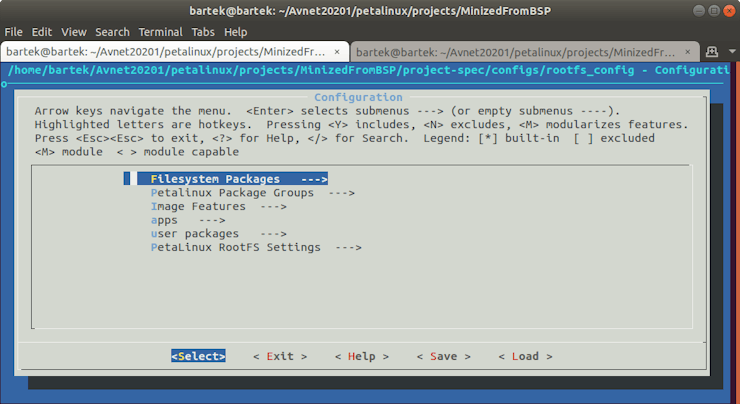
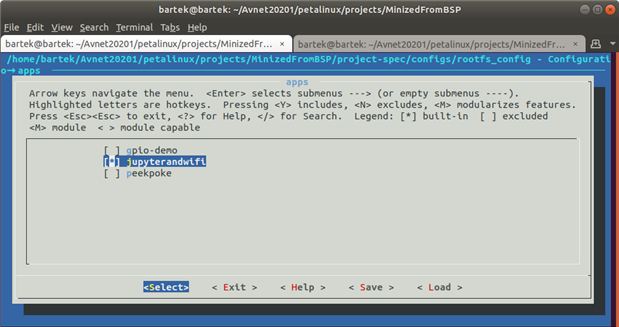
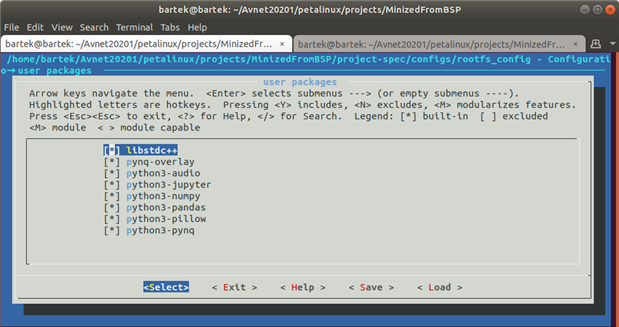
user-rootfsconfig and add PYNQ packages
#Note: Mention Each package in individual line
#These packages will get added into rootfs menu entry

CONFIG_gpio-demo
CONFIG_peekpoke
CONFIG_jupyterandwifi
CONFIG_python3-pynq
CONFIG_python3-audio
CONFIG_python3-pillow
CONFIG_pynq-overlay
CONFIG_python3-jupyter
CONFIG_python3-pandas
CONFIG_python3-numpy
CONFIG_libstdc++
Feel free to look at PYNQ forum to learn more about creating petalinux with PYNQ support https://discuss.pynq.io/c/tutorials-workshops/15
Let's activate these packages.
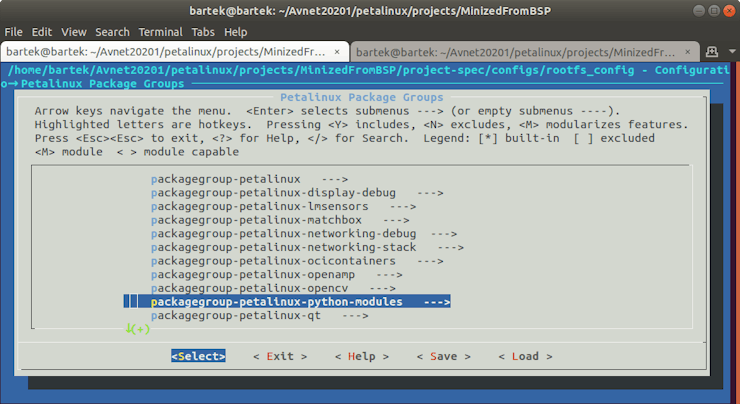
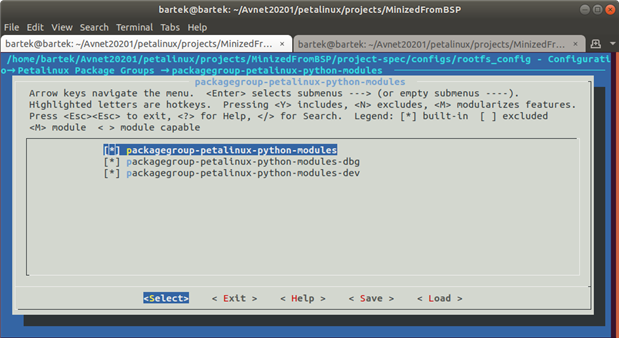
petalinux-config -c rootfs
"packagegroup-petalinux-xrt"
"packagegroup-petalinux-python-modules"
"packagegroup-petalinux-lmsensors"
"packagegroup-petalinux"
ctrl_interface=/var/run/wpa_supplicant
ctrl_interface_group=0
update_config=1

network={
  key_mgmt=WPA-PSK
  ssid="MySsidName"
  psk="MyPassword"
}
petalinux-build -c avnet-image-full;
petalinux-build --sdk;
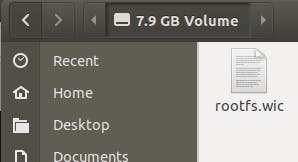
"petalinux-build --sdk" will be used later by Vitis.Go to linux→image and copy "rootfs.wic" to USB stick.
*You should format USB to ext4 format, as "rootfs.wic" is bigger than 4GB.*
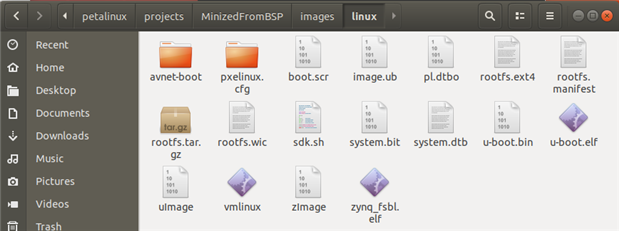
Open "minized_2020_1" folder (That generated by./make_minized script) and use "boot_qspi_INITRD.sh" to program QSPI.
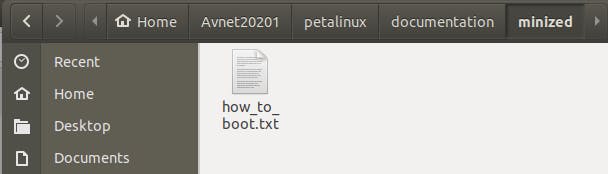
If you need more information, look at documentation "how_to_boot.txt"
./boot_qspi_INITRD.sh
or
xsdb boot_jtag_INITRD_MINIMAL.tcl
Now lets program EMMC memory from Minized.
Open your favorite terminal, I will use Cutecom, because I can just copy and paste all commands and relax
sudo cutecom

use:
root
root
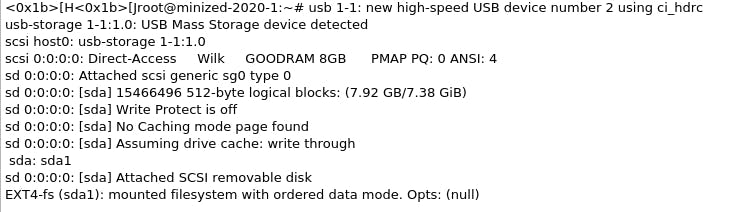
Now in Minized terminal type (I have added extra sleep commands just to be sure, that everything finishes unmounting):
reboot Minized
umount /dev/mmcblk0*;
sleep 1;
dd if=/run/media/sda1/rootfs.wic of=/dev/mmcblk0;
sleep 1;
cp /media/sd-mmcblk0p1/avnet-boot/avnet_emmc.scr /media/sd-mmcblk0p1/boot.scr;
sleep 1;
umount /dev/mmcblk0*;
sleep 1;
parted /dev/mmcblk0 resizepart 2 100%;
sleep 1;umount /dev/mmcblk0*;
sleep 1;
e2fsck -f /dev/mmcblk0p2;
sleep 1;
resize2fs /dev/mmcblk0p2;
sleep 1;
flash_erase /dev/mtd2 0 0;
sleep 1;
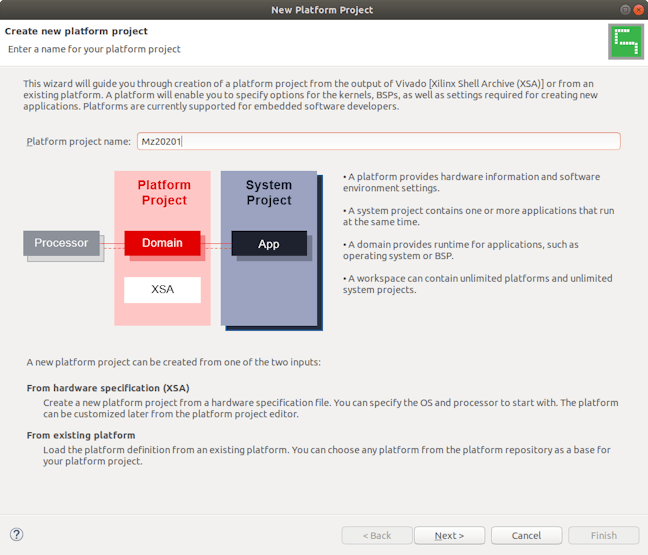
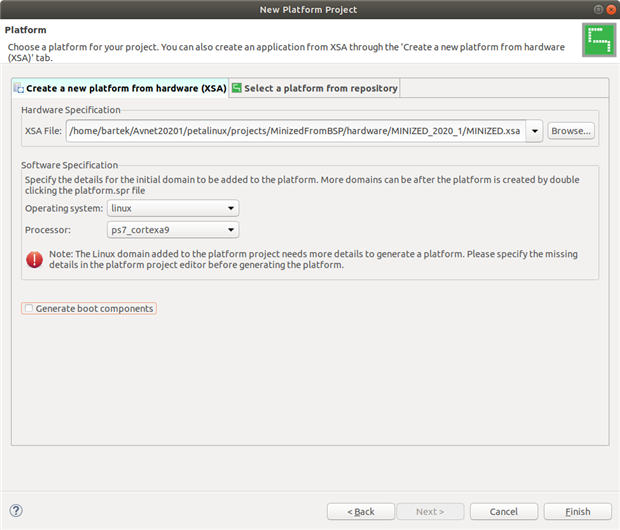
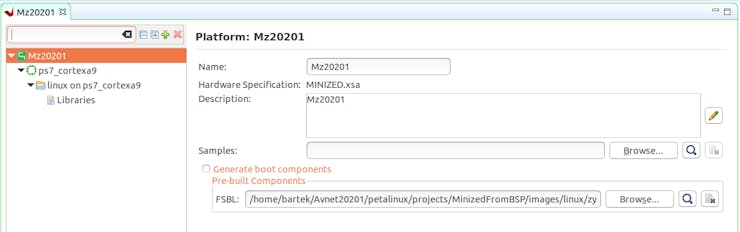
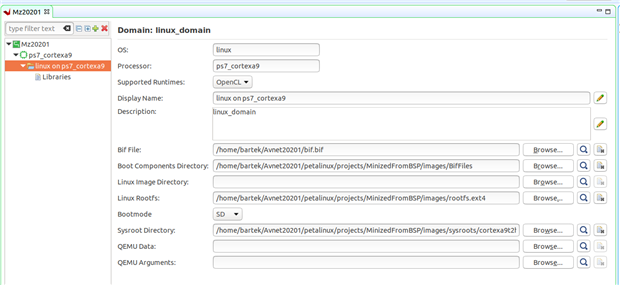
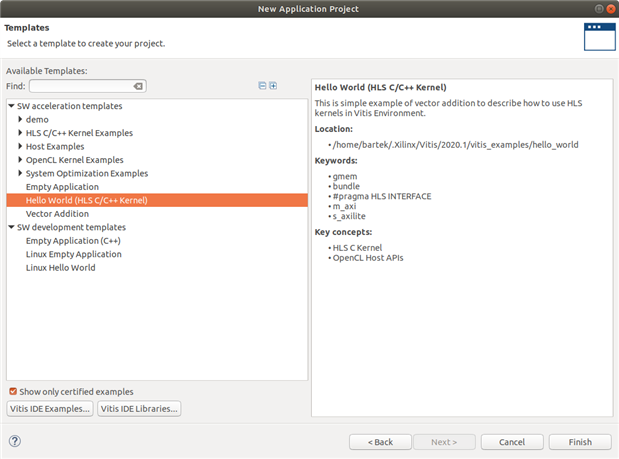
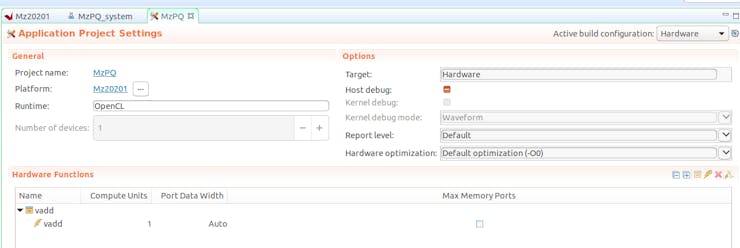
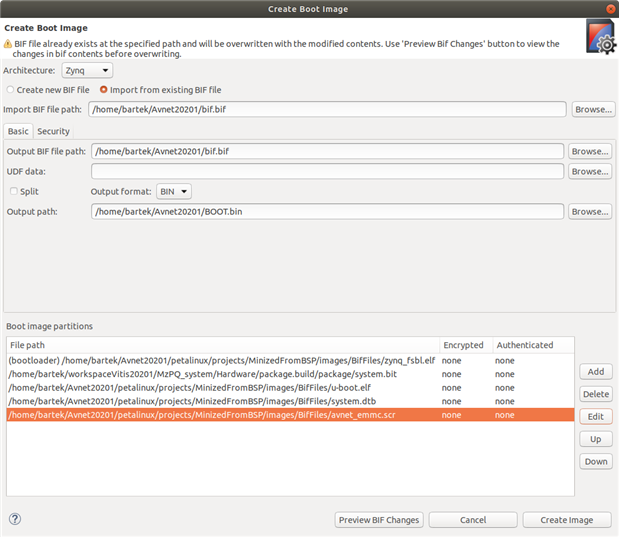
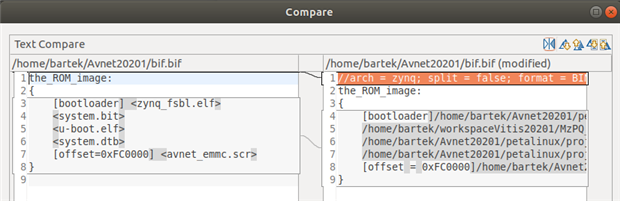
Vitis Platform
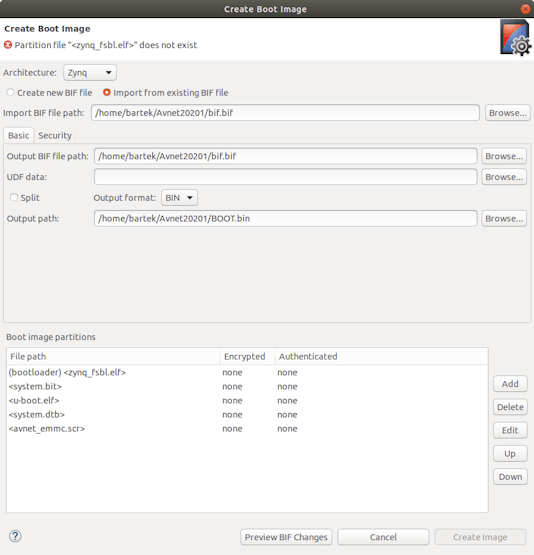
gedit bif.bif

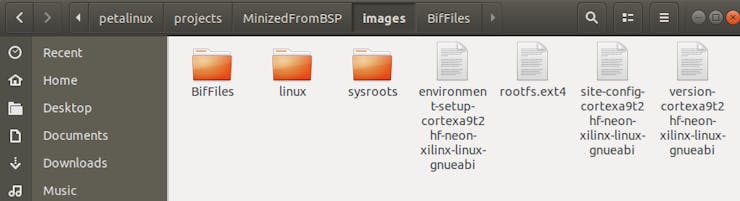
And run "./sdk.sh" it should be located in MinizedFromBSP → images → linux folder.
./sdk.sh

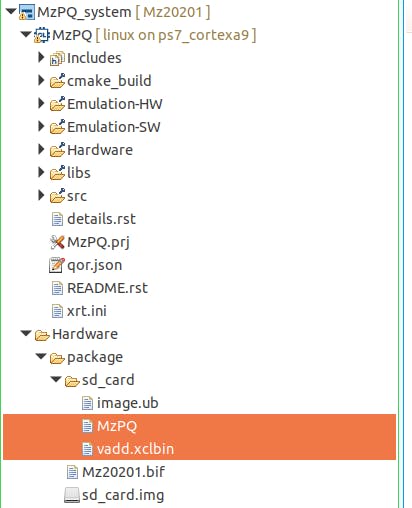
After build is finished upload "MzPQ" and "vadd.xclbin" to Minized.

Some tests
export XILINX_XRT=/usr
chmod +x MzPQ
./MzPQ vadd.xclbin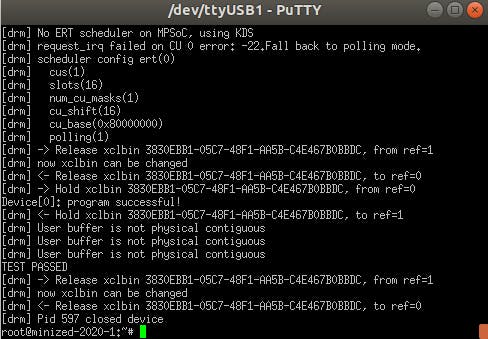
*export XILINX_XRT=/usr* You can add it permanently by:
echo XILINX_XRT=/usr >> /etc/environment

This will start jupyter-notebook.
jupyter-notebook --ip=0.0.0.0 --port=9090 --no-browser --allow-root &

Password for jupyter-notebook is generated at first startup where you entered password two times.
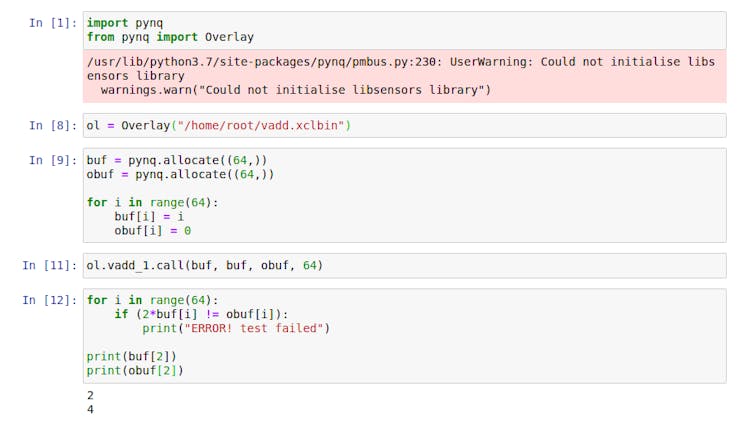
As you can see I got some errors with libsensors library, and FPGA isn't reprogrammed by PYNQ (which is good/bad for us because WI-FI driver won't crash). Soon there should be a proper tutorial how to make PYNQ image from petalinux, just wait for it and search at discuss.pynq.io
Top Comments