


Previous Blog Posts
Blog 1 - Challenge Overview + Plant Growth Factors
Blog 2 - Plant Growth Chamber Design
Blog 3 - The Project Plan + Prototype Materials
Blog 4 - Automation Using The Challenger Kit
Blog 5 - Enclosure Prototype + Light/Air/Temperature
Blog 6 - Plant Pot System + Assembly
Blog 7 - Enviro HAT Data Collection and Plotting
Automation HAT Setup
The Automation HAT is an attachment that perfectly snaps onto the Pi pins. It is outfitted with inputs and outputs that allow automation.
Useful Links
- Automation HAT Pimoroni product page
- Automation HAT Pimoroni GitHub examples
- Automation HAT Pimoroni getting started
Same as with the Enviro HAT, I power off the Pi before attaching the Automation HAT onto the Pi pins.
Starting from where I left off on SSH connection, I install the Automation Python library provided by Pimoroni. Following the instructions outlined by Pimoroni's Getting Started with Automation HAT blog, I type the following into the Windows Command Prompt:
curl https://get.pimoroni.com/automationhat | bash
I got a "cannot create directory" error, which means 'automationhat' folder was not created.

I tried using root permissions to circumvent the error. I wrote the following into the Windows Command Prompt to create the 'automationhat' folder and reinstalled the Automation Python library.
sudo mkdir /home/pi/Pimoroni/automationhat
I got the following message, but when I checked the folder, it was empty.

I decided it would be faster copying and pasting the relevant files manually,

Now I have verified that the Automation HAT is working.

Irrigation System
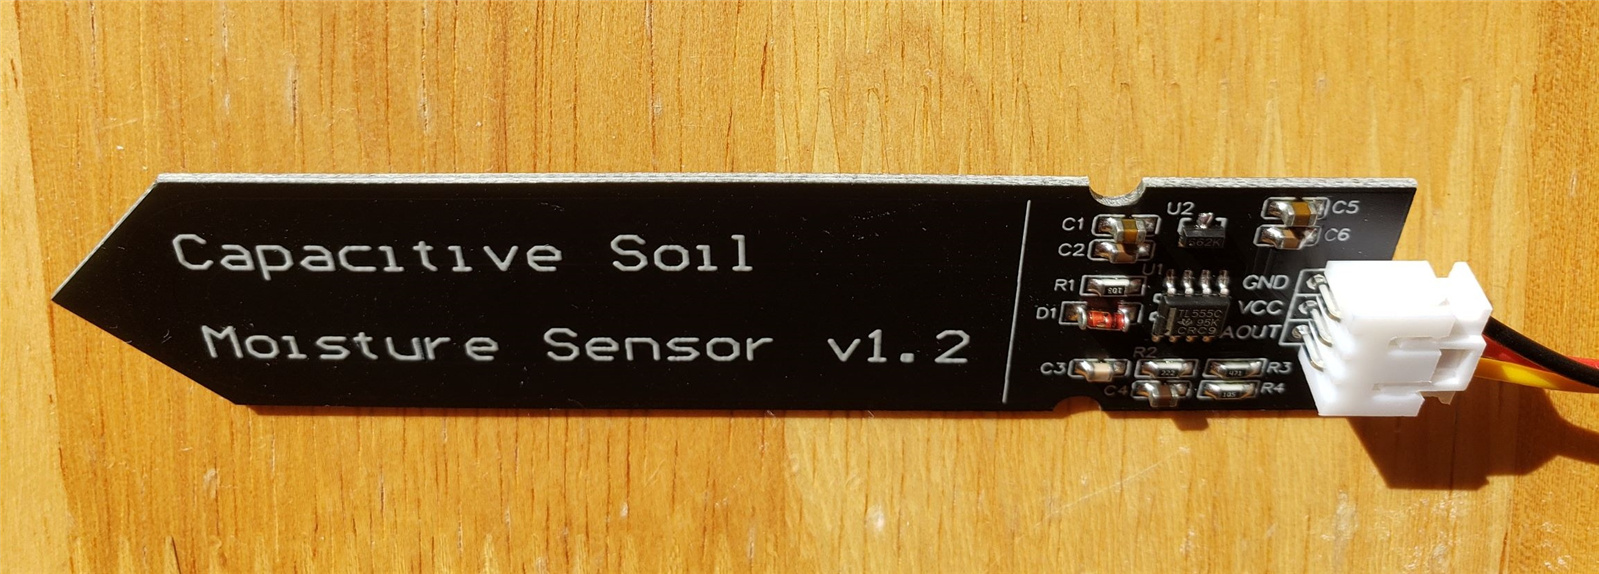
Capacitive Moisture Sensor
- I chose a capacitive moisture sensor because it is more durable than a resistive moisture sensor.
- Air and water have different dielectric constants. The capacitive sensor outputs a different voltage when surrounded by different dielectric constants and tells us whether the sensor is surrounded by water or air. The sensor is placed in the pot system reservoir. When the reservoir is full, the sensor is submerged in water. When the reservoir is depleted, the sensor is surrounded by air and the sensor will trigger a relay that keeps replenishing the reservoir until the sensor is once again submerged in water.
I purchased an Automatic Irrigation System Kit that will interface with the Automation HAT. In microgravity, it is important to contain water. The external reservoir should deflate as water is pumped out of it and into the pot system reservoirs. Blood bags would serve as great external reservoirs.
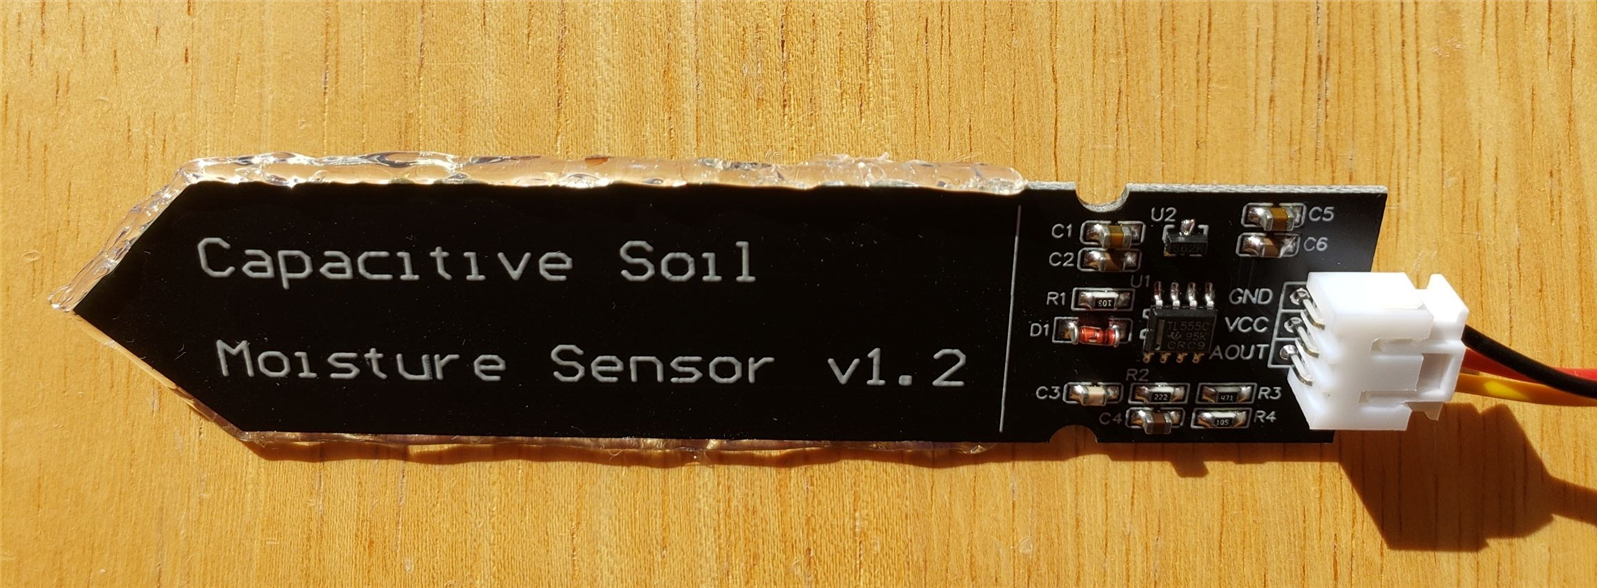
Here's a close-up of the capacitive sensor. As we can see, the edges are exposed. If water deteriorates the edges, the sensor will stop working.
So I seal off the edges using hot glue.
Assembly
- Connect the wires of the capacitive sensor to the Automation HAT
- GND (sensor) to GND (hat)
- VCC (sensor) to 3V3 (hat)
- AOUT (sensor) to A1 (hat)
- Connect the Automation HAT relay to the water pump
- Negative terminal (pump) to GND (hat)
- 5V (hat) to NO (relay)
- Positive terminal (pump) to COM (relay)
- Connect Automation HAT to Raspberry Pi and connect Pi to power source then establish SSH connection
The capacitive sensor provides analog input readings which can be displayed on the Automation HAT screen by running:
cd ~/automationhat/examples
python3 analog.py
We notice that when the capacitive sensor is in the water, it reads analog input 1.9V whereas out of the water it reads 2.6V.
Based on these values, we edit the analog.py file so that it turns on the relay when the sensor is not submerged in water (i.e. the plant pot reservoir is empty). I add the following code to the 'while True:' block of code:
if automationhat.analog[0].read() > 2.4:
     automationhat.relay.one.on()
else:
     automationhat.relay.one.off()
Now that all the code is written, let's do a demonstration!
Video Demo
The irrigation system is successful! For this demonstration, I used two glass cups instead of my plant pot system and my blood bag reservoir so that we can more easily visualize the flow of water.
(While running tests, my water pump was not turning on so I decided to troubleshoot. I first hooked up the water pump with some new batteries and found that it was working. So something must have been wrong with my wires. Lo and behold, I found a faulty jumper wire. After replacing it, the pump-relay combo worked!)
In the next blog, I'll integrate both the Enviro HAT and the Automation HAT with the Raspberry Pi so that I can use both at the same time! Until then, keep learning and have fun! Click the arrow to navigate to the next blog.
