


I am building a robotic system that identifies the charging port on an EV and automatically moves a charger arm to plug the charger in.
Past Forum Posts:
- DockBot - Part 1 - The Concept
- DockBot - Part 2 - Positioning with Aruco Markers
- DockBot - Part 3 - New Plan, New Hardware for Better Sensing
- DockBot - Part 4 - Getting the Arduino Q to move the tank motors
- DockBot - Part 5 - The Mechanical Hand
I wanted to have a proper closed loop control of my motors using an magenetic encoder TLE5012 which i have in surplus but I did not get the ordered diametrical magnets in time. So i had to do yet another work around. Use the Aruco marker as a sensor, move the robot incrementally, correct the motors. and repeat till the target. Sounds Simple. But Nooope.
Motor Calibration. Take 1
The idea was simple, run one motor at a known PWM speed for a small time, see how much the robot turns, through aruco marker, then incrementally increase and see the difference. Then the opposite direction. Left one worked out fine, but right one never turned on. It seems that while the left one started at PWM 84/255 duty, the right one started only at 184/255. This caused the right motor to never start in the calibration algorithm I made. Also, i noticed a fundamental flaw, the smaller bursts meant the tracks were slipping on my floor, and there was not enough time for it to stabilize the slipping. So this idea had to be junked
Motor calibration, take 2
I decided to just junk auto calibration, and went the cannibal way. I decided to use constant motor speeds one set speed for each of forward, reverse, rotate left and rotate right. I kept tracking the motion and manually adjusted the speed
If you noticed, there was a slight flutter in the marker due to the ceiling fan's air current. This did create some issues. So i decided to make it more robust by creating a cube out of cardboard.
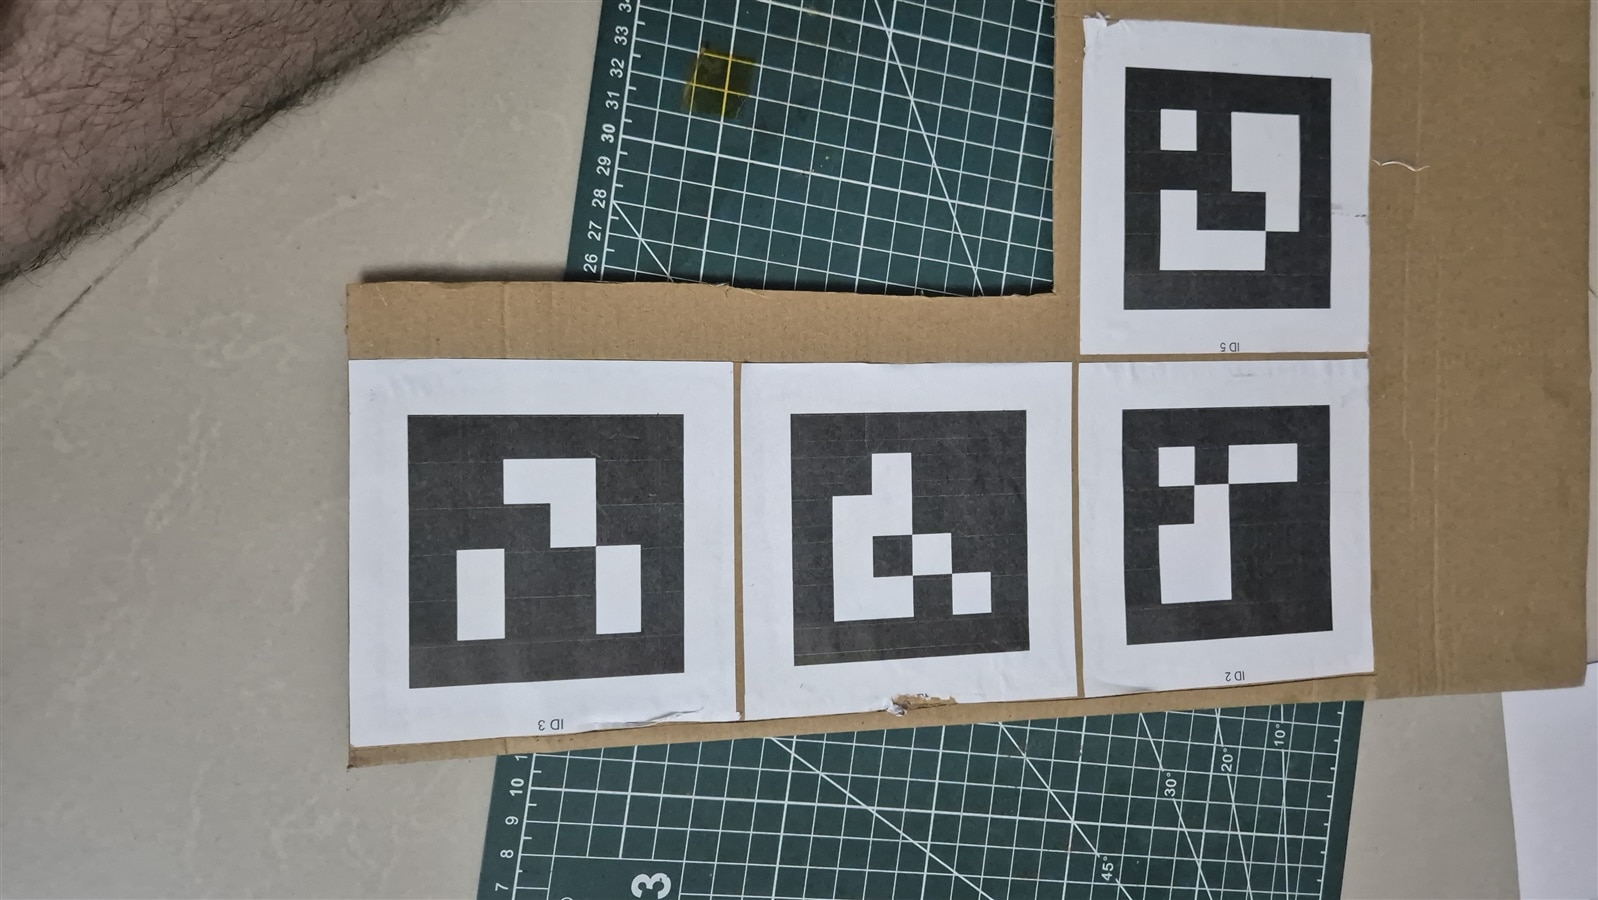
The tank now wears a small cube with a marker on each face - back, top, left, right - instead of the single (actually two) rear marker from before. The point is that whichever face happens to be pointed at the camera, something is always trackable, even when it rotates, not just when the tank is driving directly away from it. Now, I never managed to get multi point tracking working, you will see that i had to resort to some hand adjustment of the robot, but with time I can get it fixed.
Actually approaching a target: three wrong designs first
The Radxa's camera is fixed - mounted separately. It is not mounted on the robot. I wrote something that would spin the tank until the target marker was centered in the camera frame, the way you'd steer if the camera were on the robot's. Since the camera doesn't move when the robot spins, and the target doesn't move either, the target's position in the frame - never changes no matter what the robot does. The script just spun in place for forty steps, learning nothing. The fix: infer heading from how the robot's own marker position shifts in the frame, sampled before and after a small forward nudge. That nudge does double duty - it's both the heading measurement and real progress toward the goal, so nothing is wasted purely on sensing.
heading = (rx1 - rx0, rz1 - rz0)   # where the robot's own marker moved
bearing = (goal_x - rx1, goal_z - rz1)   # where the goal is from here
angle = signed_angle_deg(*heading, *bearing) * turn_sign
Second wrong design: I started the approaching using raw pixel calulation. But I moved from raw pixel positions to real millimeters via cv2.solvePnP, which has a sign convention of its own - --turn-sign that worked for the pixel-only version was backwards for the mm version, and this caused the robot to move away from the target by making an u Turn.
Third: close to the target's marker isn't the same as "in front of it." solvePnP gives you the marker's own facing direction, not just its position - I'd been computing distance to a point, not distance to a pose. Fixed by projecting a goal point along the target's own facing normal, sampled once at startup since the target is static, rather than the marker's raw position.
Final Notes
Once these were fixed, the robot became tamed, There were many fine tuning steps in between but they are not very educative. Now to the final step of Getting the Charging Handle to a car and also before that Improve the accuracy.

