Table of Contents
- Audio Synth #1 - The project
- Audio Synth #2 - Board introduction and IDE setup
- Audio Synth #3 - Arduino to CmodS7 COMM Test
- Audio Synth #4 - Use PWM to control LED
- Audio Synth #5 - Testing the I2S PCM5102 DAC Decoder Board
- Audio Synth #6 - Sound generation with CmodS7
- Audio Synth #7 - Design challenge ends, project continues
===========================================================
With only two weeks left before the challenge deadline, I was starting to get a bit worried but last weekend I finally got the I2S decoder board in the mail! Before connecting the DAC board to the CmodS7 board, I would like to make sure I have a functional DAC board. This is going to be a short blog about how I tested the board.
PCM5102 Board
For sound generation I am going to use a PCM5102 Board which seems pretty popular with the Raspberry Pi and Arduino communities.
I found the datasheet online: https://www.ti.com/lit/ds/symlink/pcm5102.pdf?ts=1641308262216&ref_url=https%253A%252F%252Fwww.ti.com%252Fproduct%252FPCM5102
Comparing my DAC board layout with the application circuits on page 26, it looks like my board is pretty similar to figure 38, with the SCK pin of the IC connected to the audio source. Probably that pin can be shorted to ground using a solder blob on one of the few pads on the board.
Testing the board
To test the board I used an old Raspberry Pi 3 running Raspbian Stretch OS. I found some pretty good instructions on this blog: https://blog.himbeer.me/2018/12/27/how-to-connect-a-pcm5102-i2s-dac-to-your-raspberry-pi/
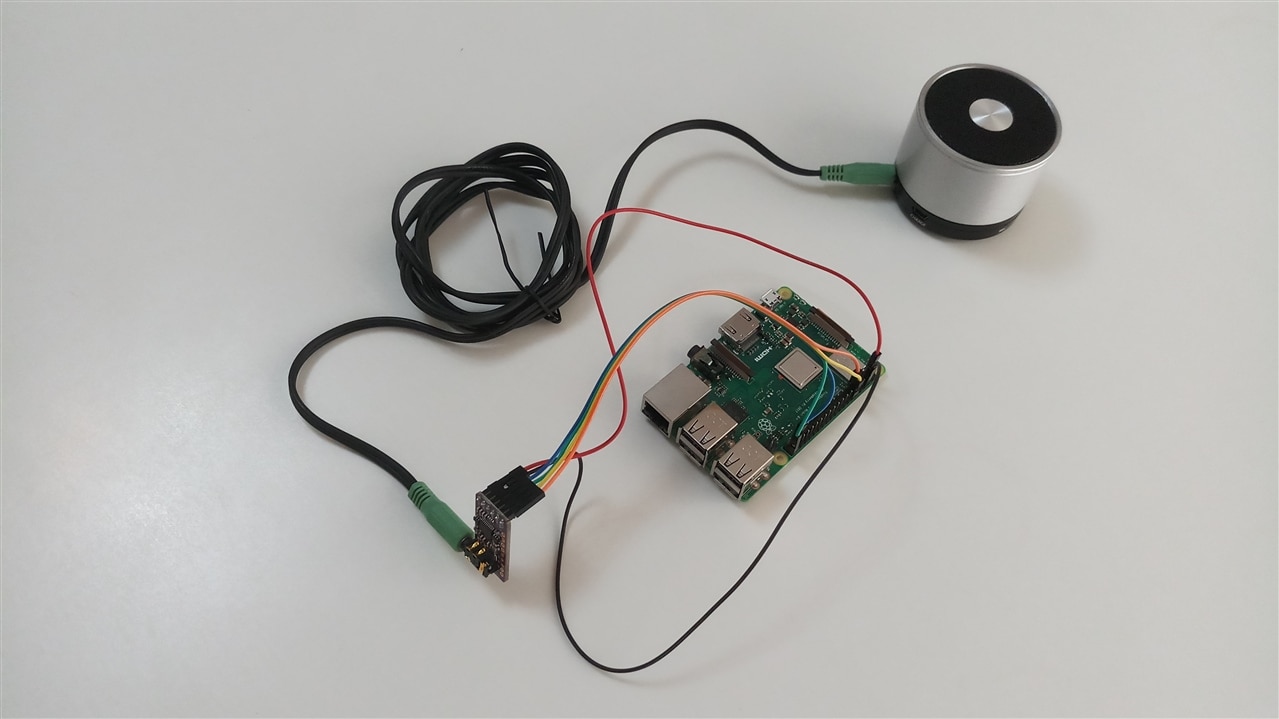
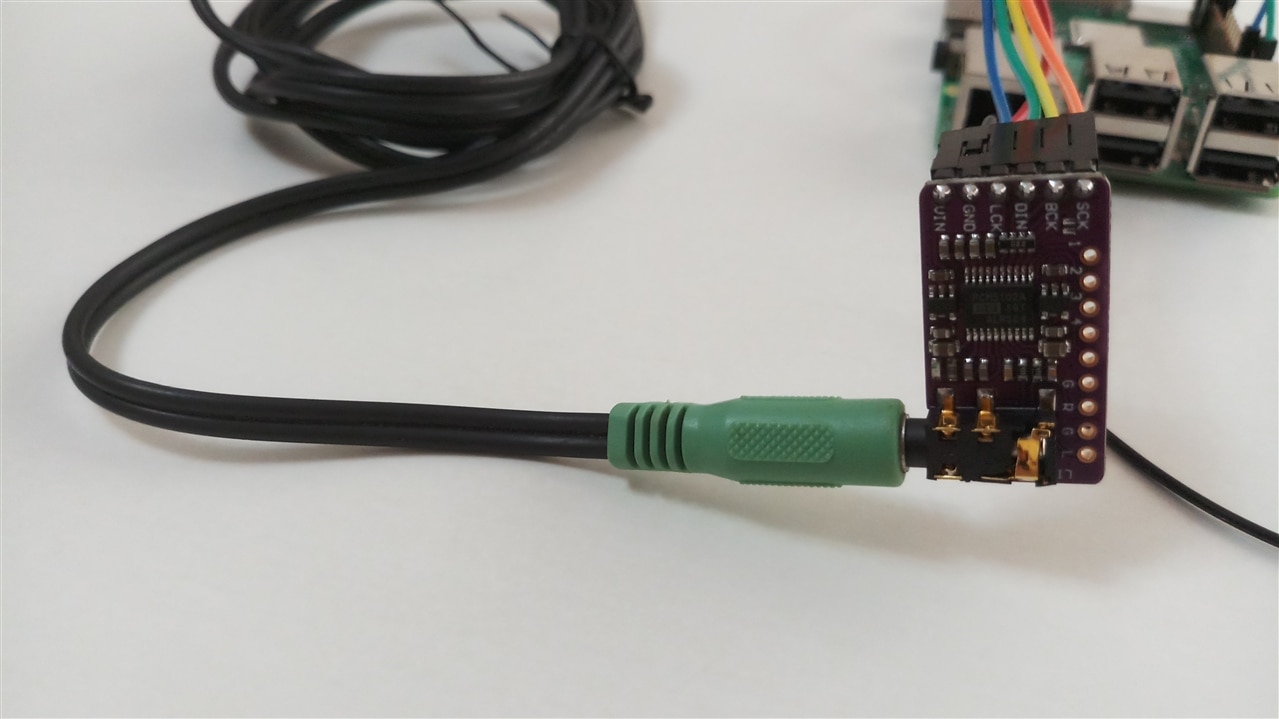
I connected the board according to the instructions, except for the VIN pin of the DAC module, which I connected to 3V3 instead of 5V. I read that PCM5102 is 5V tolerant but I will be using 3V3 from CmodS7 in my future tests anyway, so I powered the board to 3V3, just the way it is supposed to be used. The next picture shows my DAC board connected to the Raspberry Pi. The audio output of the DAC board is connected to an inexpensive amplifier.

And here is a close-up of the board:

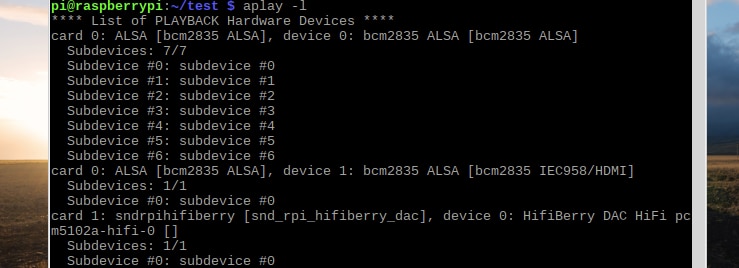
The next picture shows the audio interfaces being detected on the Raspberry Pi:

Card 0 corresponds to the audio output of the Raspberry Pi. Card 1 is my DAC (pcm5102a-hifi-0).
I was able to play with aplay command a few sample files. I did not use a HiFi system to do the testing. On my inexpensive portable amp, the sound quality is acceptable (no audible distortions, etc…). The next picture shows the output of the bash shell on the Pi while playing one of these files.

Now I know I have a functional DAC card and I can move forward.

-

DAB
-
Cancel
-
Vote Up
0
Vote Down
-
-
Sign in to reply
-
More
-
Cancel
Comment-

DAB
-
Cancel
-
Vote Up
0
Vote Down
-
-
Sign in to reply
-
More
-
Cancel
Children