element14 Community
element14 Community
    Register Log In
  • Site
  • Search
  • Log In Register
  • About Us
  • Community Hub
    Community Hub
    • What's New on element14
    • Feedback and Support
    • Benefits of Membership
    • Personal Blogs
    • Members Area
    • Achievement Levels
  • Learn
    Learn
    • Ask an Expert
    • eBooks
    • element14 presents
    • Learning Center
    • Tech Spotlight
    • STEM Academy
    • Webinars, Training and Events
    • Learning Groups
  • Technologies
    Technologies
    • 3D Printing
    • FPGA
    • Industrial Automation
    • Internet of Things
    • Power & Energy
    • Sensors
    • Technology Groups
  • Challenges & Projects
    Challenges & Projects
    • Design Challenges
    • element14 presents Projects
    • Project14
    • Arduino Projects
    • Raspberry Pi Projects
    • Project Groups
  • Products
    Products
    • Arduino
    • Avnet Boards Community
    • Dev Tools
    • Manufacturers
    • Multicomp Pro
    • Product Groups
    • Raspberry Pi
    • RoadTests & Reviews
  • Store
    Store
    • Visit Your Store
    • Choose another store...
      • Europe
      •  Austria (German)
      •  Belgium (Dutch, French)
      •  Bulgaria (Bulgarian)
      •  Czech Republic (Czech)
      •  Denmark (Danish)
      •  Estonia (Estonian)
      •  Finland (Finnish)
      •  France (French)
      •  Germany (German)
      •  Hungary (Hungarian)
      •  Ireland
      •  Israel
      •  Italy (Italian)
      •  Latvia (Latvian)
      •  
      •  Lithuania (Lithuanian)
      •  Netherlands (Dutch)
      •  Norway (Norwegian)
      •  Poland (Polish)
      •  Portugal (Portuguese)
      •  Romania (Romanian)
      •  Russia (Russian)
      •  Slovakia (Slovak)
      •  Slovenia (Slovenian)
      •  Spain (Spanish)
      •  Sweden (Swedish)
      •  Switzerland(German, French)
      •  Turkey (Turkish)
      •  United Kingdom
      • Asia Pacific
      •  Australia
      •  China
      •  Hong Kong
      •  India
      •  Korea (Korean)
      •  Malaysia
      •  New Zealand
      •  Philippines
      •  Singapore
      •  Taiwan
      •  Thailand (Thai)
      • Americas
      •  Brazil (Portuguese)
      •  Canada
      •  Mexico (Spanish)
      •  United States
      Can't find the country/region you're looking for? Visit our export site or find a local distributor.
  • Translate
  • Profile
  • Settings
Summer of FPGA
  • Challenges & Projects
  • Design Challenges
  • Summer of FPGA
  • More
  • Cancel
Summer of FPGA
Blog Liquid-Level Monitoring Using a Pressure Sensor #2 - Getting Started
  • Blog
  • Forum
  • Documents
  • Files
  • Mentions
  • Sub-Groups
  • Tags
  • More
  • Cancel
  • New
  • Share
  • More
  • Cancel
Group Actions
  • Group RSS
  • More
  • Cancel
Engagement
  • Author Author: guillengap
  • Date Created: 30 Nov 2021 5:25 PM Date Created
  • Views 2988 views
  • Likes 4 likes
  • Comments 0 comments
  • pressure sensor
  • Digilent Cmod S7
  • Liquid level monitoring
  • summer of fpga
Related
Recommended

Liquid-Level Monitoring Using a Pressure Sensor #2 - Getting Started

guillengap
guillengap
30 Nov 2021

Table of Contents

  1. Project Introduction
  2. Getting Started
  3. Calibrating the MPX2050DP Pressure Sensor
  4. Calculations and Noise Reduction
  5. Using Vivado and Testing the System
  6. Project Report Updated

**********************************************************************************************************************

Project Getting Started

In this chapter I am going to try my first steps with the Vivado software.

To install Vivado I followed the instructions shown in the following tutorial: Installing Vivado, Xilinx SDK, and Digilent Board Files

In my case, I installed Vivado 2019.1 (Windows 10 version), which took me 3 hours to download it and 1 hour to install it. Its necessary to register on the official Xilinx site: https://www.xilinx.com/

image

We run Vivado and see this:
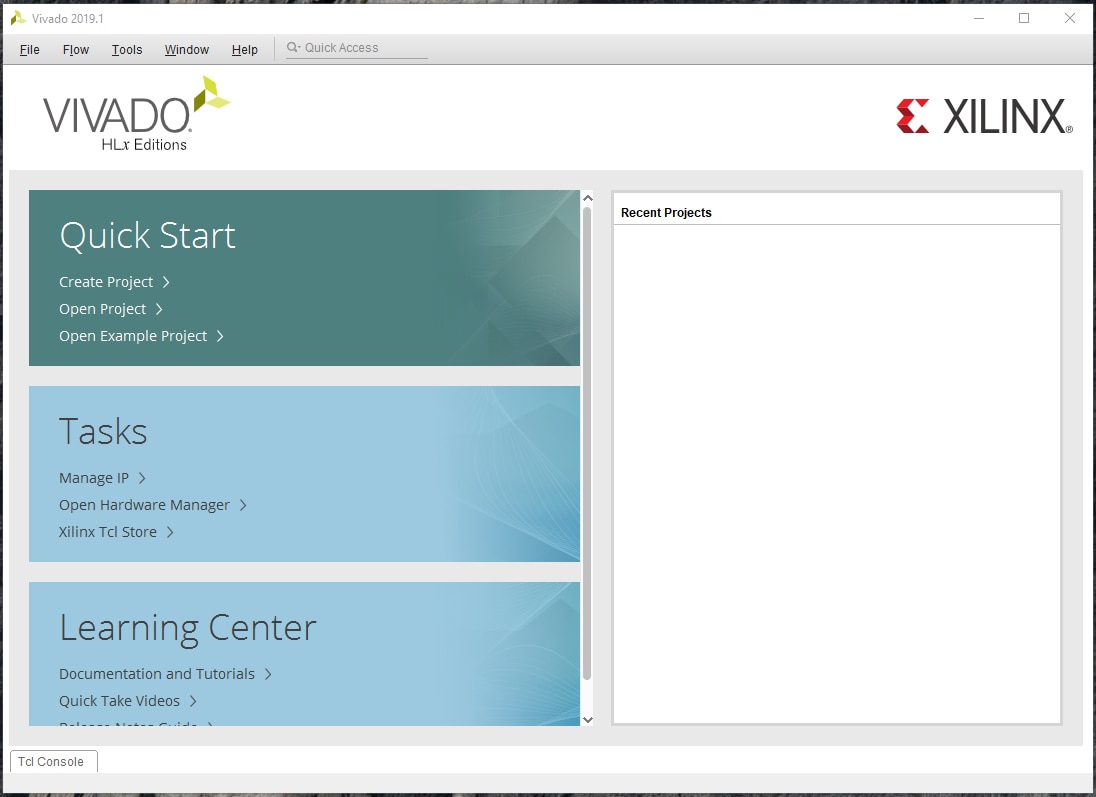
image

Example Blinky

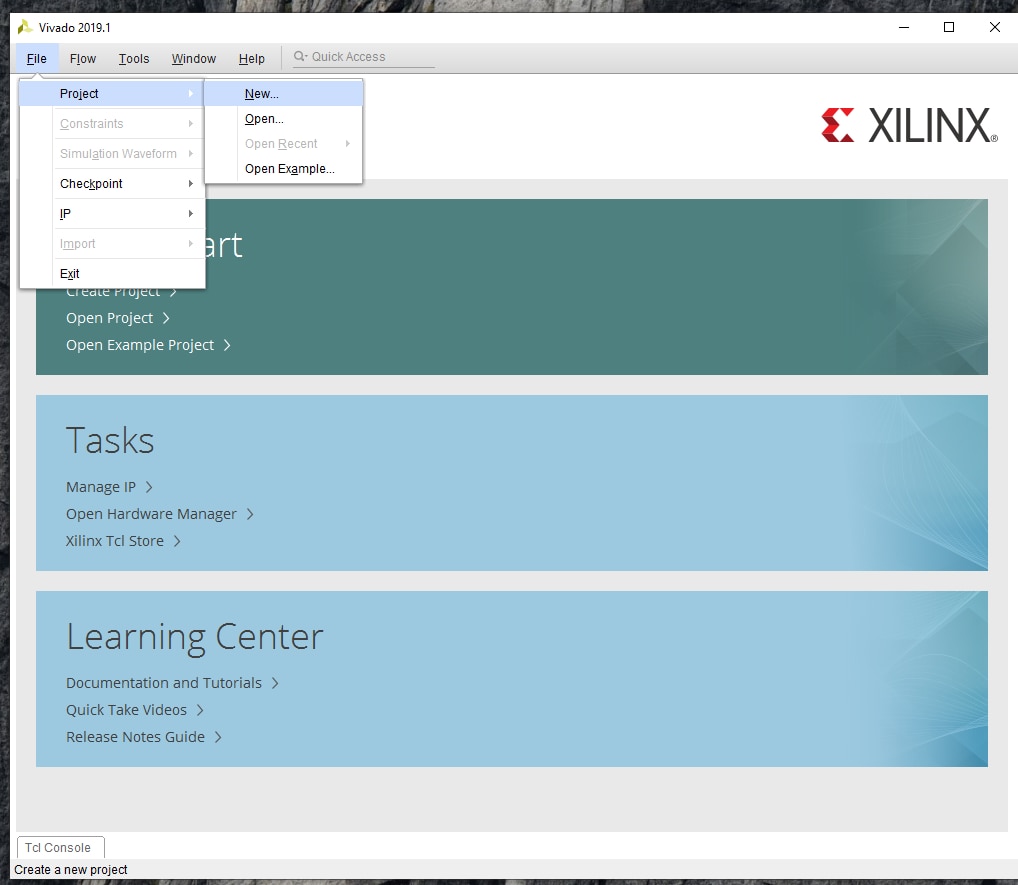
Click on File > Project > New

image

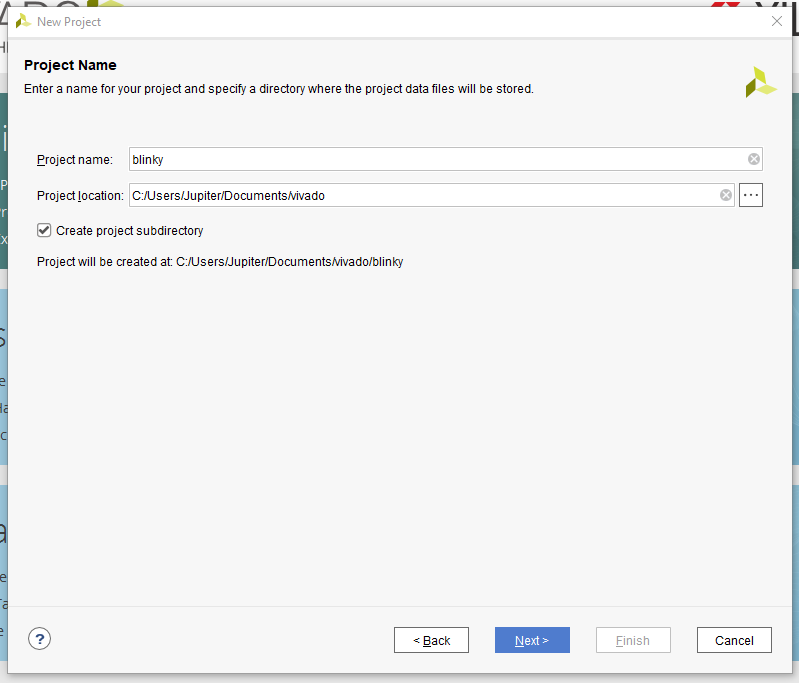
Click next to continue, Now, we set the name of the project: blinky

image

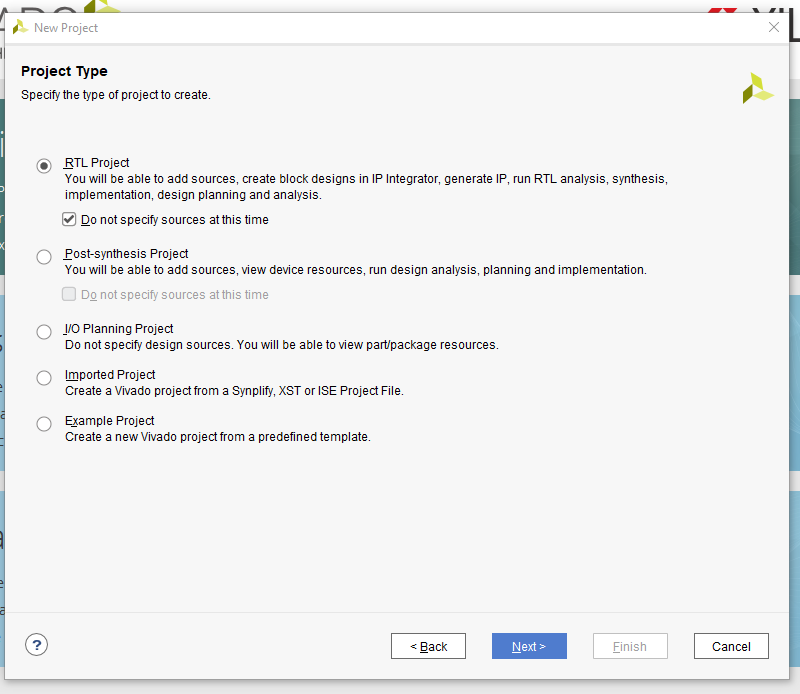
On the project type menu, select "RTL Project" and click next:

image

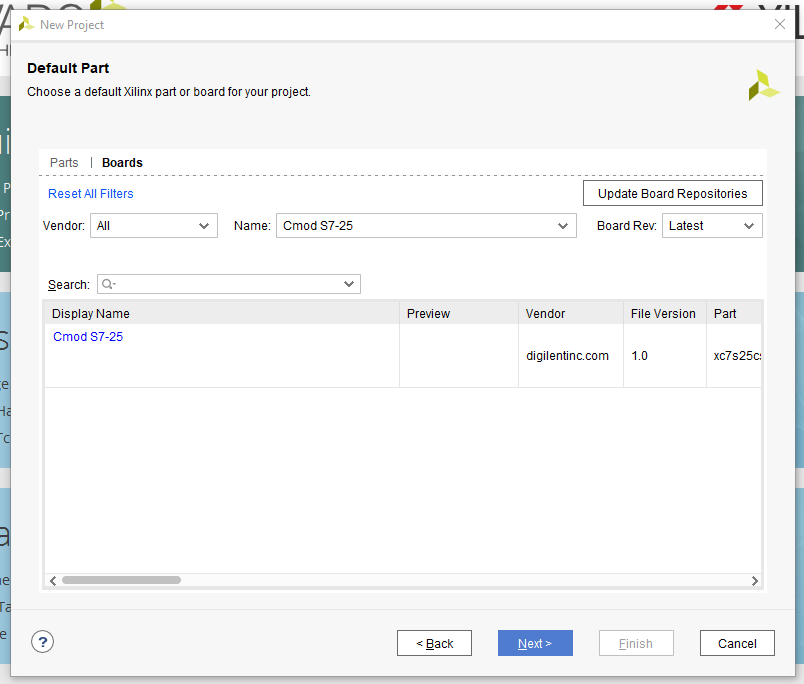
Its time to select the target device, in my case is Cmod S7-25 board. Click next to continue

image

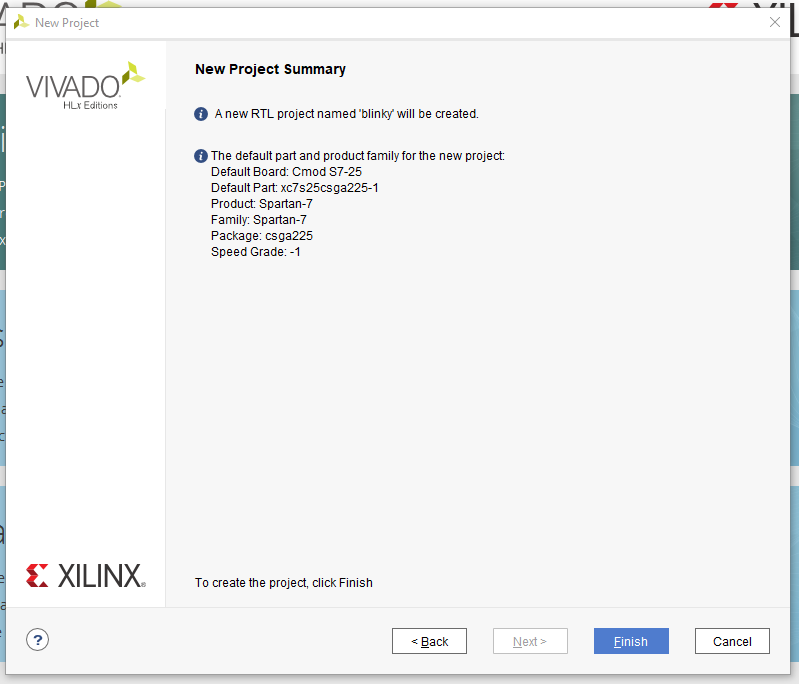
Finally we see a summary, verify and click finish.

image

Adding a Constraint file 

Digilent has produced a Xilinx Design Constraint (XDC) file for each board. Download digilent-xdc-master.zip, then extract it in a location you will remember.

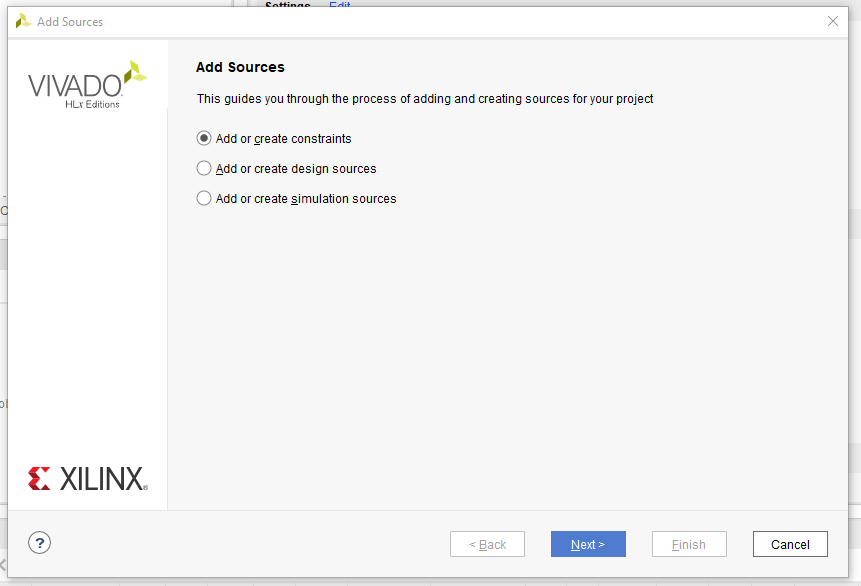
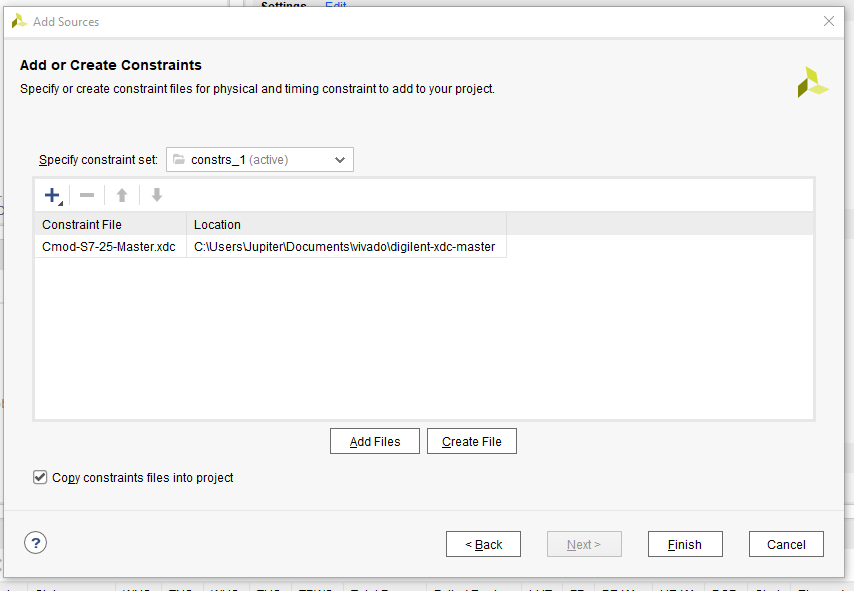
In the Project Manager section, click the Add Sources button. Select add or create constraints and click next.

image

Click on Add Files:

image

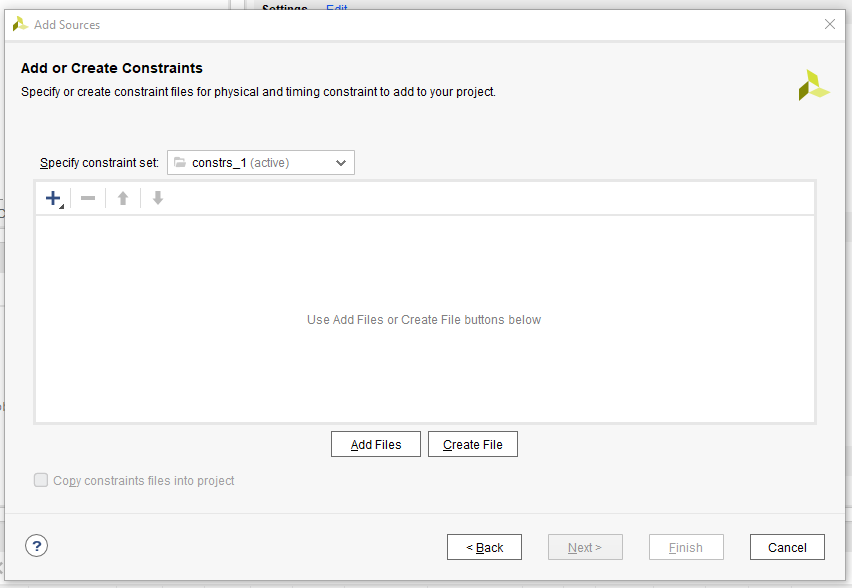
Then click on the file for your board and click OK to continue. Once the file was added click on Finish.

image

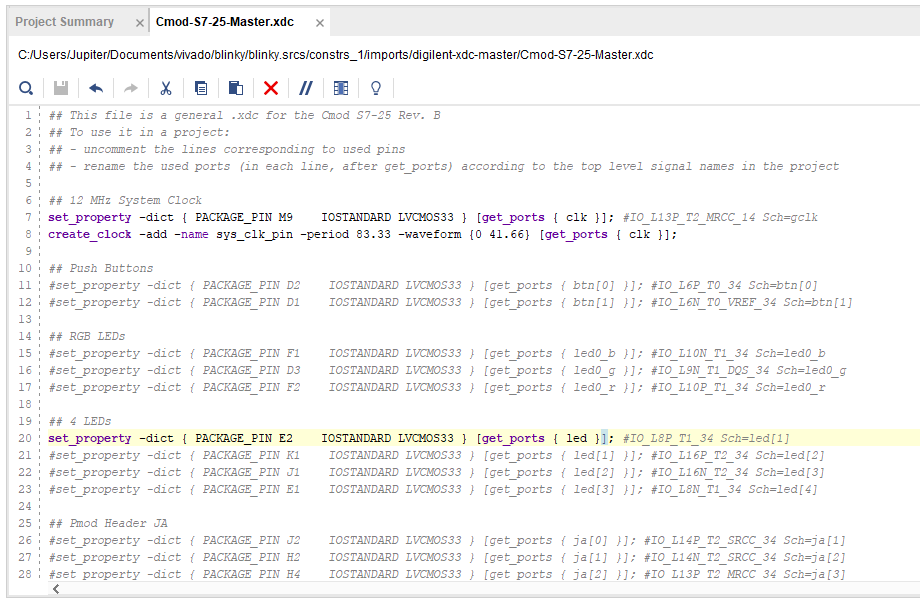
Double ckick on the you just added:  Cmod-s7-25-Master.xdc

image

On this file, uncomment next lines ant type "led" instead "led[o]"

image

Creatong a Verilog source file

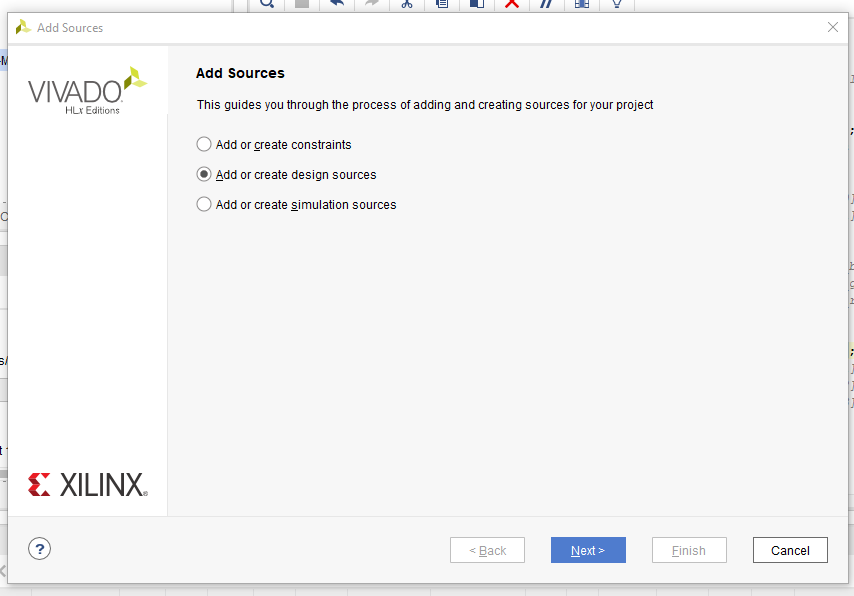
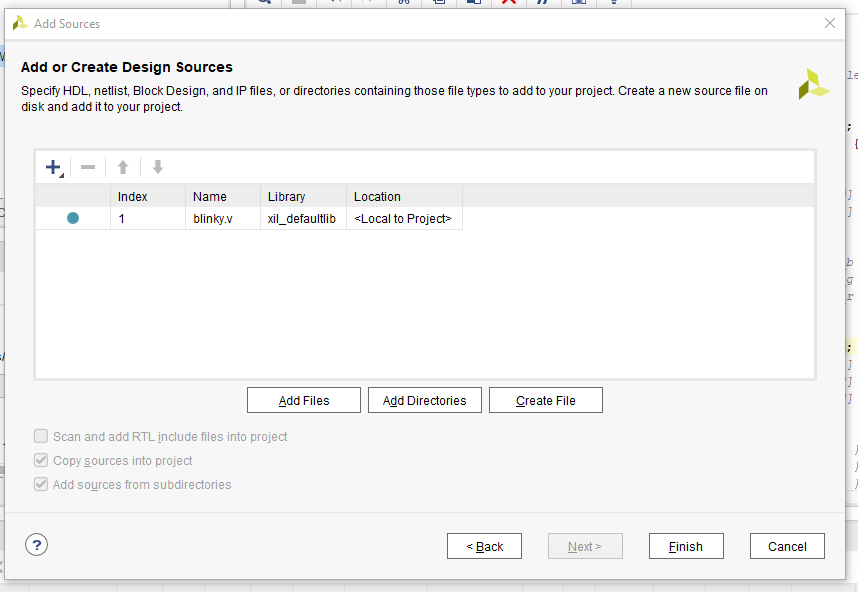
In the Project Manager section, click the Add Sources button. Select Add or create design sources and click next

image

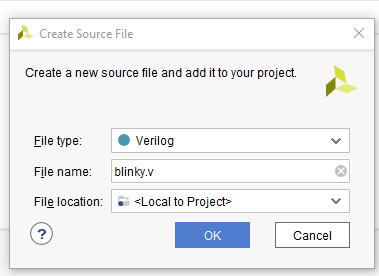
Click Create file, and type File type: verilog & File name: blinky.v

Click OK

image

Ckeck that the new Verilog source file has been added into the list of sources, then click Finish

image

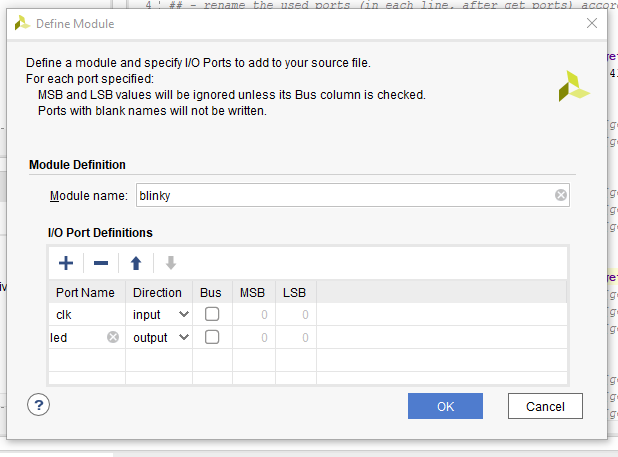
Check and and add next information on the "Define Module". Click OK

image

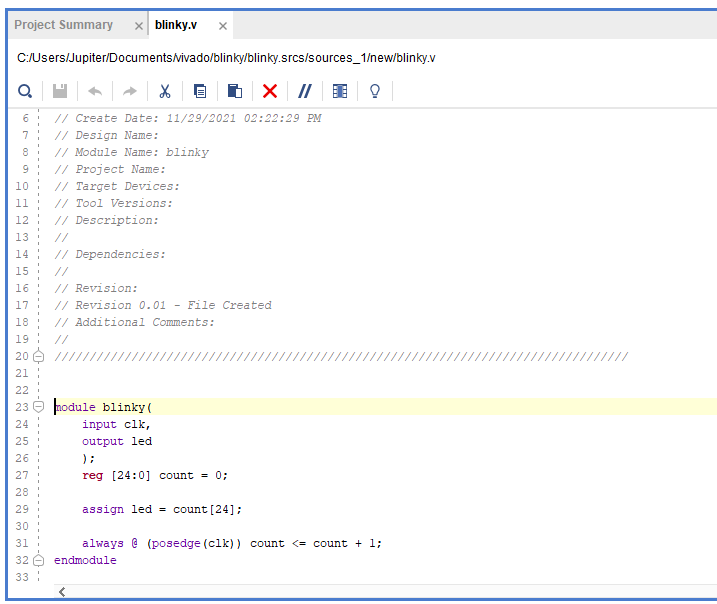
Open the new source file and add next code:

image

Synthesis, Implementation, and Bitstream Generation

Synthesis turns HDL files into a transistor level description based on timing and I/O constraints. To run Synthesis click in the Flow Navigator.

Implementation has several steps. The steps that are always run are Opt Design, Place Design, and Route Design. To run Implementation click in the Flow Navigator.

The Bitstream Generator generates the final outputs needed for programming the FPGA. To run Bitstream Generation click either in the Flow Navigator. With no settings changed, the generator will create a '.bit' file.

Open New Hardware Target

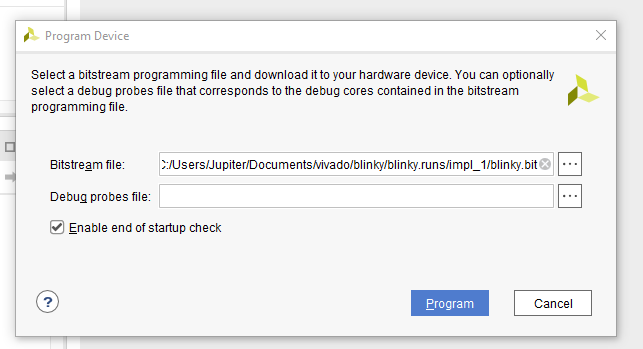
The Hardware Manager is used for programming the target device. 

To program the device with the bit file generated earlier, either click the program device button in the ardware Manager. Select the Bitstream File field should be automatically filled in with the bit file generated earlier and select the bit file. Now click Program..

image

Reference: Getting Started with Vivado

Note: I have made few changes, due to the version of Vivado that I have used, but in the end everything works.

image

  • Sign in to reply
element14 Community

element14 is the first online community specifically for engineers. Connect with your peers and get expert answers to your questions.

  • Members
  • Learn
  • Technologies
  • Challenges & Projects
  • Products
  • Store
  • About Us
  • Feedback & Support
  • FAQs
  • Terms of Use
  • Privacy Policy
  • Legal and Copyright Notices
  • Sitemap
  • Cookies

An Avnet Company © 2025 Premier Farnell Limited. All Rights Reserved.

Premier Farnell Ltd, registered in England and Wales (no 00876412), registered office: Farnell House, Forge Lane, Leeds LS12 2NE.

ICP 备案号 10220084.

Follow element14

  • X
  • Facebook
  • linkedin
  • YouTube