


This past week I took a look at the KV260 Vision AI Starter Kit courtesy of Xilinx and rscasny
https://www.xilinx.com/products/som/kria/kv260-vision-starter-kit.html
First thing first. This is Xilinx entry into the System on Module (SOM) market.
The KV260 is a carrier board targeting AI vision applications. The kit carries a non-production version of the Kria SOM. Non-production meaning reduced operating temperature range.
It's mainly targeted at software developers that can leverage the XIlinx Vitis framework which removes some of the FPGA knowledge requirements by leveraging HLS and Vitis .
The short version is that kit represents a paradigm shift when dealing with what XIlinx calls accelerated applications.
Basically one can download AI enabled apps that partly execute on the FPGA.
I expect the kit to be very popular among PYNQ users.
1. Unboxing the kit
Here are some unboxing photos. The SD card came pre-programmed. There is a 3D printed carrier card holder which is quite helpful.
| {gallery} Unboxing photos |
|---|
|
|
|
|
|

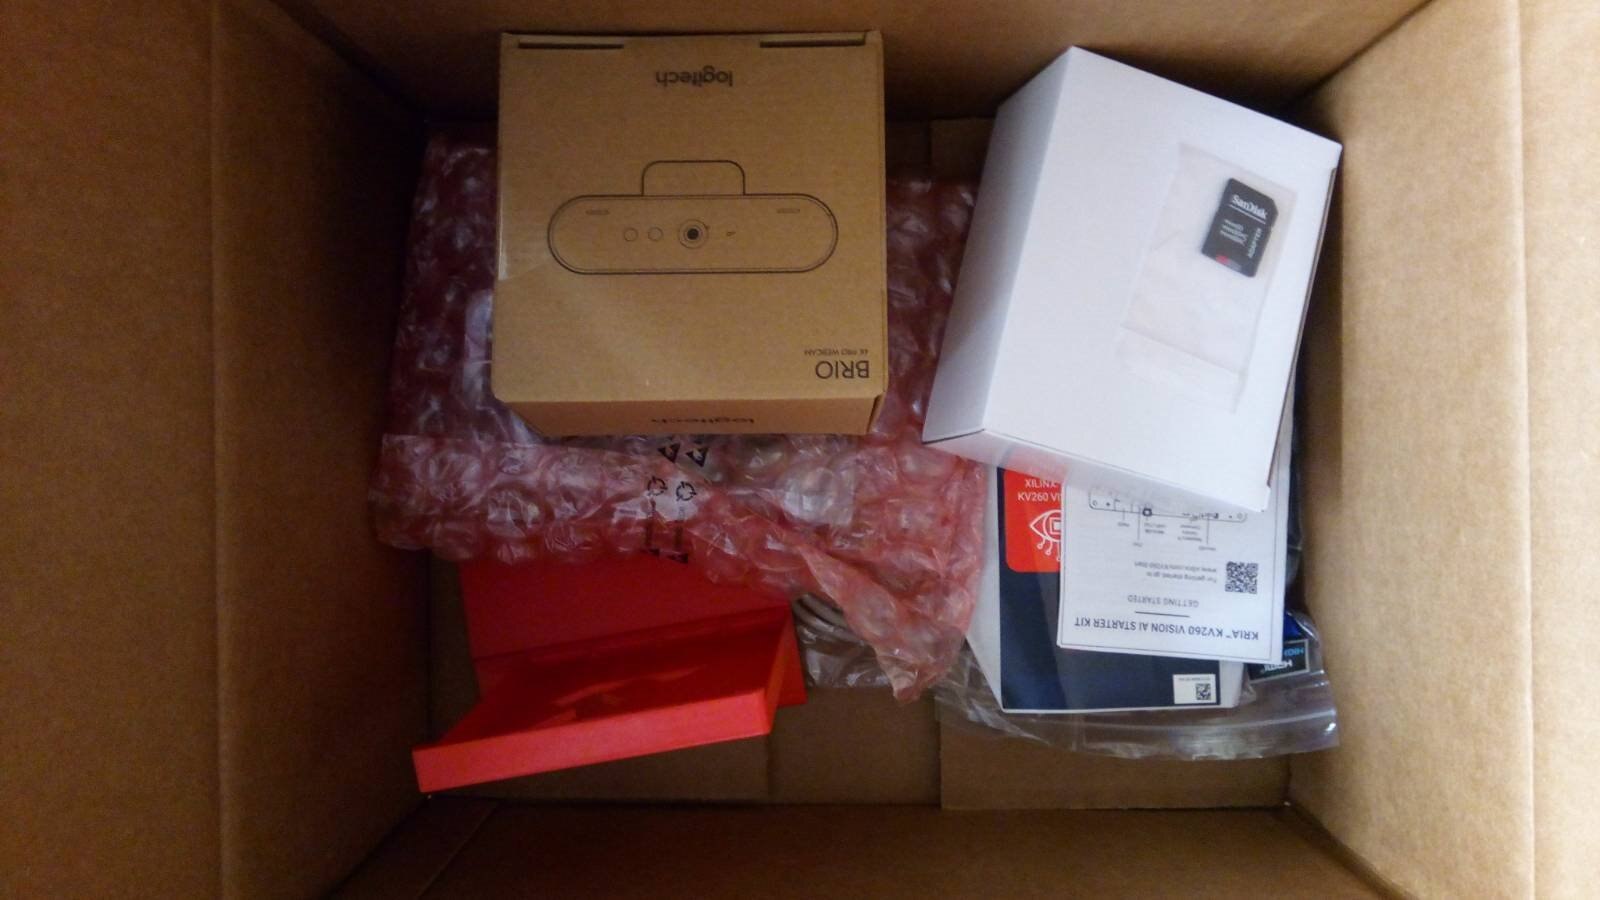
The kit includes the AI Vision carrier board with a non-production version K26LTD SOM, a USB micro cable , HDMI and Ethernet cables, a power supply ,a USB3 BRIO camera and a 3D printed holder.
The promotional material makes references to the AR1335 ONsemi MIPI camera however that was not included in the kit.
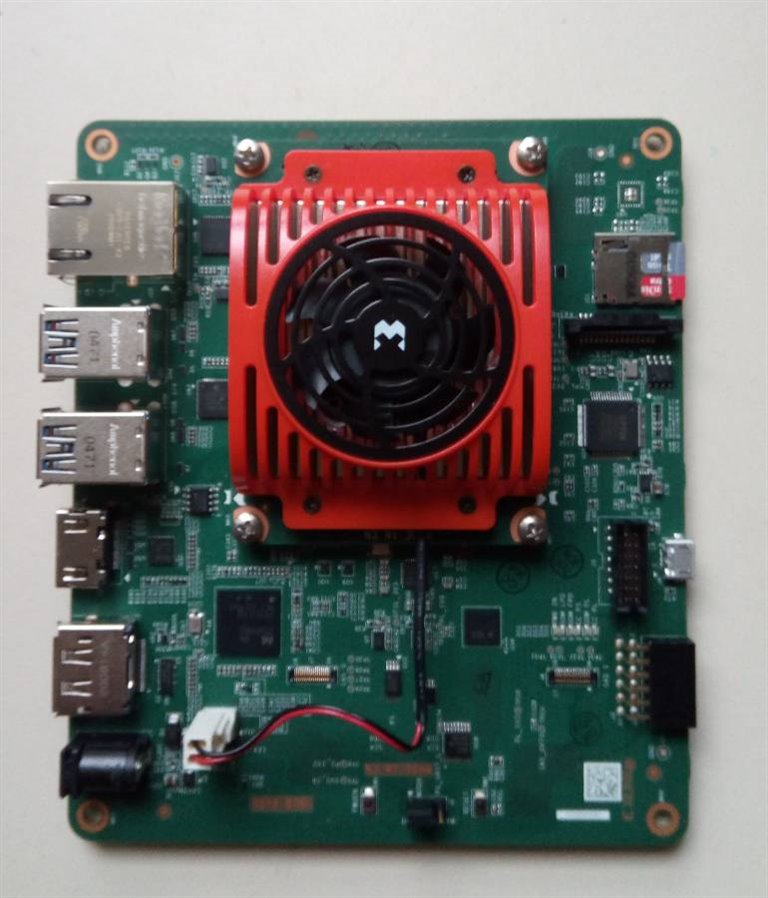
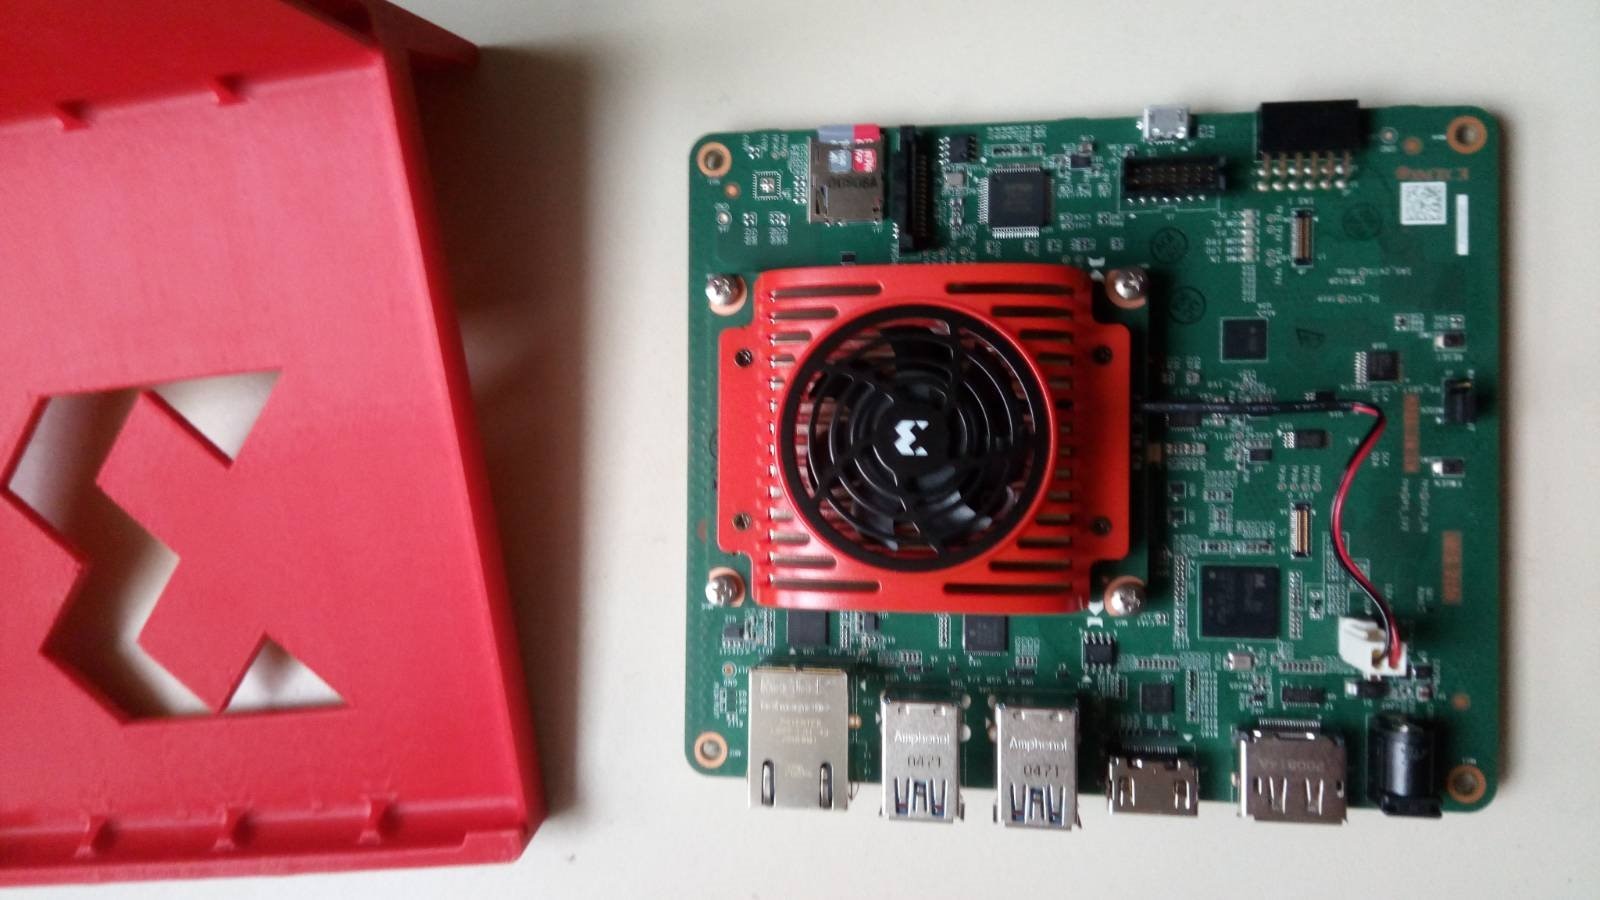
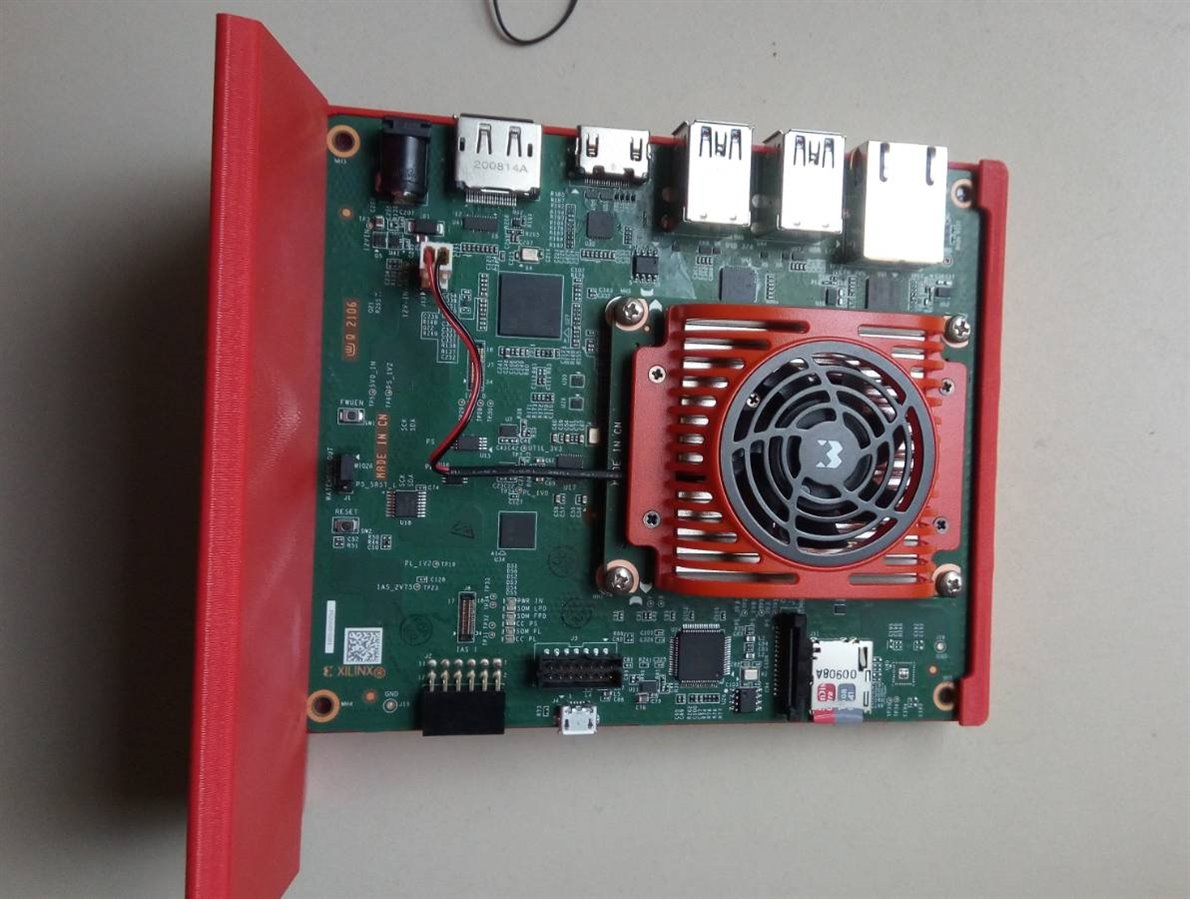
2. A look at the hardware
The SOM is actively cooled with a large fan. The noise level is reminiscent of the Ultra96V1.
From a glance one can see the following:
- 4 USB 3.0 ports
- HDMI and Display port connectors
- 1x PMOD
- 2 MIPI camera connectors
- 1 RPI camera connector
- Barrel jack connector for 12V power supply
- JTAG
- Micro SD card holder
- Ethernet port
- 4x USB3 ports
The board has two IAS MIPI connectors. The first one is connected to an external ISP AP1302 from ONSemi. The second is connected directly to the SOM pins.
In addition a 15 pin FPC connector compliant with the RPI camera connector is also included. The RPI connector also connects directly to the SOM.
The I2C bus for all these 3 camera connectors are connected to the I2C switch with the RPI connector located on bus number 2 (starting from 0).
The HDMI and Displayport both pass through an STDP4320 high-speed DisplayPort dual mode splitter / De-multiplexer which is used for video de-multiplexing.
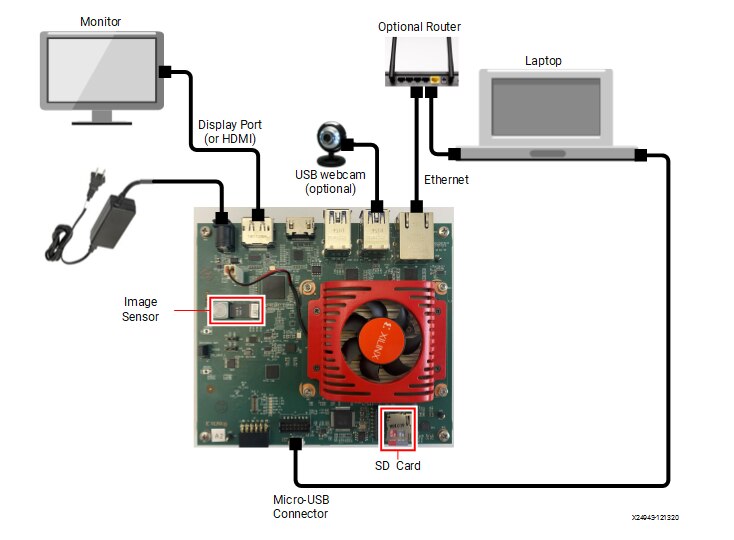
3.Connectivity setup
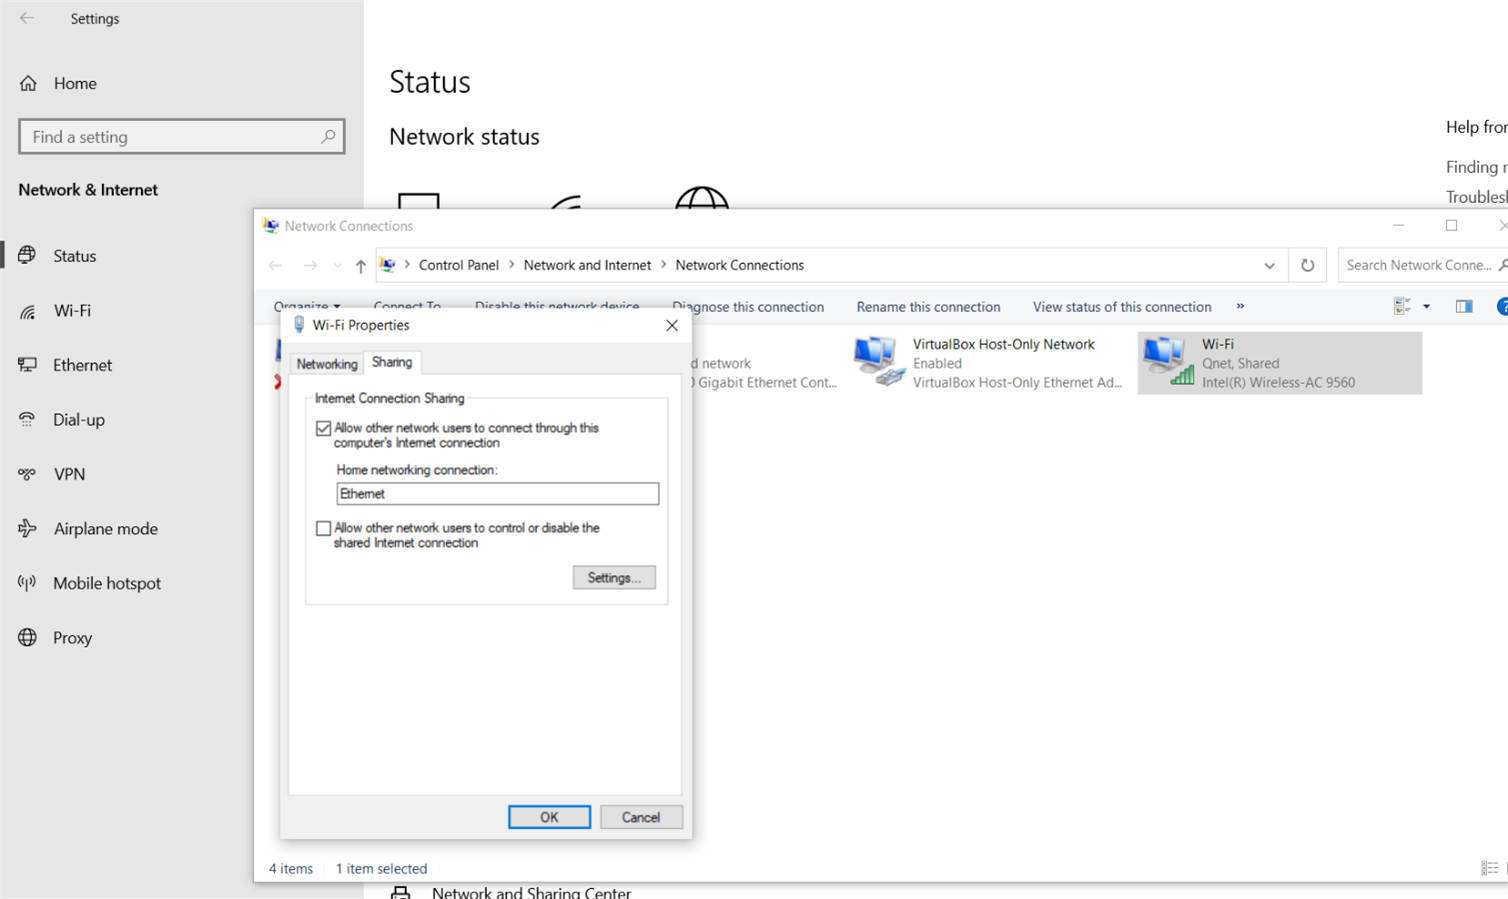
Connecting to a router directly is the quickest solution. Alternately one an share the WIFI connection between WIFI and Ethernet adapter as was done here.
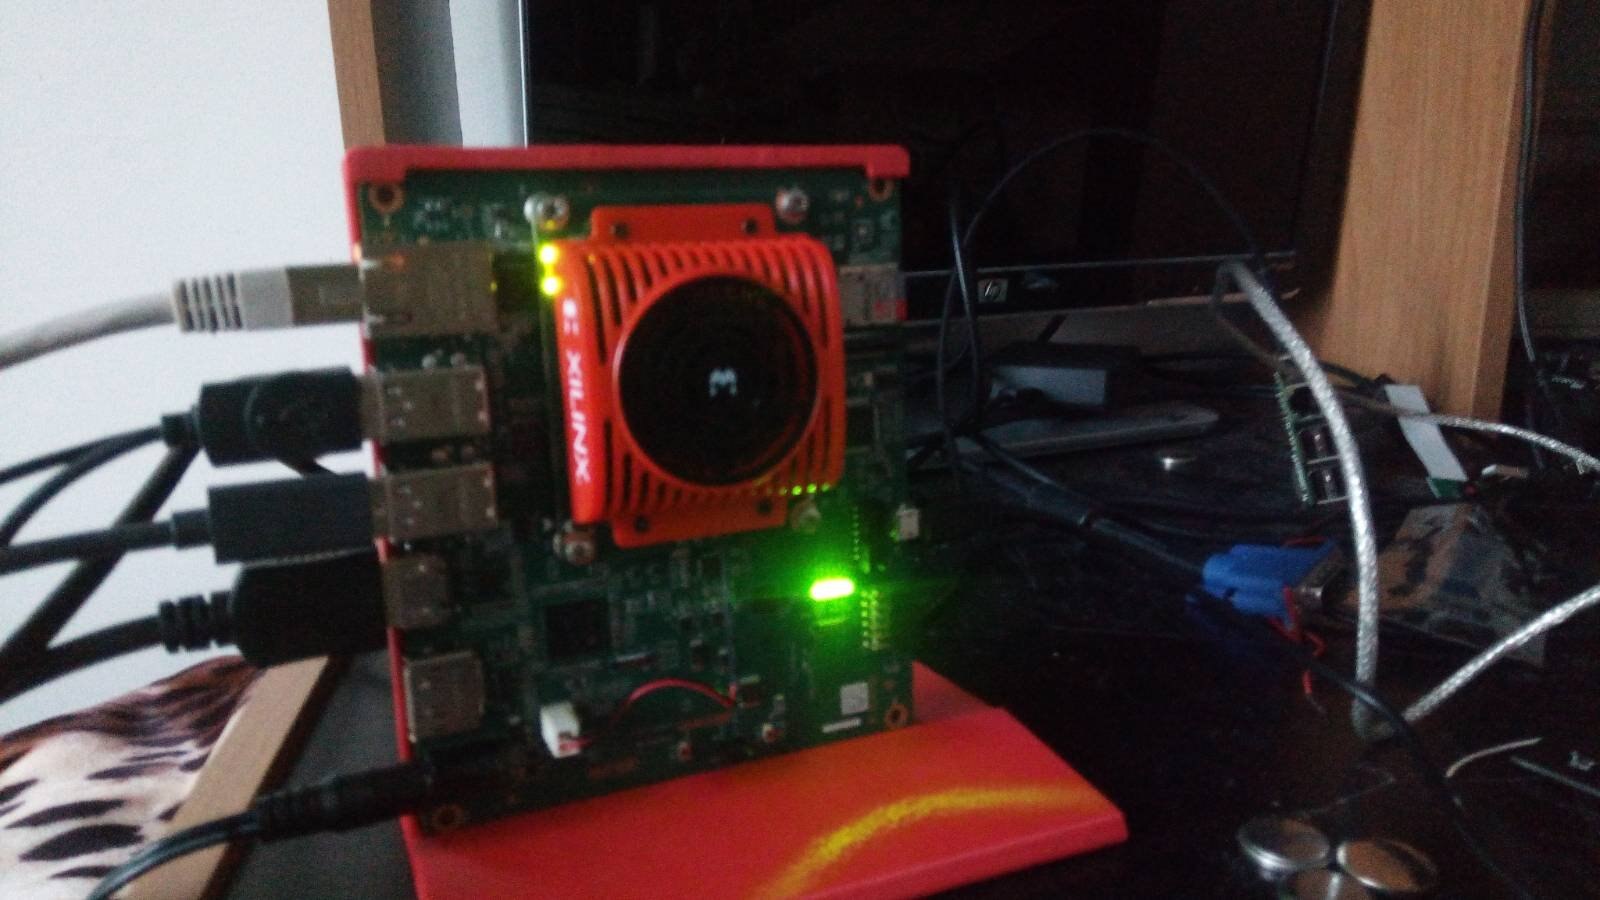
After inserting the SD card , plugging the HDMI cable , plugging the serial cable , plugging the Ethernet cable to a laptop, sharing the WIFI connection with the Ethernet adapter and plugging the power brick the unit will boot up and automatically lease an IP from the DHCP server.
The setup was similar to the diagram below however the Ethernet cable was plugged directly to a laptop.
| {gallery} Ethernet Setup |
|---|
IMAGE TITLE: THEN IMAGE DESCRIPTION |
IMAGE TITLE: THEN IMAGE DESCRIPTION |
The SD card came pre-programmed with Petalinux however the password was not included so I had to start from scratch. (It was not xilinx or petalinux).
First thing first, I downloaded the Kria image and after unzipping it burned it to the sd card using Win32 disk imager.
https://www.xilinx.com/member/forms/download/xef.html?filename=petalinux-sdimage.wic.gz
At startup it will ask you to set up a password with the default user being petalinux.
xilinx-k26-starterkit-2020_2 login: petalinux
You are required to change your password immediately (administrator enforced)
New password:
Retype new password:
For most of the operations below you'll have to execute as root. Alternately you can just elevate the privileges using:
sudo su -l root
I tested Ethernet connectivity by issuing :
ifconfig
ping www.element14.com
The official repo is located under:
git clone https://github.com/Xilinx/kv260-vitis.git
An additional helpful page for getting started is found at:
https://xilinx-wiki.atlassian.net/wiki/spaces/A/pages/1641152513/Kria+K26+SOM
as well as the official documentation:
https://xilinx.github.io/kria-apps-docs/master/docs/build_accel.html
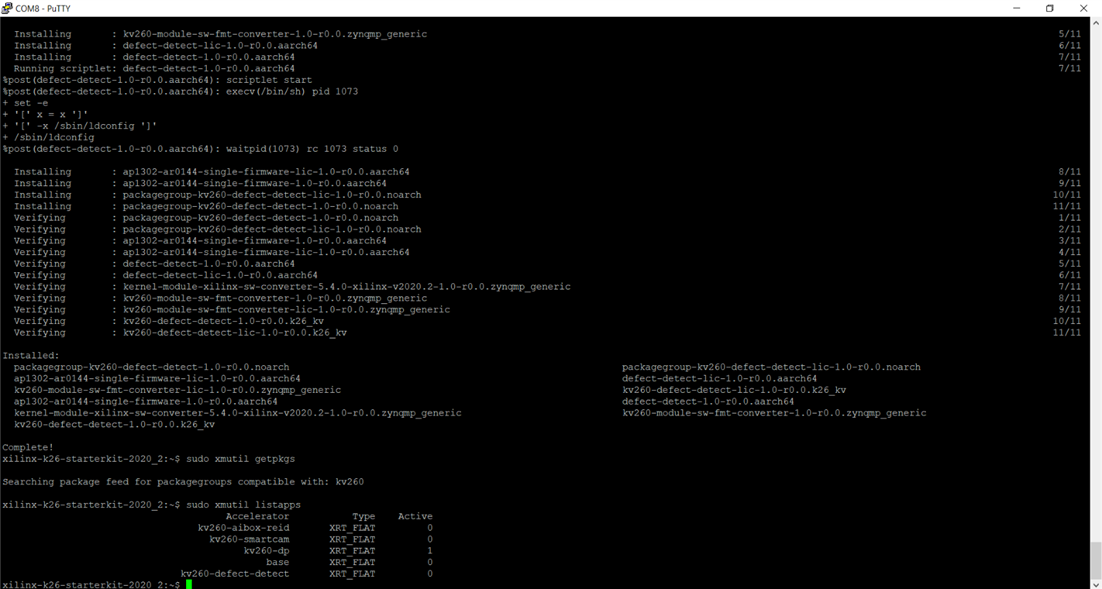
4. Installing the apps.
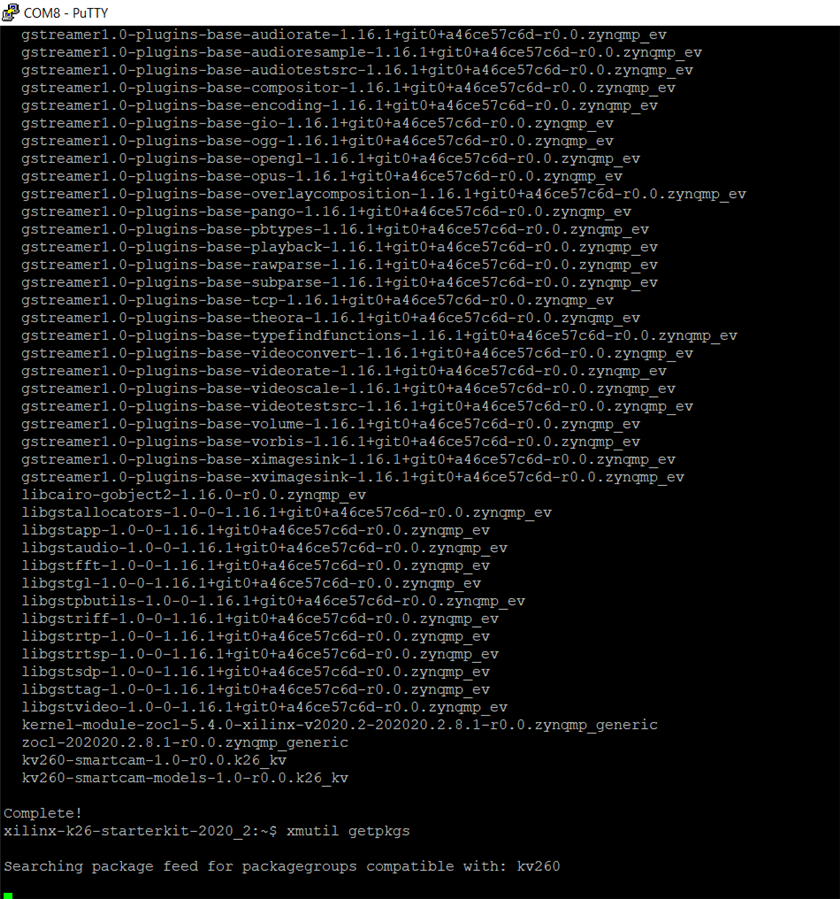
The default board SD image does not come with any apps installed. One can check this by issuing which will list the installed apps:
sudo xmutil getpkgs
| {gallery} My Gallery Title |
|---|
|
|
|
|
Putty was used for the serial terminal with the following settings:
Baud rate = 115200
Data bits = 8
Stop bits = 1
Flow control = None
Parity = None
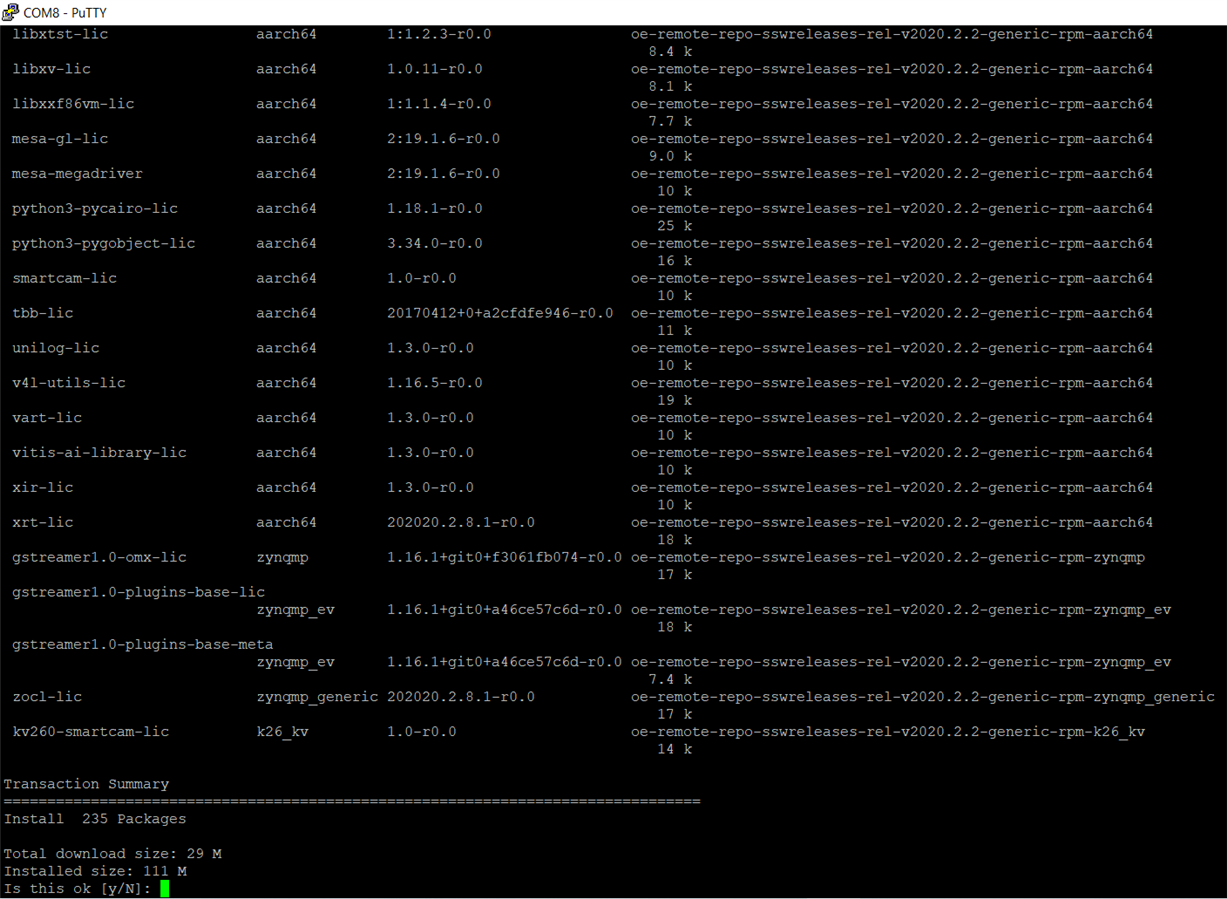
Once logging in the first thing to do is to install the apps.
5. Smart Camera App
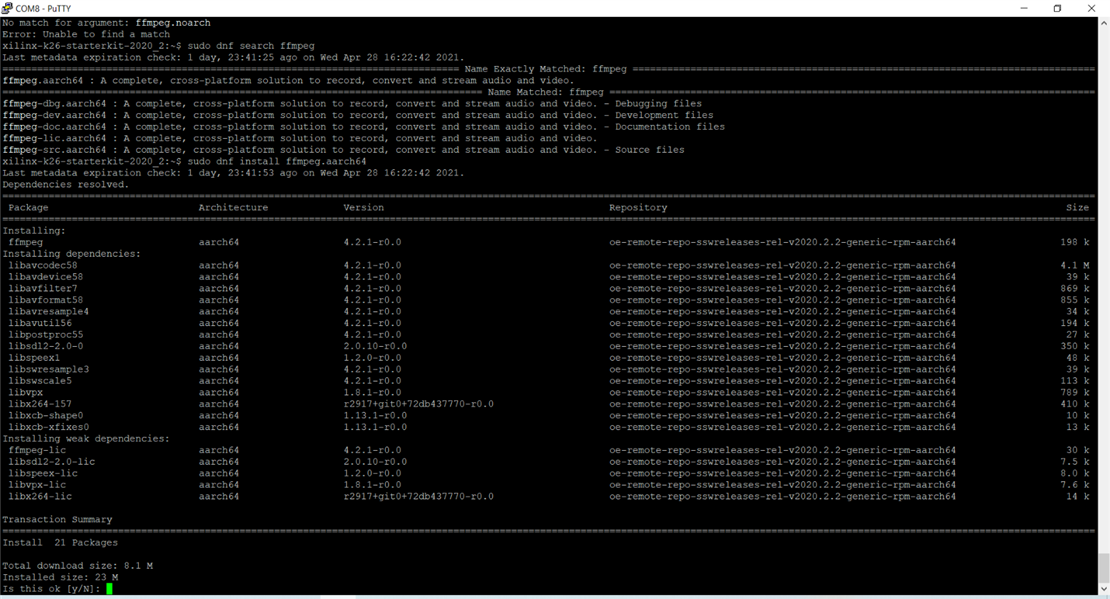
Petalinux image uses DNF as it's package manager so to install the smart camera app issue:
sudo dnf install packagegroup-kv260-smartcam.noarch
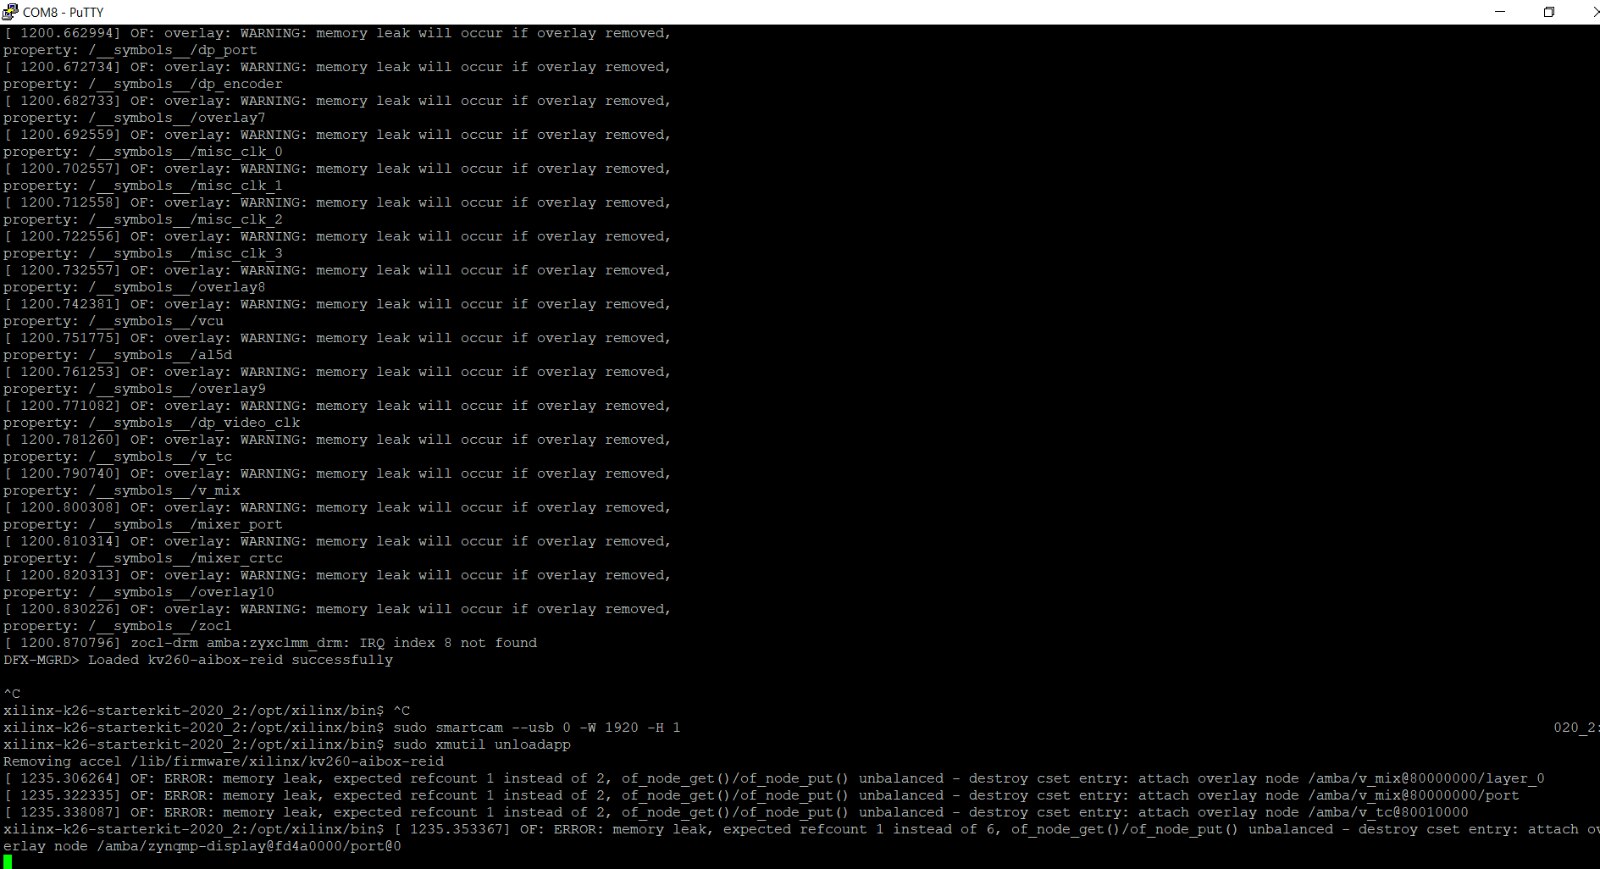
Initially I tried to run the kv260-dp app so in that case issue:
sudo xmutil unloadapp
This command has to be called everytime an app is stopped or another app has to be initialized.
This app works with the MIPI camera module from ON Semi and also with the USB camera. Only the USB camera was included with the kit .
sudo xmutil loadapp kv260-smartcam
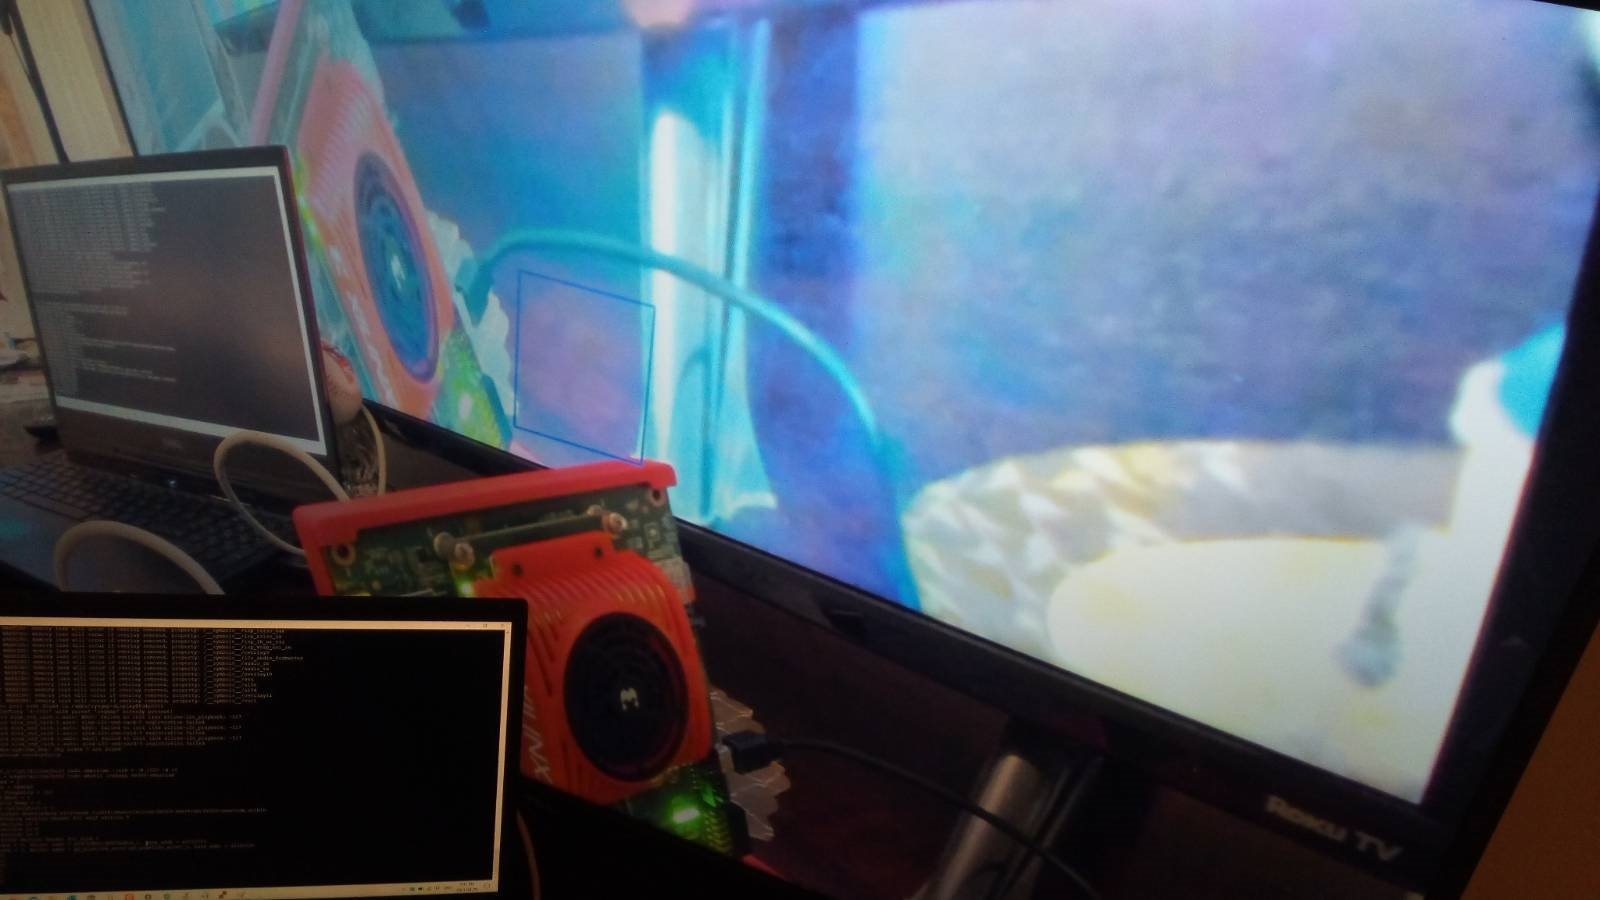
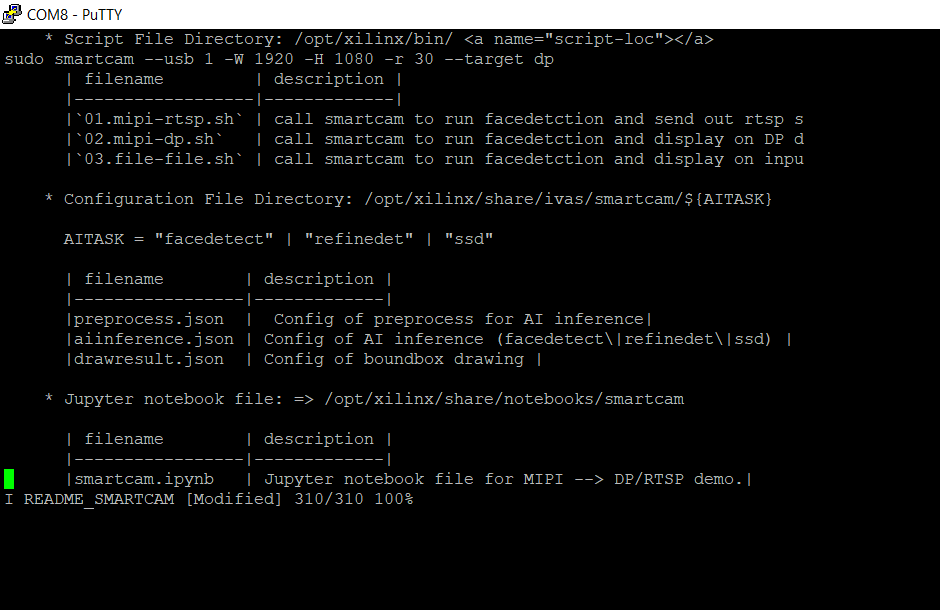
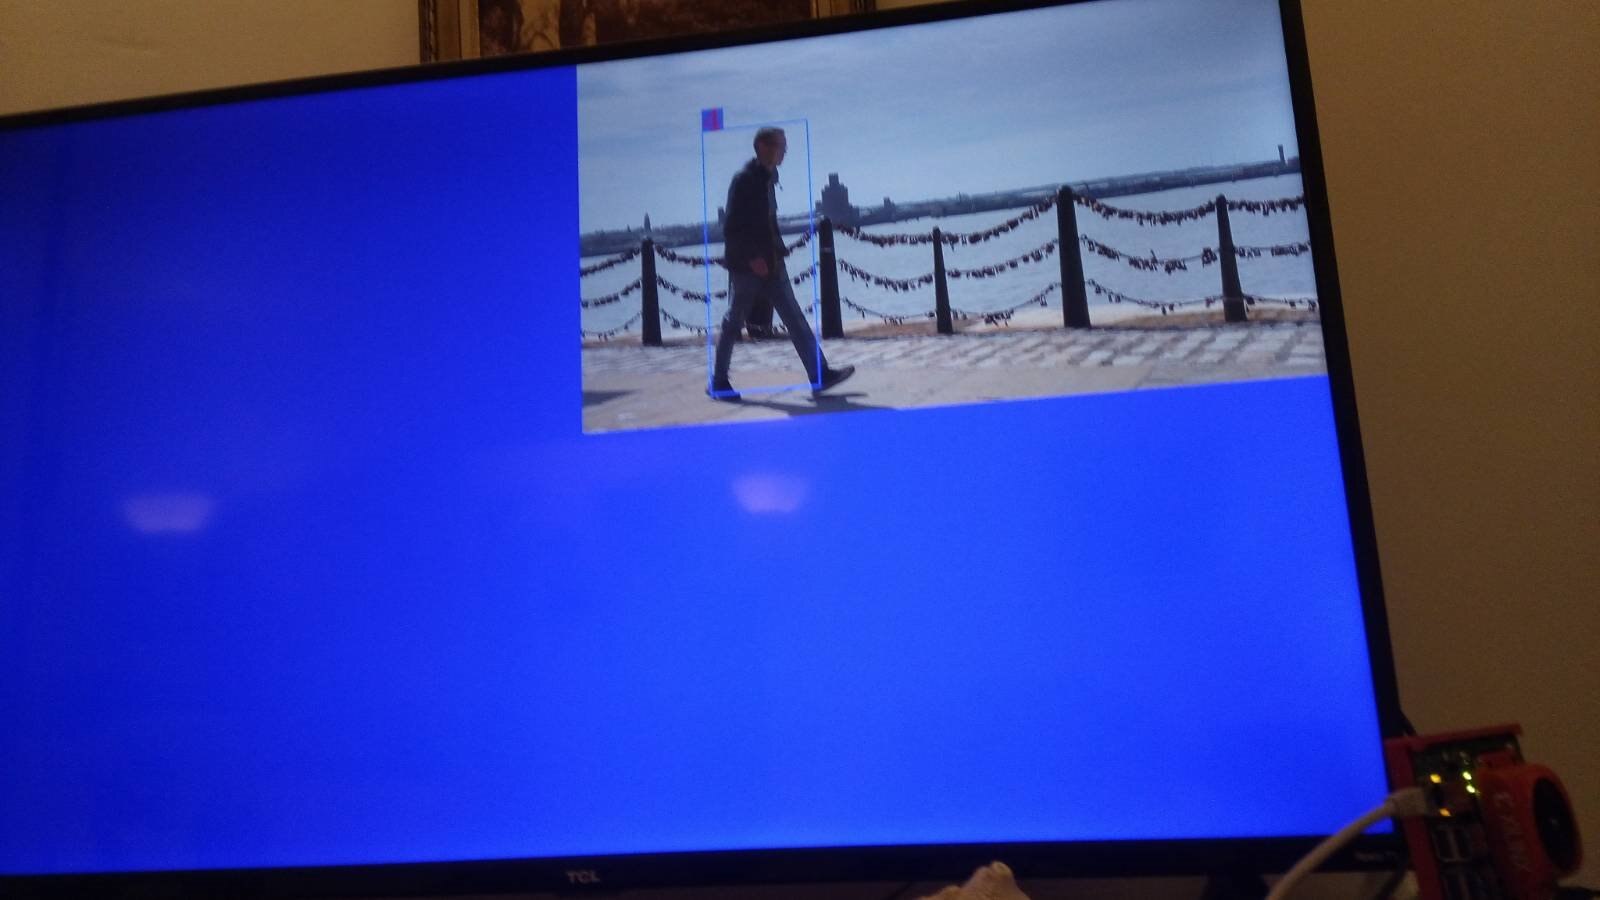
Since the Brio USB camera was used the following needs to be issued to output data to the screen. Notice that the pipeline only supports 4K and 1080p resolutions.
Any lower resolutions are not supported so if your monitor does not support this you can try connecting to a TV or a monitor that supports at least 1080p.
sudo smartcam --usb 0 -W 1920 -H 1080 -r 30 --target dp
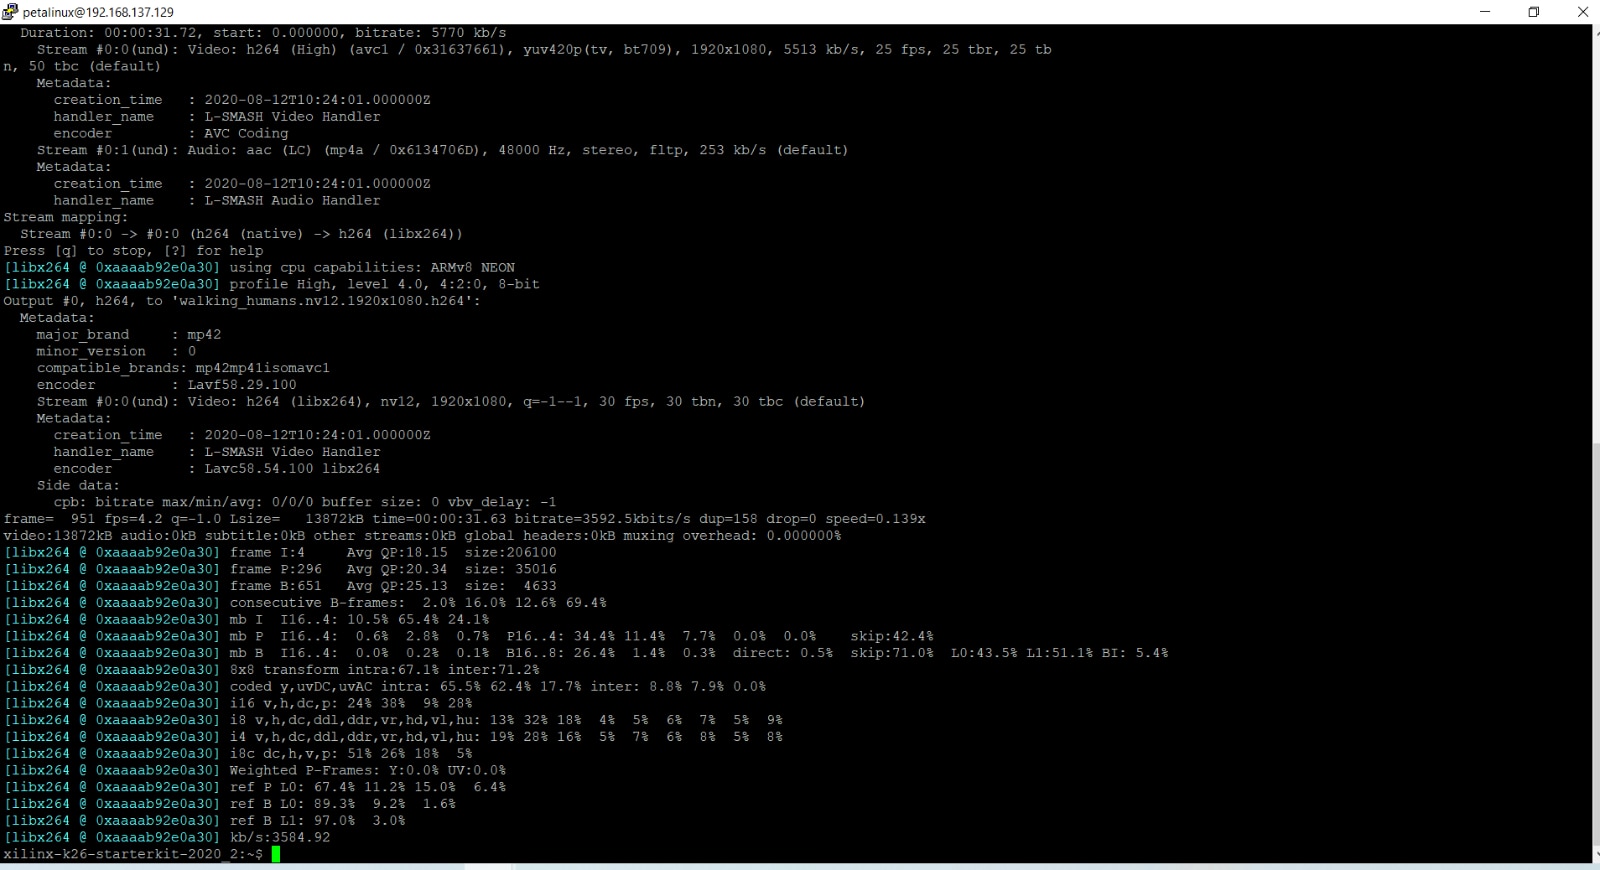
Different AI networks can be passed as arguments to the smartcam app. The videos were transcoded to h264 on the KV260 using ffmpeg.
/opt/xilinx/bin/smartcam --file /media/sd-mmcblk0p1/videos/traffic_with_rain.nv12.3840x2160.h264 --target dp --width 3840 --height 2160 -r 30 --aitask ssd

/opt/xilinx/bin/smartcam --file /media/sd-mmcblk0p1/videos/walking_humans.nv12.3840x2160.h264 --target dp --width 3840 --height 2160 -r 30 --aitask facedetect

/opt/xilinx/bin/smartcam --file /media/sd-mmcblk0p1/videos/walking_humans.nv12.3840x2160.h264 --target dp --width 3840 --height 2160 -r 30 --aitask refinedet
It's important to note that the apps only target 1080p and 4K resolutions. Testing the MIPI or USB pipeline with lower resolutions on the smartcamera pipeline gives a message saying it's not supported. Hence for most of the tests I had to use a 4K TV monitor.
One thing to notice is that the AI detection is not 100% accurate:
6. AI Box with ReID Accelerated Application
This app uses either an RTSP or offline videos. The offline videos need to be converted using ffmpeg
sudo dnf install packagegroup-kv260-aibox-reid.noarch
To test the app any previous app should be unloaded.
sudo xmutil unloadapp
sudo xmutil loadapp kv260-aibox-reid
jupyter-lab --ip=ip-address &
For the IP address use the Ethernet IP found by issuing:
ifconfig
The startup guide is found under:
https://xilinx.github.io/kria-apps-docs/master/docs/aibox-reid/aibox_landing.html
Transcribing videos
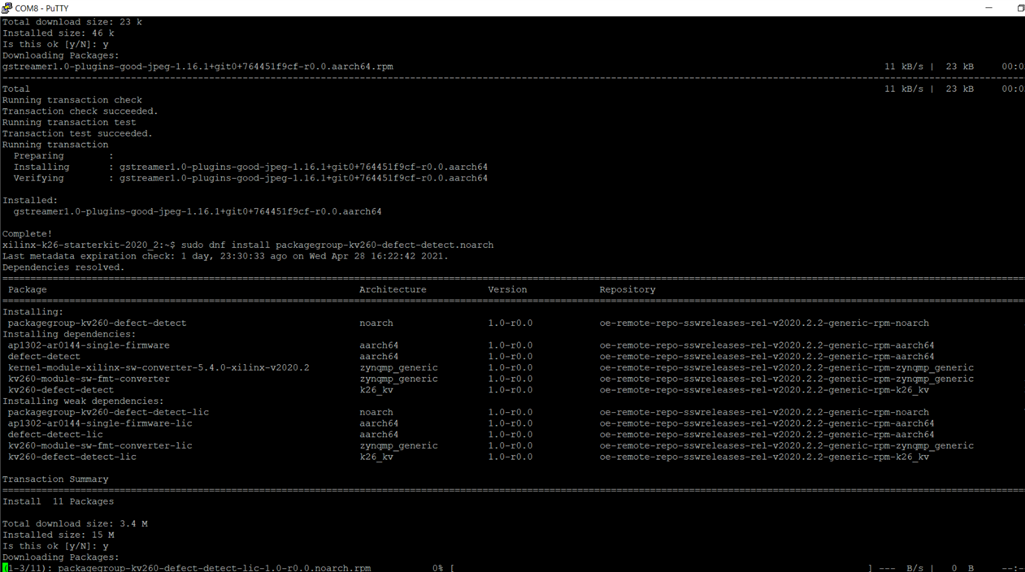
Install the gstreamer package:
sudo dnf install gstreamer1.0-plugins-good-jpeg.aarch64
and the ffmpeg package also.
| {gallery} My Gallery Title |
|---|
|
|
|
|

| {gallery} My Gallery Title |
|---|
|
|
|
REPLACE THIS TEXT WITH YOUR IMAGE |
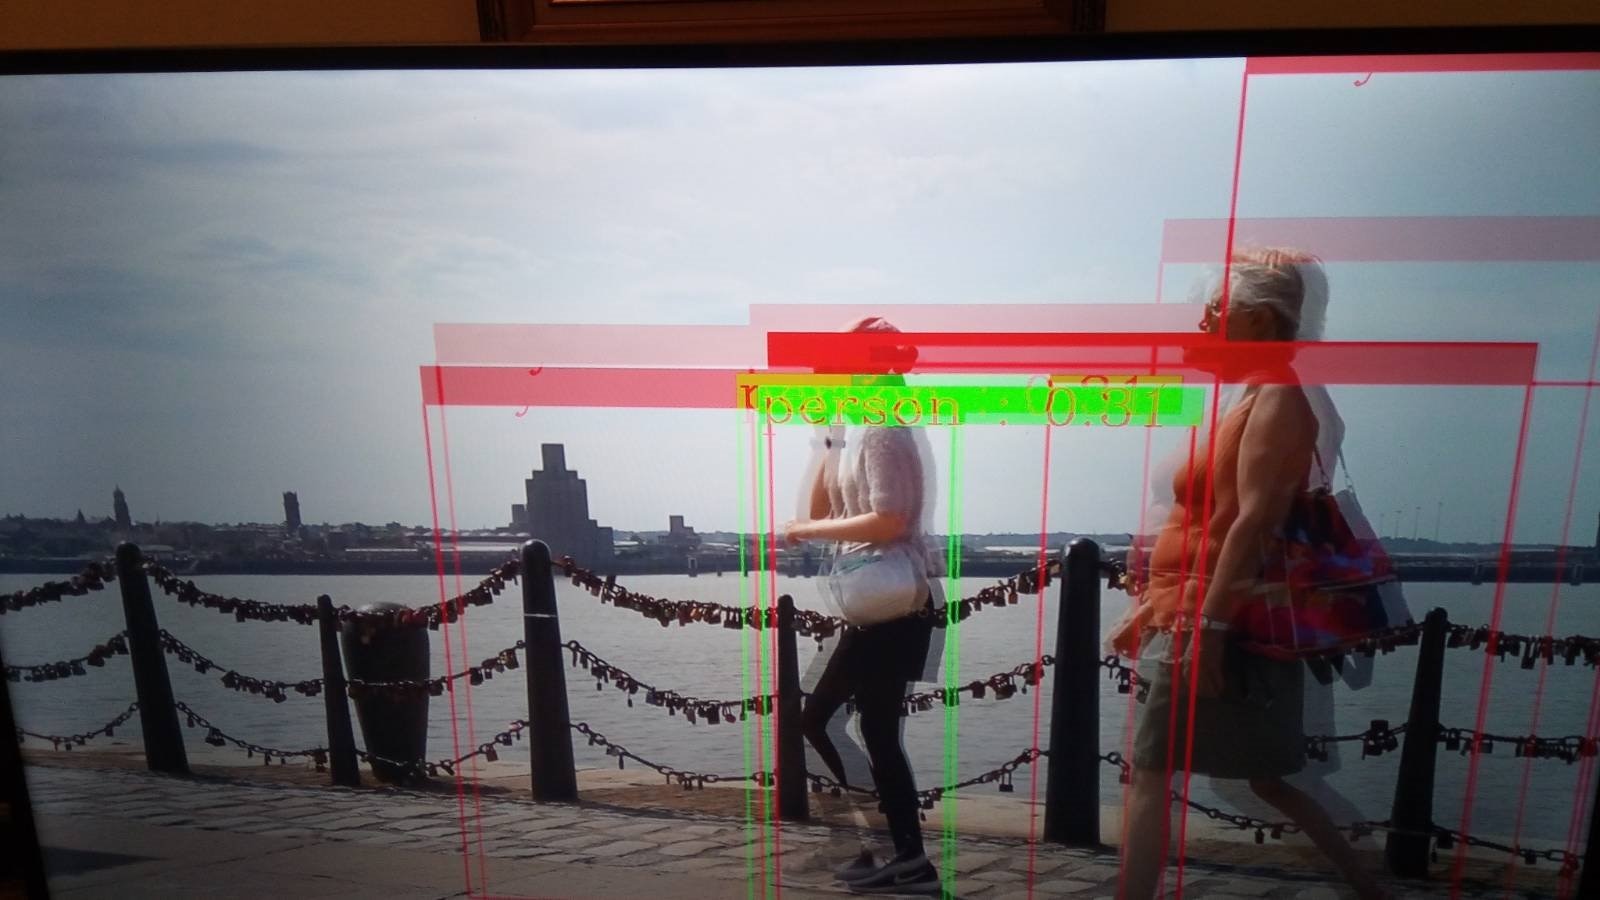
It's interesting to notice that the accuracy of the SSD is not that great as it keep identifying a car where there is none. Depending on the flags different AI networks can be passed to the vision pipeline.
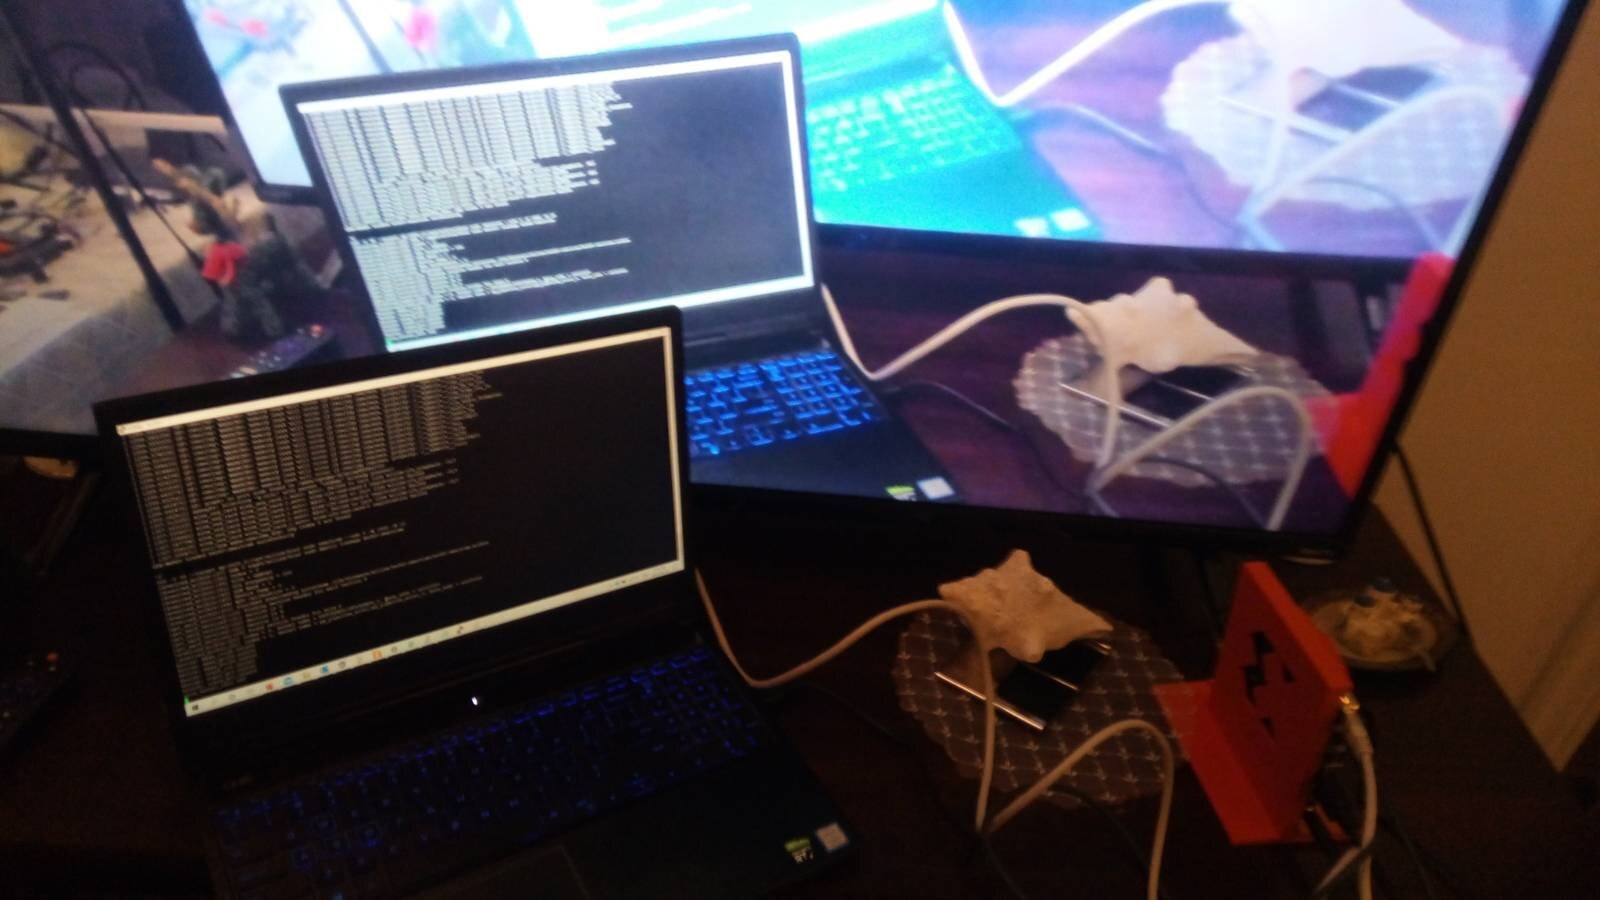
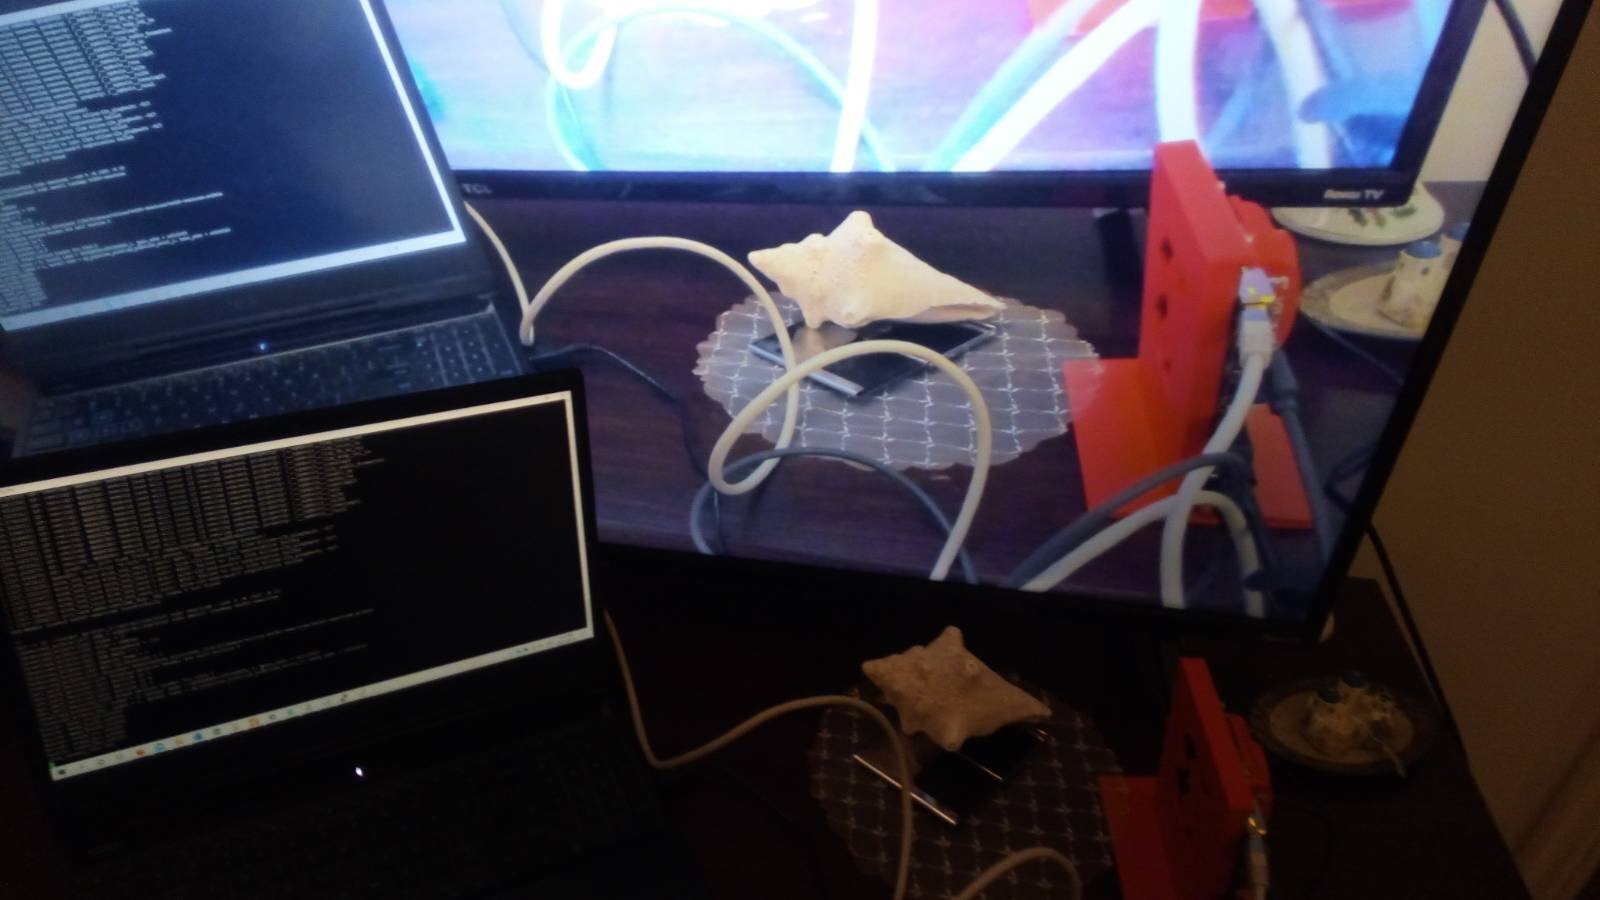
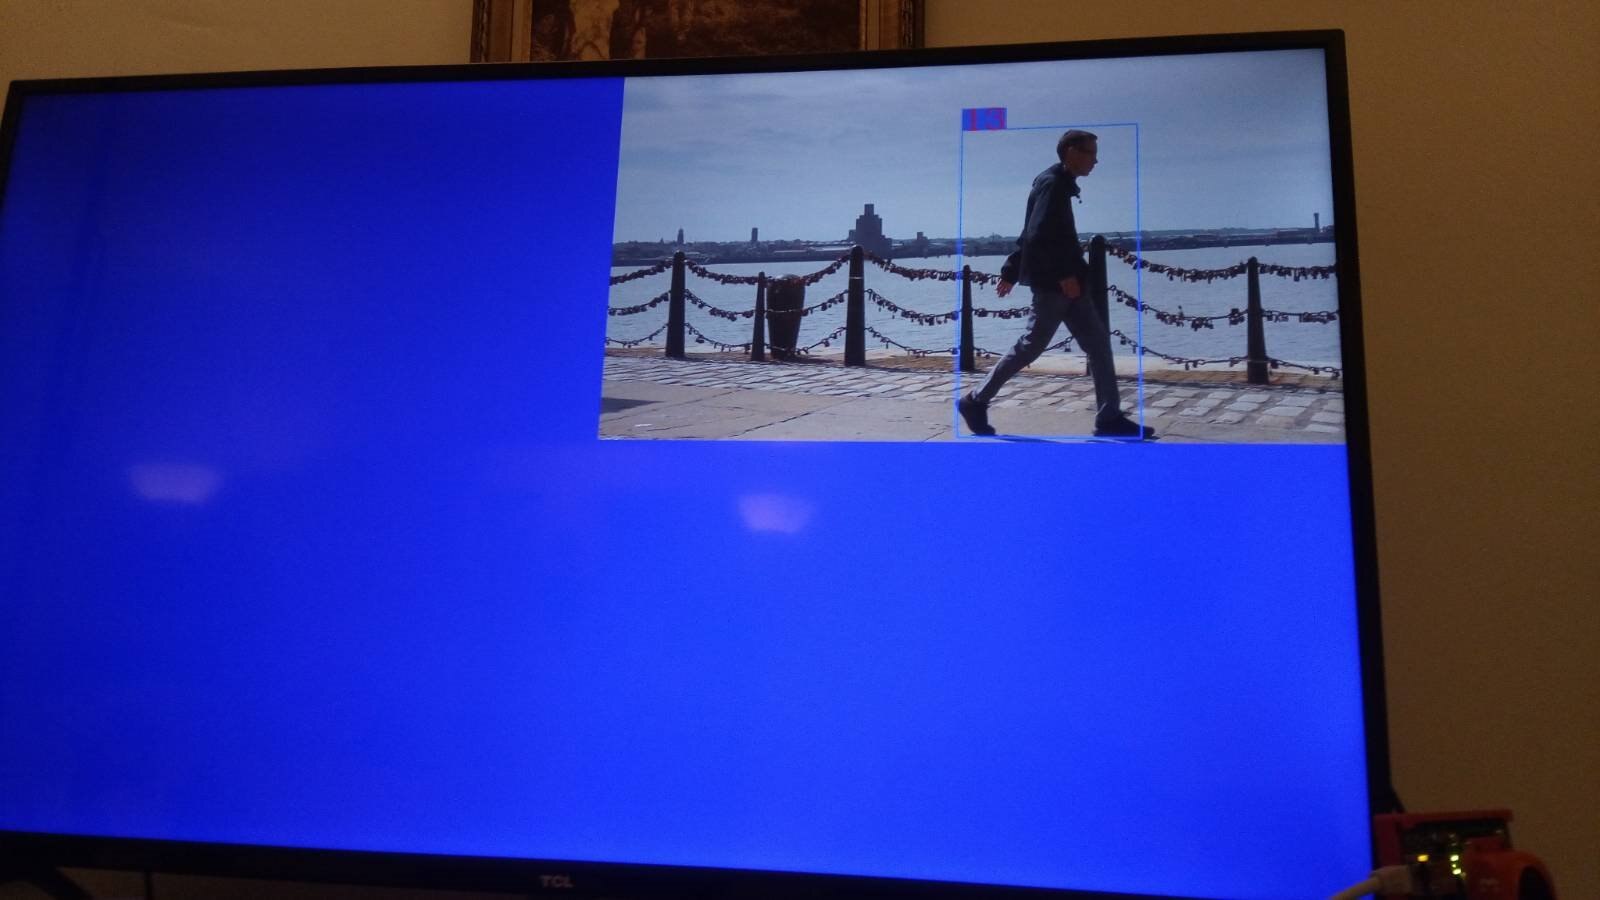
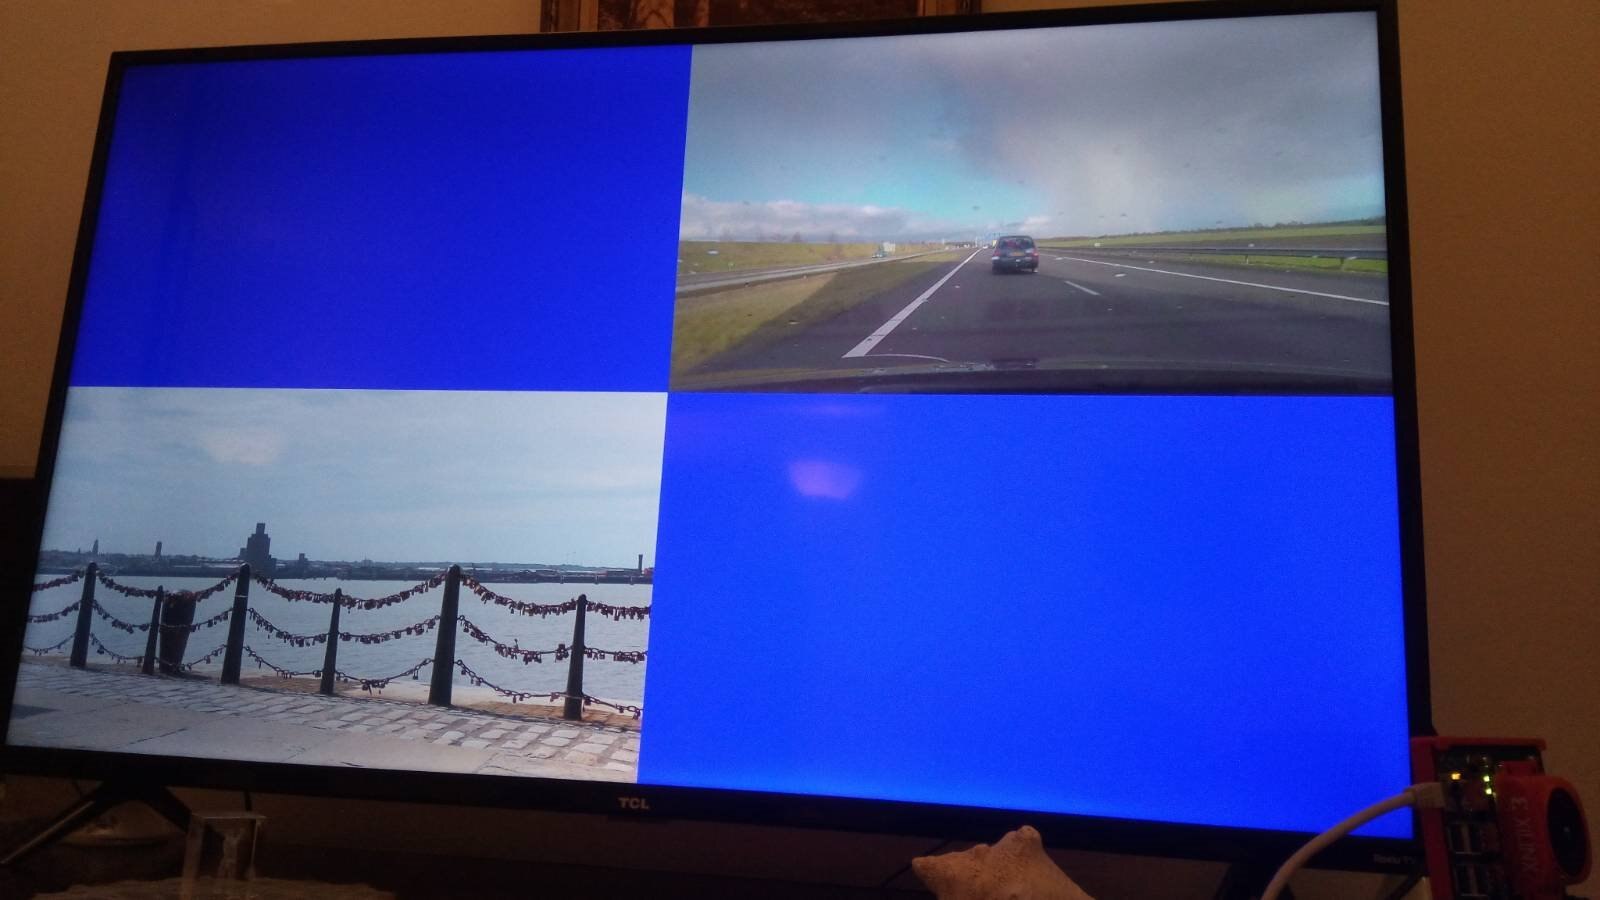
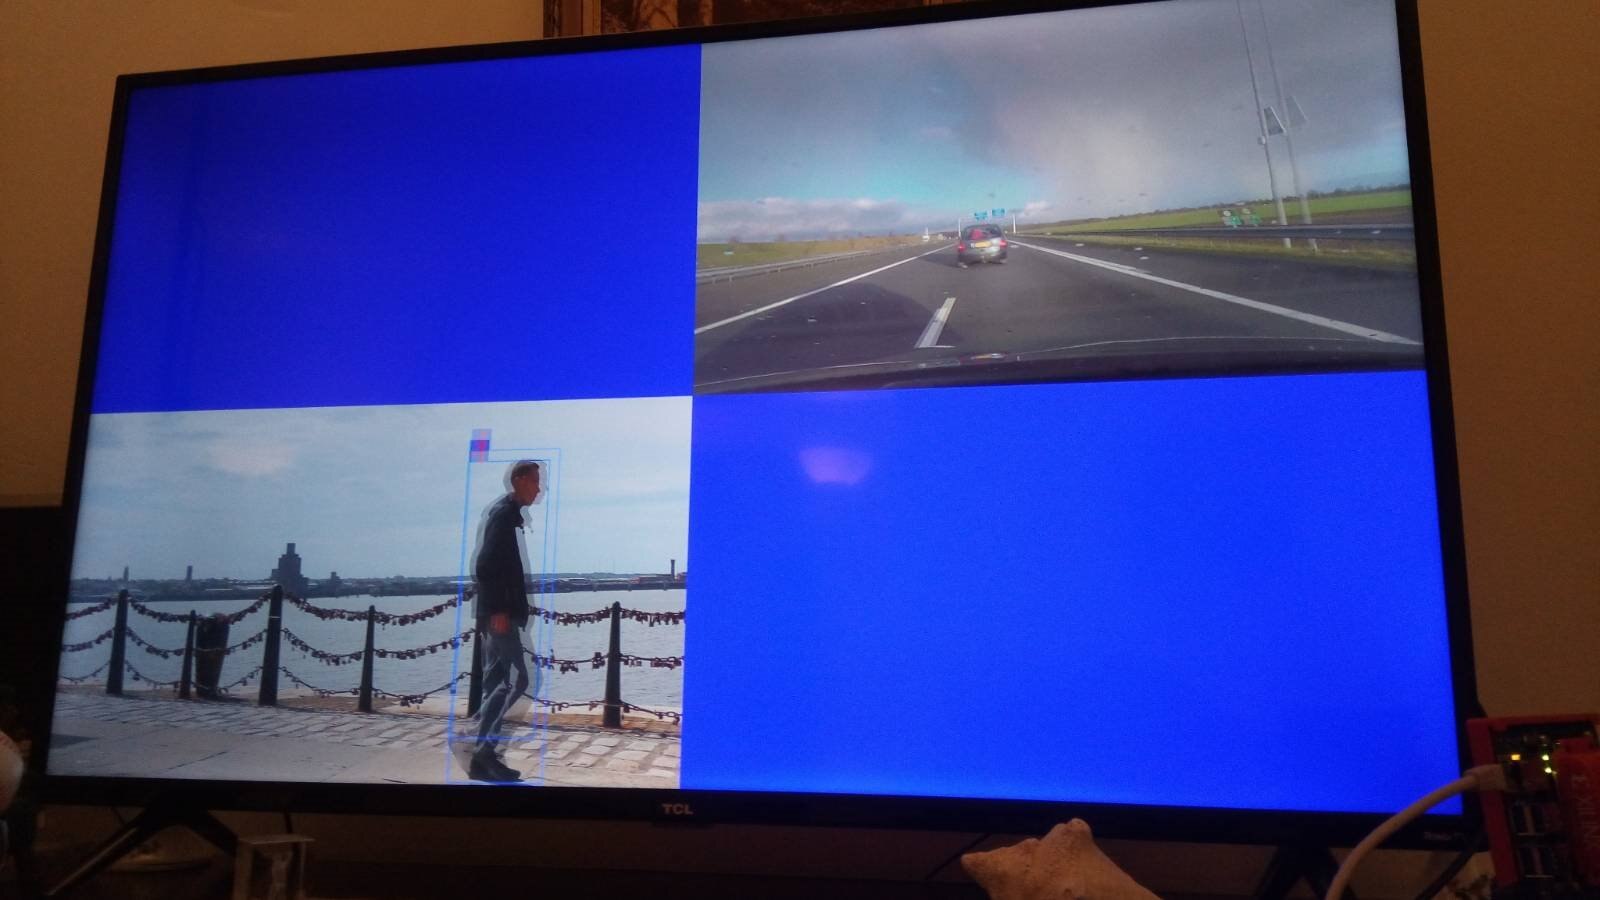
The AI BOX ReID app makes use of the video mixer IP.
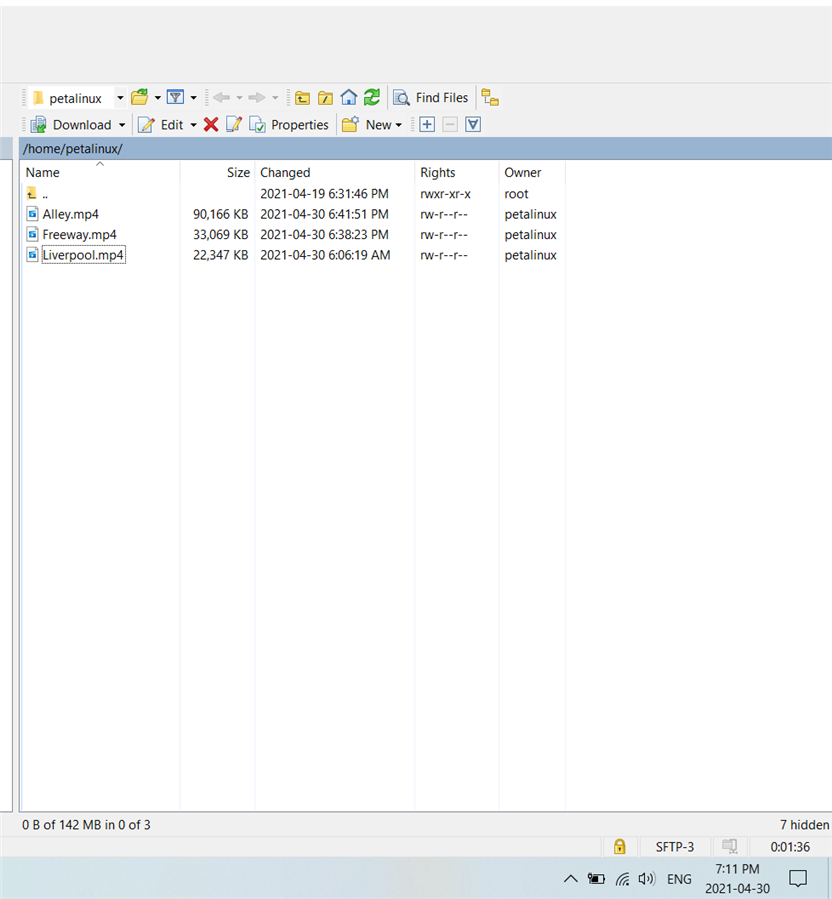
It can show up to 4 simultaneous video streams. The mixer IP video stream locations are given as a parameter. Here you can see video mixer positions 1 and 2.
The -p flag at the end is the video location on the mixer palette. Location are specified as 0-3.
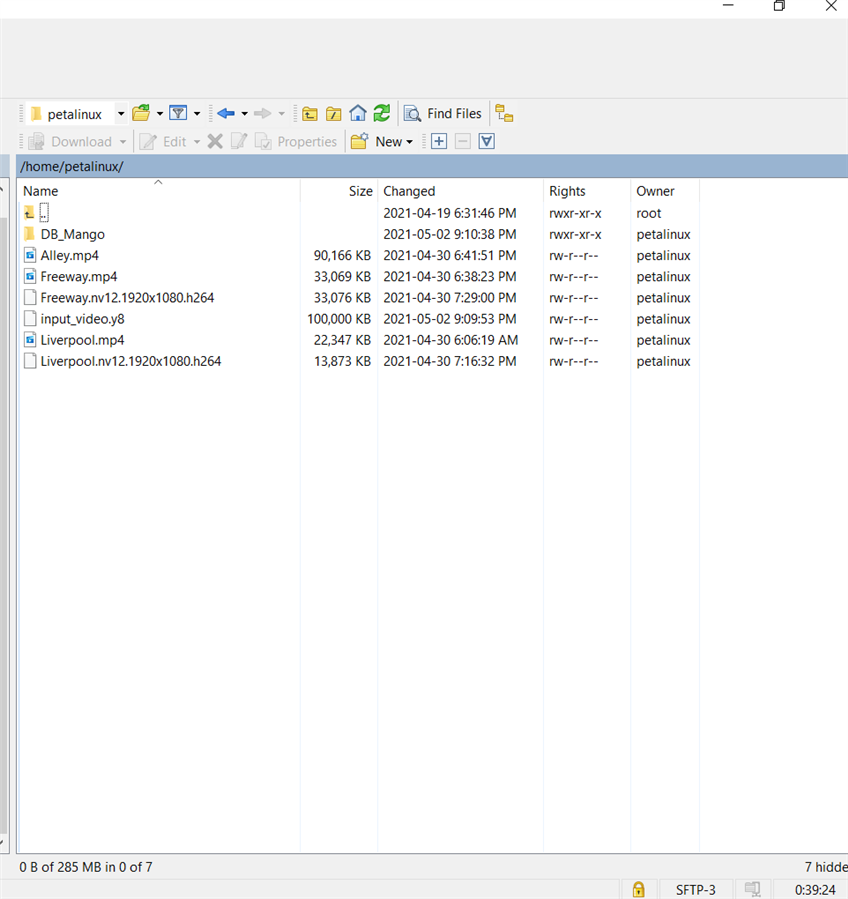
sudo aibox-reid -s /home/petalinux/Liverpool.nv12.1920x1080.h264 -t file -p 2 -s /home/petalinux/Freeway.nv12.1920x1080.h264 -t file -p 1
7. Defect detection
The last of the three apps is an offline app that detects defects using a Vitis accelerated image processing pipeline.
To test this app, one has to download the DB_mango folder and then create an y8 viode file from the snapshots using the following script.
Next copy the generated file under the home folder and provide the file to the defect detection app as input.
for file in ./*; do
f=$(echo "${file##*/}");
  filename=$(echo $f| cut -d'.' -f 1); #file has extension, it return only filename
  echo $filename
  gst-launch-1.0 filesrc location=$file ! jpegdec ! videoconvert ! videoscale ! video/x-raw, width=1280, height=800, format=GRAY8 ! filesink location=$filename.y8
done
cat Mango_*.y8 > input_video.y8
| {gallery} My Gallery Title |
|---|
|
|
|
|

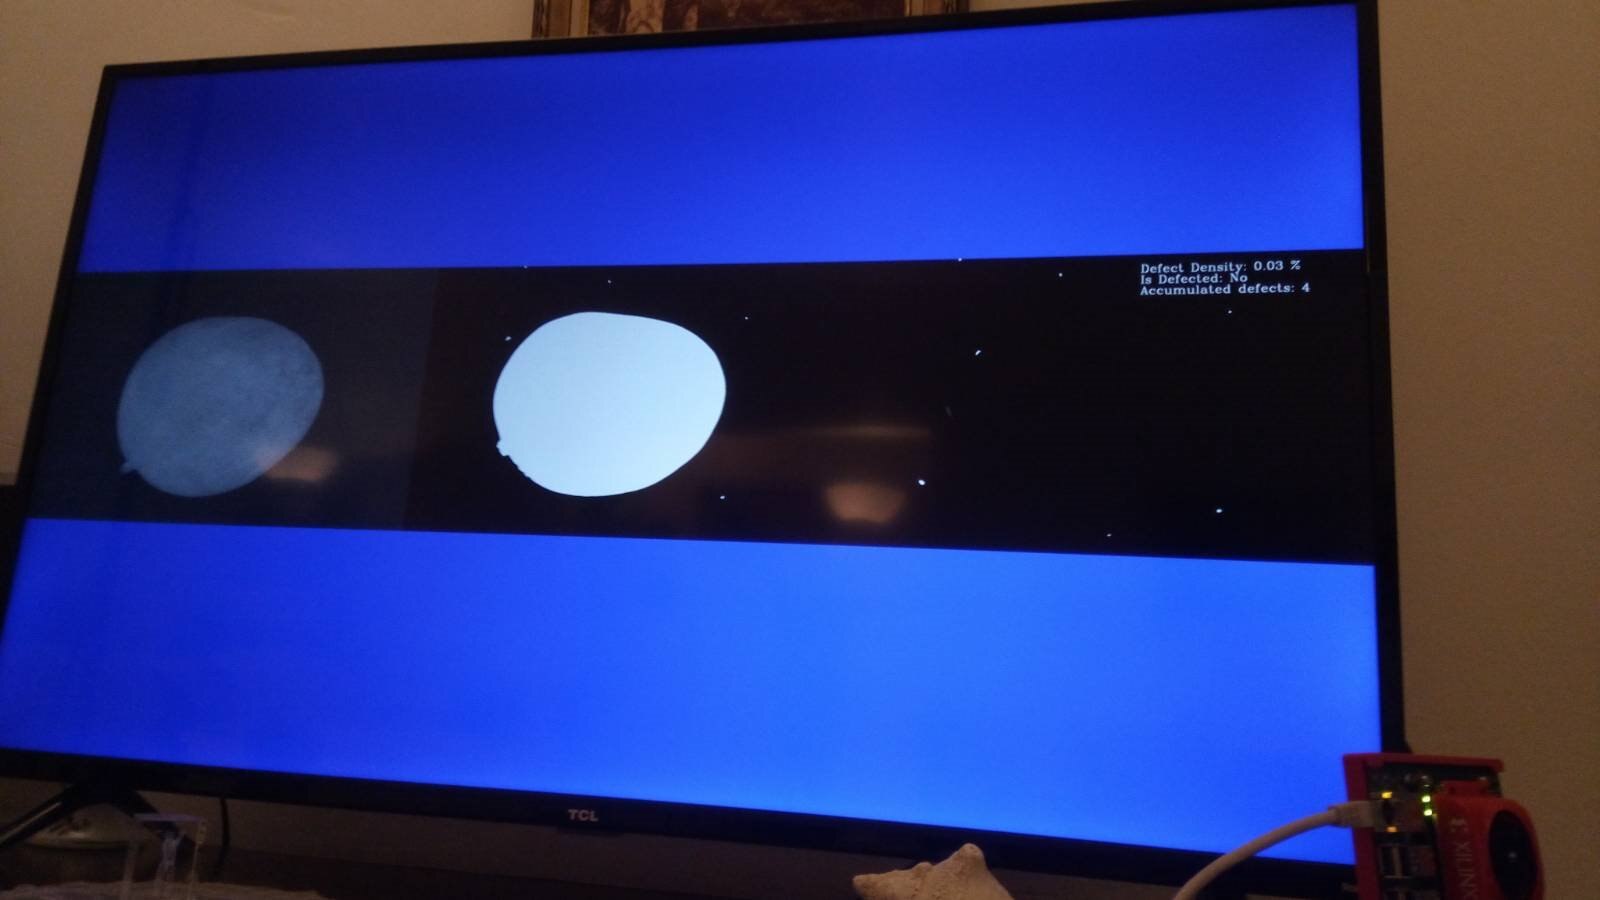
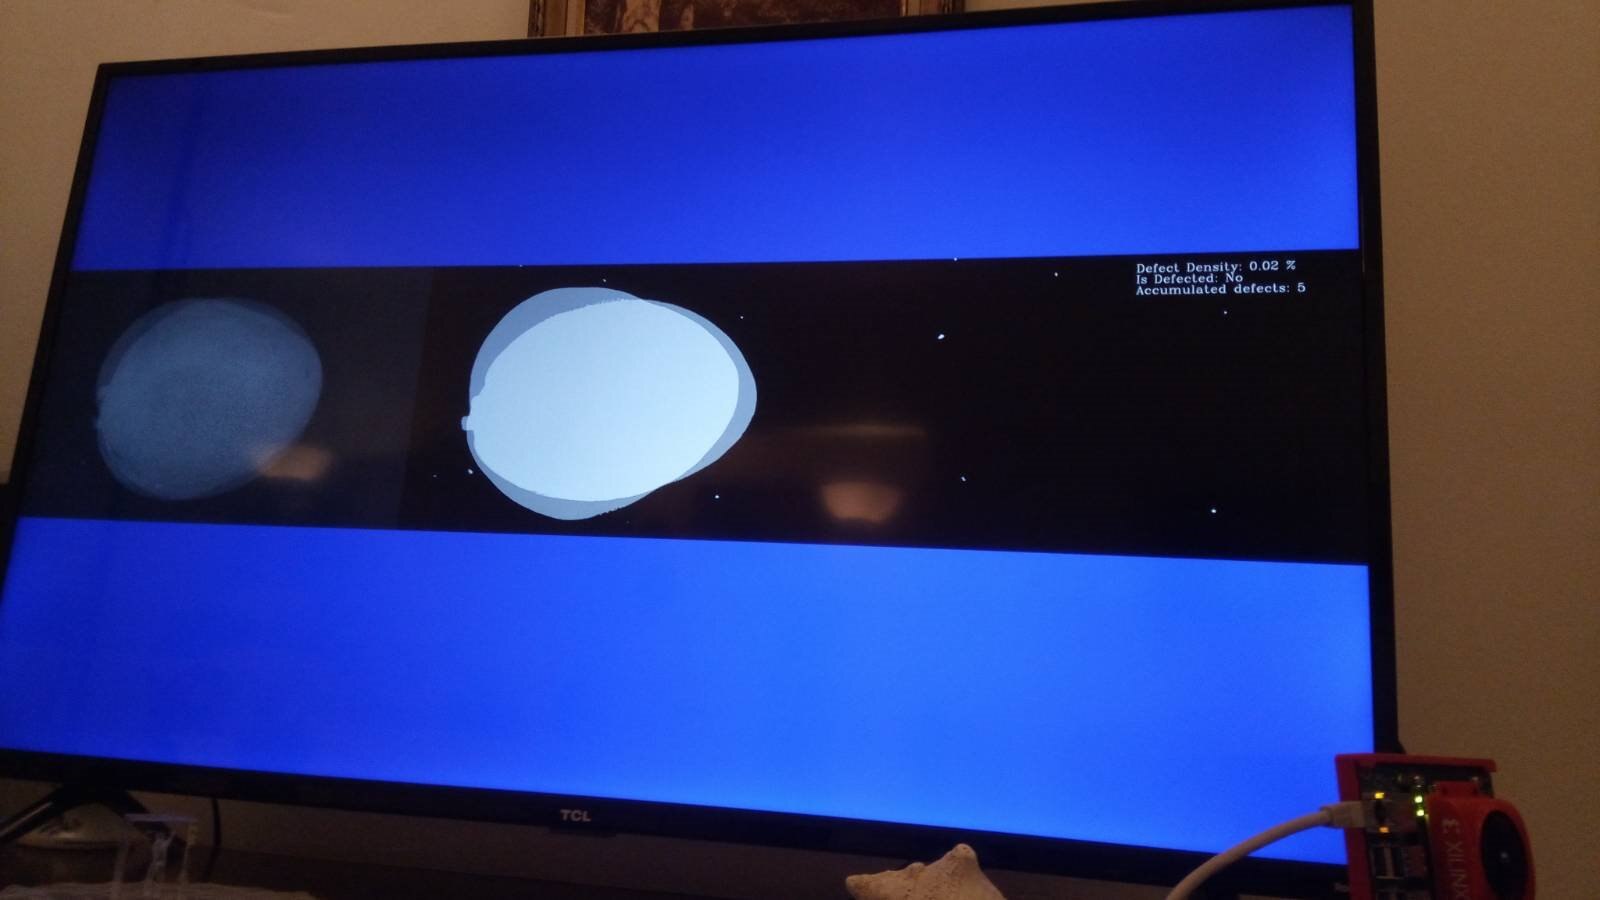

Video demo
8. Vivado setup
Vivado 2020.2.2 is the first public release that supports the K26 SOM and KV260 carrier board. No license is required for this chips.
If using the SOM , you'll find out that K26 (pat xck26-sfvc784-2LV-c) is not visible in the device catalog. To create a new project targeting the K26 SOM ,TCL commands can be used.
The Krian board files can be downloaded from 2020.2.2 Xhub.
The good
1. A smart camera vision platform for $199,
2. Really easy to setup in less than 4 min, from setup to having an AI camera demo. Yes, 4min!
3. Includes a VCU for on device video trans-coding. However cannot do simultaneous decode encode.
4. One can use it with HDMI or DP monitors
5. Includes an RPI camera connector
6. Carrier hardware design schematics are open
7. Includes 3 free AI app (SmartCam, AI REID , defect detection) from XIlinx and 2 other from 3'rd parties
8. 4 USB ports , finally.
9. Documentation is pretty good so far.
10. Adaptive compute for the masses.
The bad
1. No WIFI, at $199 this is a cost optimized hardware however the inclusion of the WIFI would make this much more user friendly.
2. This pre-production version did not include any MIPI camera , hence all the tests were done using a USB Brio camera.
3. Humming noise from fan is audible, if you're used to U96 V2 fanless heat sink.
Top Comments
-

Fred27
-
Cancel
-
Vote Up
+2
Vote Down
-
-
Sign in to reply
-
More
-
Cancel
Comment-

Fred27
-
Cancel
-
Vote Up
+2
Vote Down
-
-
Sign in to reply
-
More
-
Cancel
Children