element14 Community
element14 Community
    Register Log In
  • Site
  • Search
  • Log In Register
  • About Us
  • Community Hub
    Community Hub
    • What's New on element14
    • Feedback and Support
    • Benefits of Membership
    • Personal Blogs
    • Members Area
    • Achievement Levels
  • Learn
    Learn
    • Ask an Expert
    • eBooks
    • element14 presents
    • Learning Center
    • Tech Spotlight
    • STEM Academy
    • Webinars, Training and Events
    • Learning Groups
  • Technologies
    Technologies
    • 3D Printing
    • FPGA
    • Industrial Automation
    • Internet of Things
    • Power & Energy
    • Sensors
    • Technology Groups
  • Challenges & Projects
    Challenges & Projects
    • Design Challenges
    • element14 presents Projects
    • Project14
    • Arduino Projects
    • Raspberry Pi Projects
    • Project Groups
  • Products
    Products
    • Arduino
    • Avnet Boards Community
    • Dev Tools
    • Manufacturers
    • Multicomp Pro
    • Product Groups
    • Raspberry Pi
    • RoadTests & Reviews
  • Store
    Store
    • Visit Your Store
    • Choose another store...
      • Europe
      •  Austria (German)
      •  Belgium (Dutch, French)
      •  Bulgaria (Bulgarian)
      •  Czech Republic (Czech)
      •  Denmark (Danish)
      •  Estonia (Estonian)
      •  Finland (Finnish)
      •  France (French)
      •  Germany (German)
      •  Hungary (Hungarian)
      •  Ireland
      •  Israel
      •  Italy (Italian)
      •  Latvia (Latvian)
      •  
      •  Lithuania (Lithuanian)
      •  Netherlands (Dutch)
      •  Norway (Norwegian)
      •  Poland (Polish)
      •  Portugal (Portuguese)
      •  Romania (Romanian)
      •  Russia (Russian)
      •  Slovakia (Slovak)
      •  Slovenia (Slovenian)
      •  Spain (Spanish)
      •  Sweden (Swedish)
      •  Switzerland(German, French)
      •  Turkey (Turkish)
      •  United Kingdom
      • Asia Pacific
      •  Australia
      •  China
      •  Hong Kong
      •  India
      •  Korea (Korean)
      •  Malaysia
      •  New Zealand
      •  Philippines
      •  Singapore
      •  Taiwan
      •  Thailand (Thai)
      • Americas
      •  Brazil (Portuguese)
      •  Canada
      •  Mexico (Spanish)
      •  United States
      Can't find the country/region you're looking for? Visit our export site or find a local distributor.
  • Translate
  • Profile
  • Settings
Upcycle IoT Design Challenge
  • Challenges & Projects
  • Design Challenges
  • Upcycle IoT Design Challenge
  • More
  • Cancel
Upcycle IoT Design Challenge
Blog ColdCase - Blog #2 - The refrigerated cell
  • Blog
  • Forum
  • Files
  • Members
  • Mentions
  • Sub-Groups
  • Tags
  • More
  • Cancel
  • New
Join Upcycle IoT Design Challenge to participate - click to join for free!
  • Share
  • More
  • Cancel
Group Actions
  • Group RSS
  • More
  • Cancel
Engagement
  • Author Author: amgalbu
  • Date Created: 5 Jan 2024 3:14 PM Date Created
  • Views 332 views
  • Likes 6 likes
  • Comments 1 comment
  • coldcase
  • Upcycle IoT Design Challenge
Related
Recommended

ColdCase - Blog #2 - The refrigerated cell

amgalbu
amgalbu
5 Jan 2024

In this post, I will show how I built the refrigerated cell of the mini fridge

Other posts in this serie

  • ColdCase - Blog# 1 - Introduction
  • ColdCase - Blog #2 - The refrigerated cell
  • ColdCase - Blog #3 - Preparing the environment
  • ColdCase - Blog #4 - The software
  • ColdCase - Blog #5 - Final assembly
  • ColdCase - Blog #6 - The Android app
  • ColdCase - Blog #7 - Final assembly

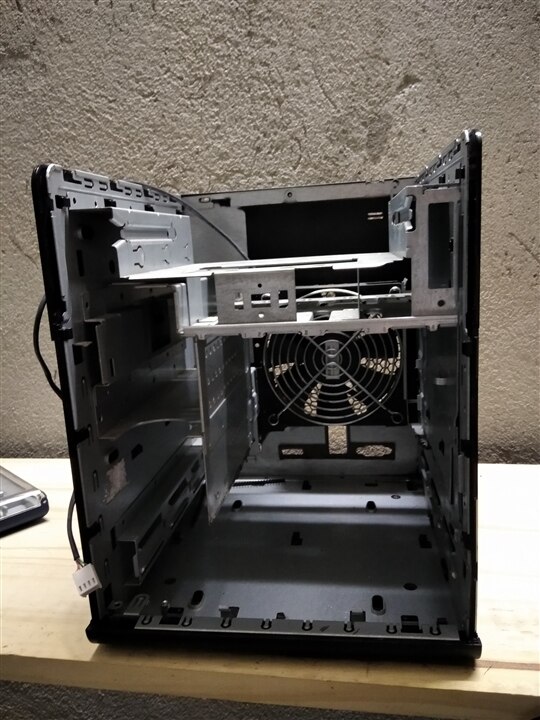
First of all, I removed the bottom part of the frame that used to host the Hard Disk drives. This will let me create a larger refrigerated cell

{gallery}Metalwork

image

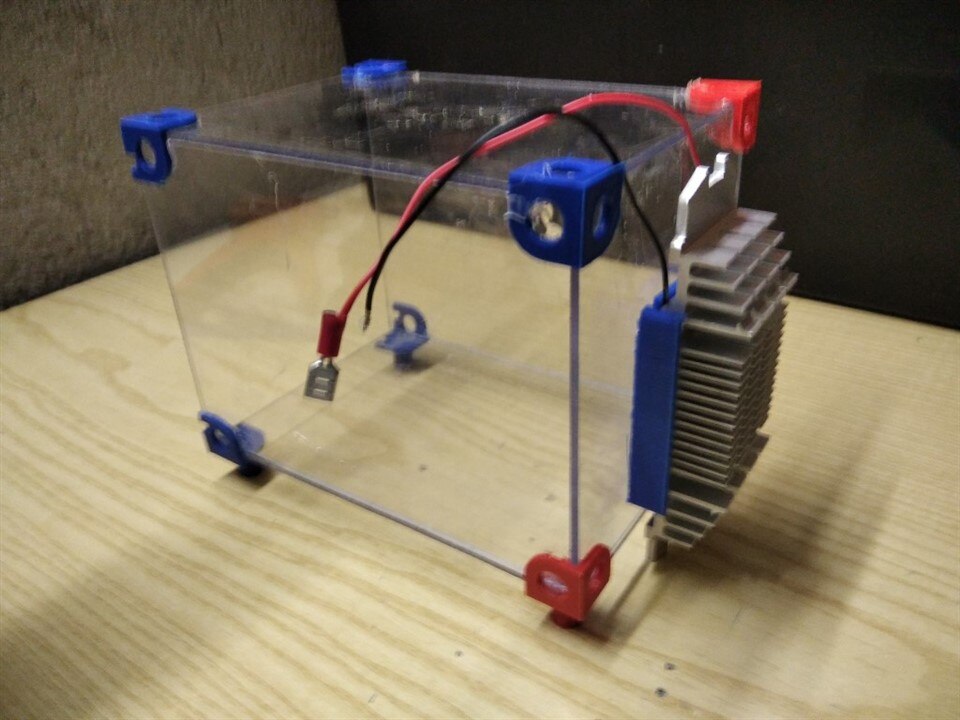
Then, I created a box made of Plexyglass and angular brackets. These will be the internal walls of the fridge. Brackets have 15-millimeters supports to keep the right distance from the external walls.

{gallery}The refrigerated cell

image

image

image

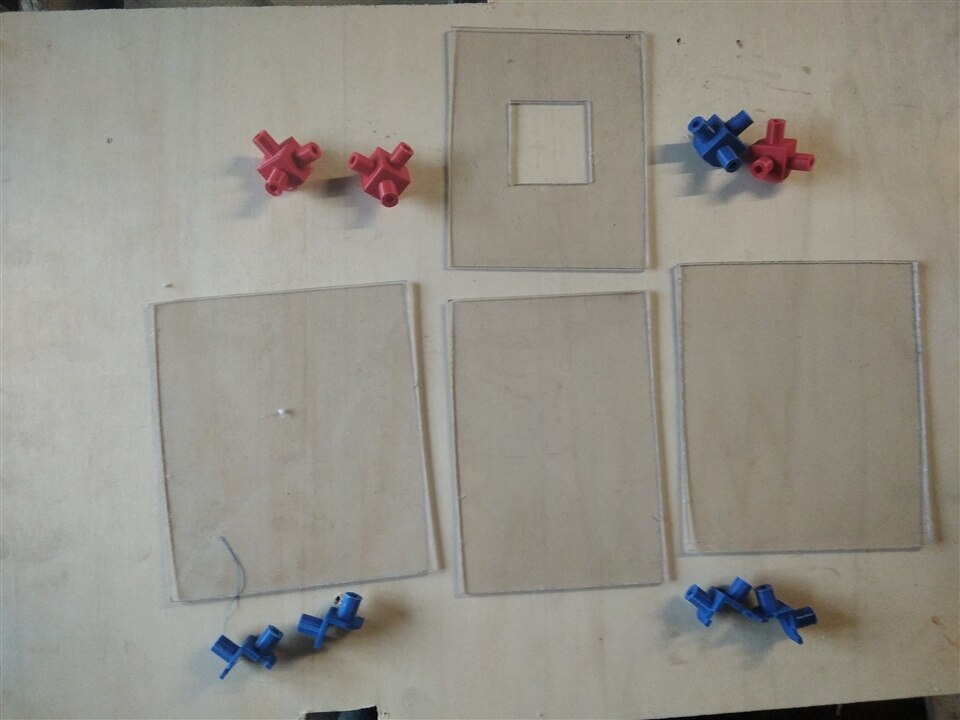
Brackets that are placed on the front side of the box also have some insets to keep a frame in place. 

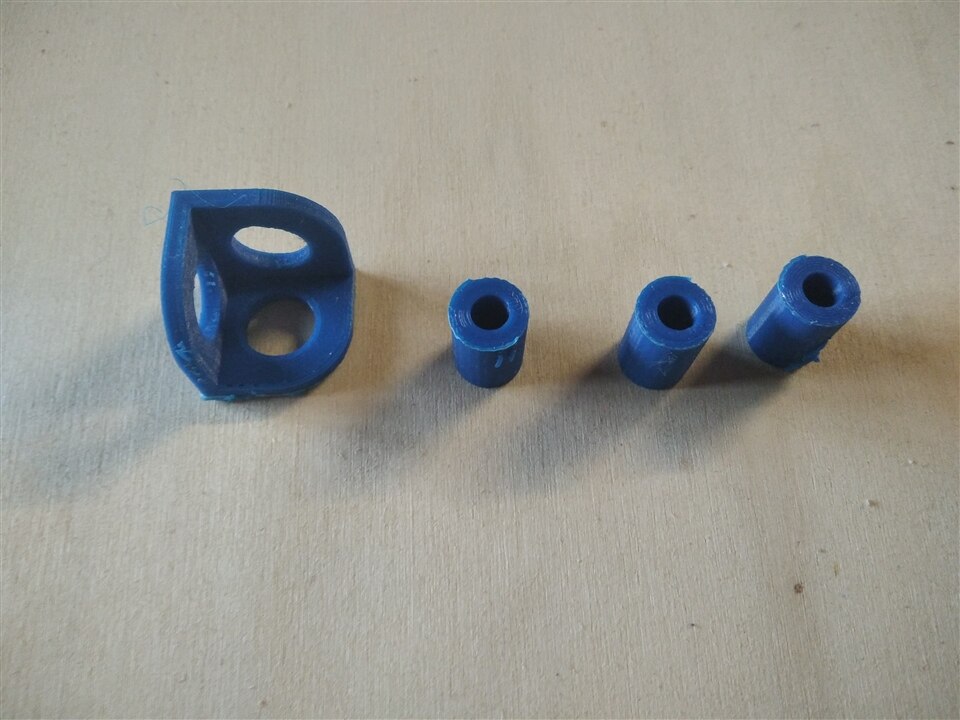
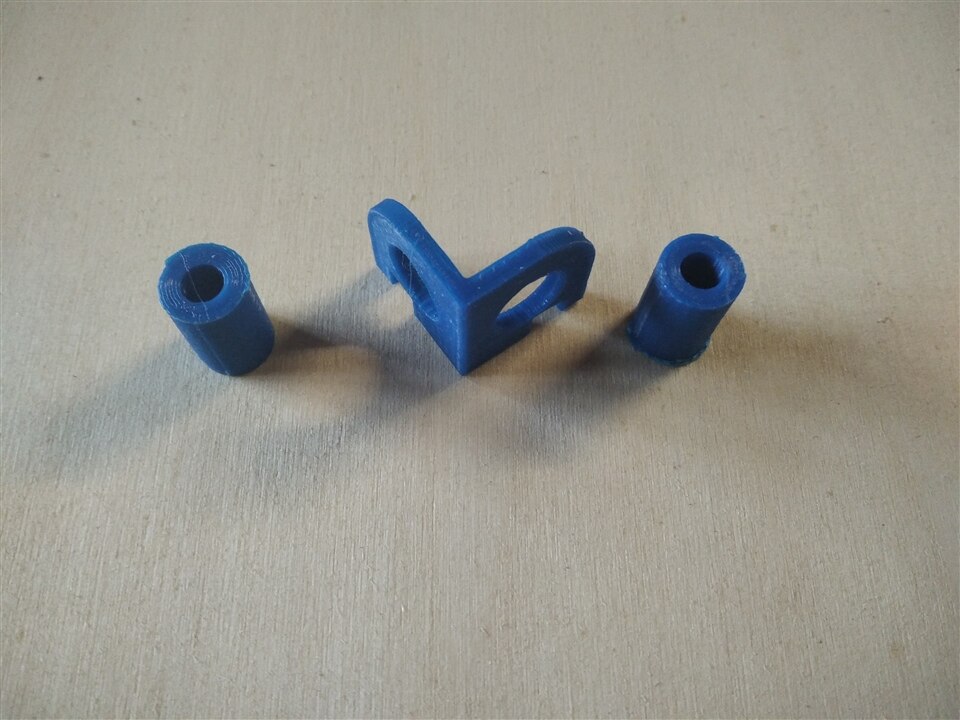
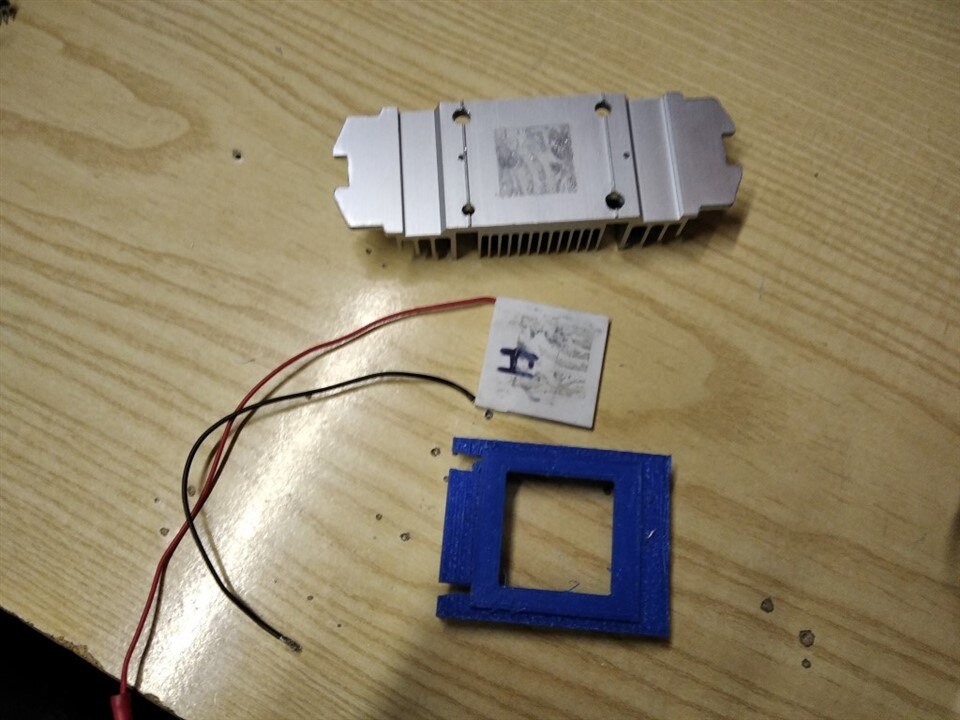
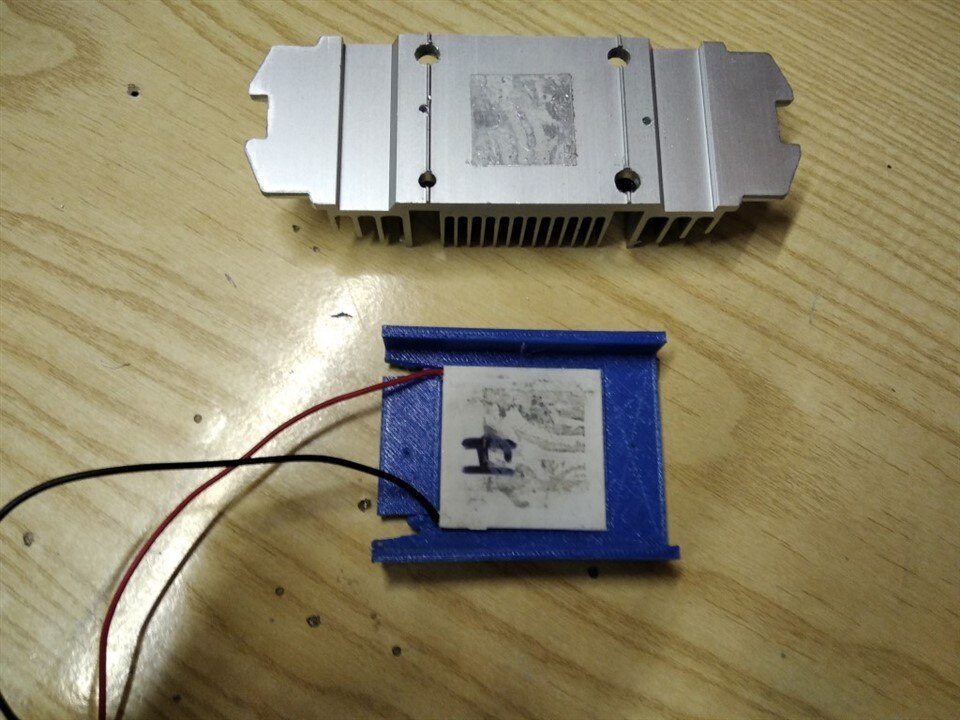
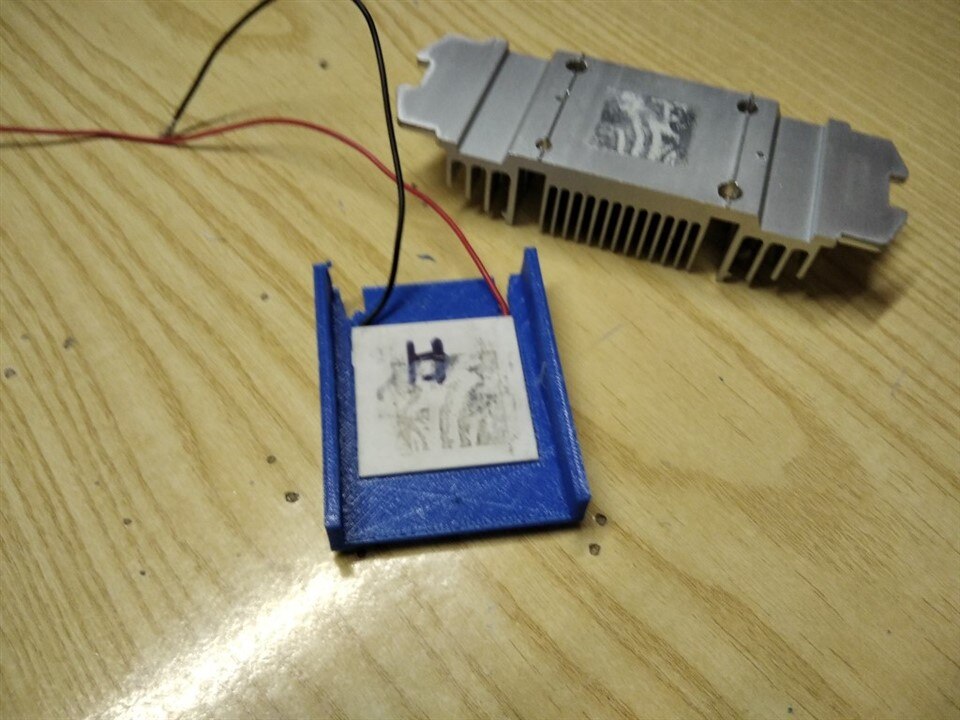
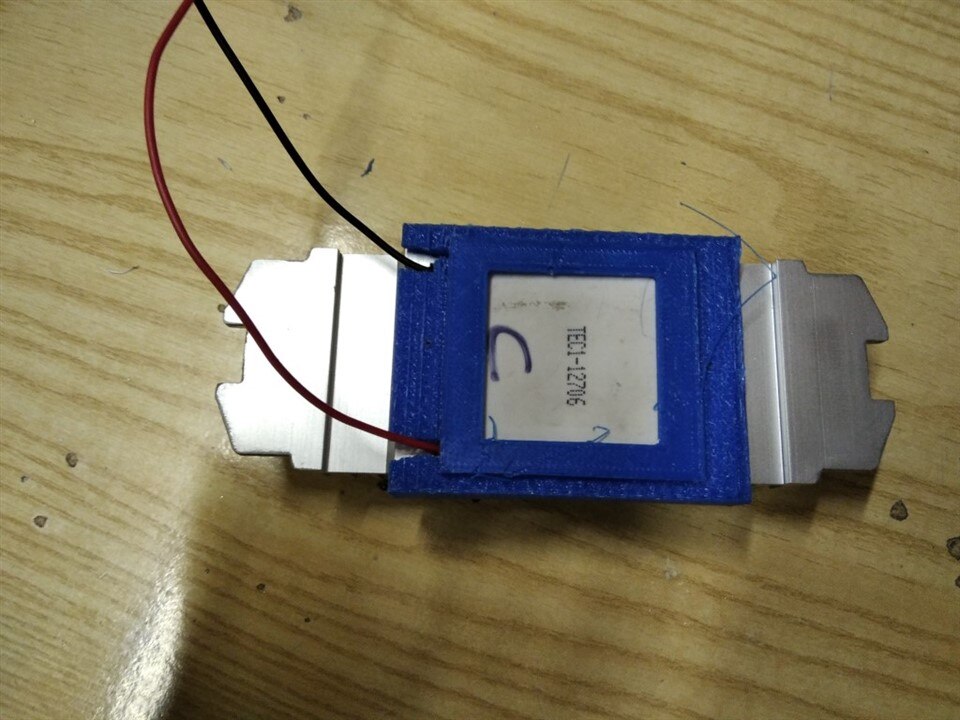
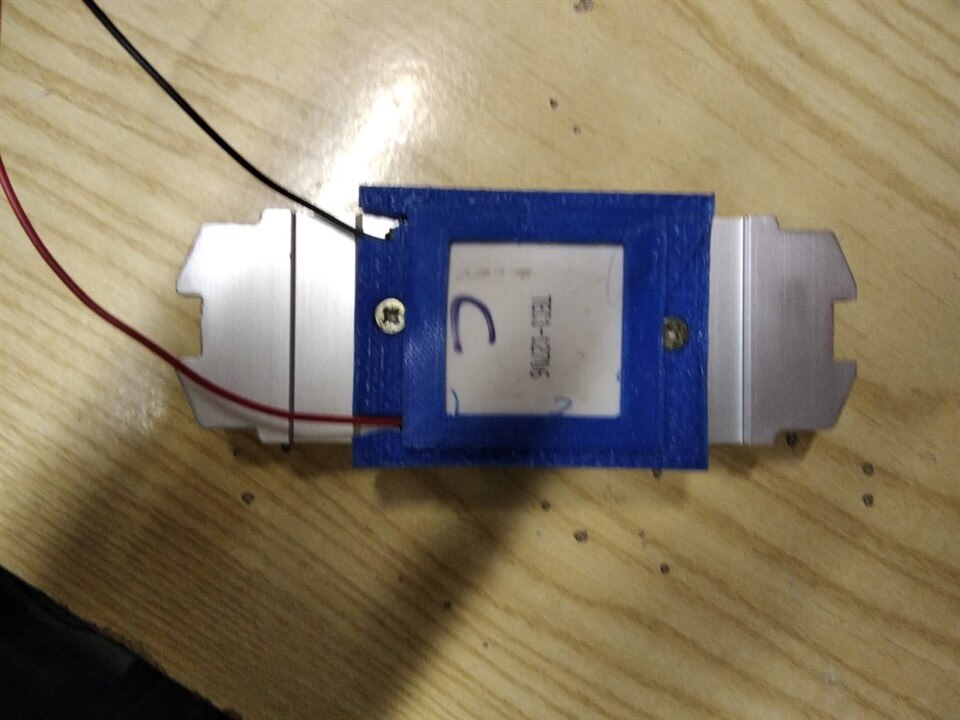
The wall on the back has a hole for the Peltier cell. Peltier cell and heatsink are kept in place by a 3D-printed support made of TPU. I chose TPU because it has a better heat resistance and is flexible. Thanks to this flexibility, I can position both the Peltier cell and the heatsink without need for extra screws. 

{gallery}Installing the Peltier Cell

image

image

image

image

image

image

image

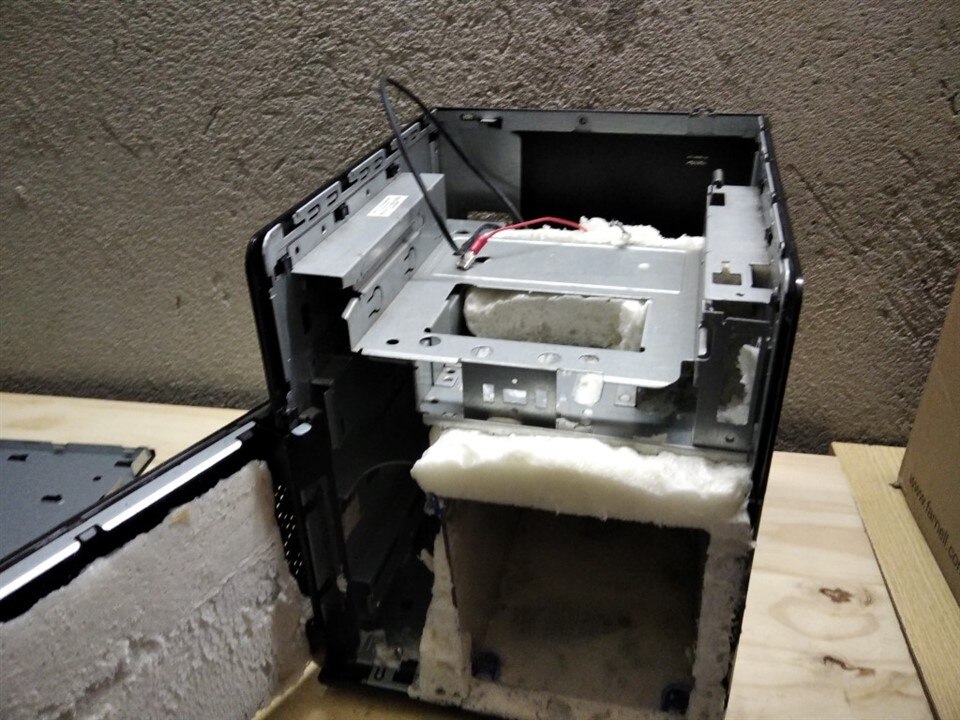
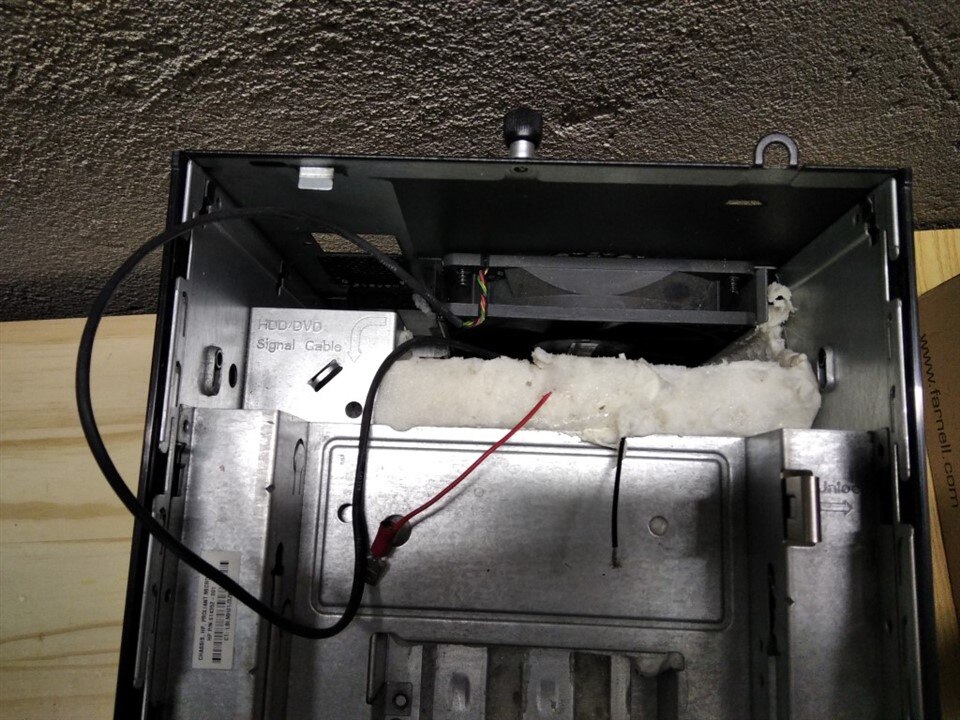
Box has been put in place and covered with expanded polyurethane foam. Excesses have then been trimmed using a cutter

{gallery}Cell covered with foam

image

image

image

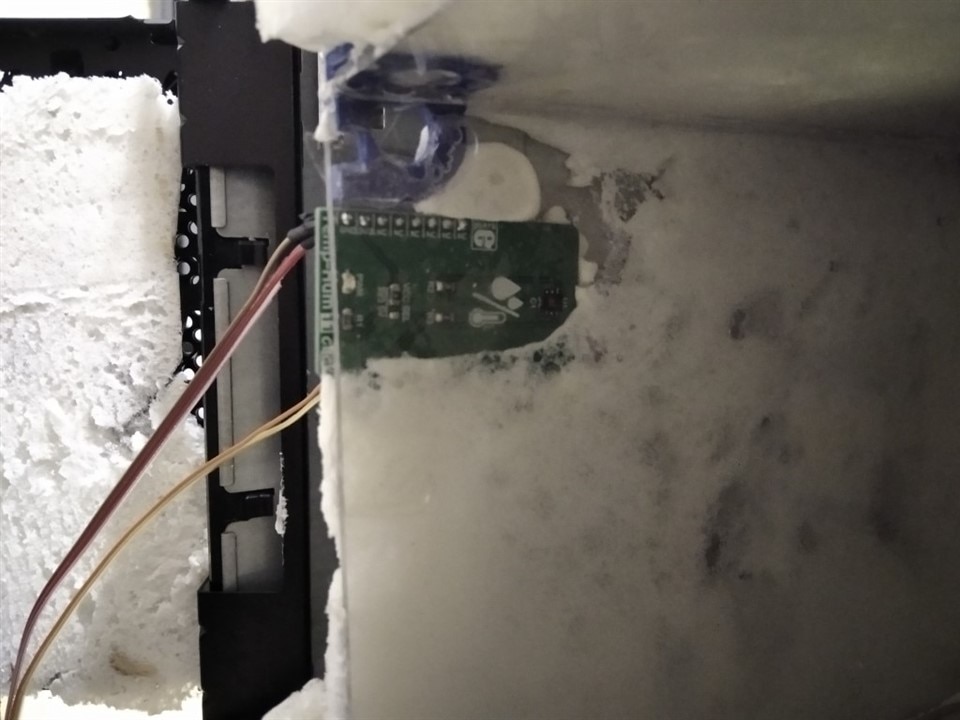
The Temp&Hum Click board has been put in place and covered with insulating material (not foam, to make it easy to access and replace in case of issues)

image

Finally, I mounted back in place the power supply

image

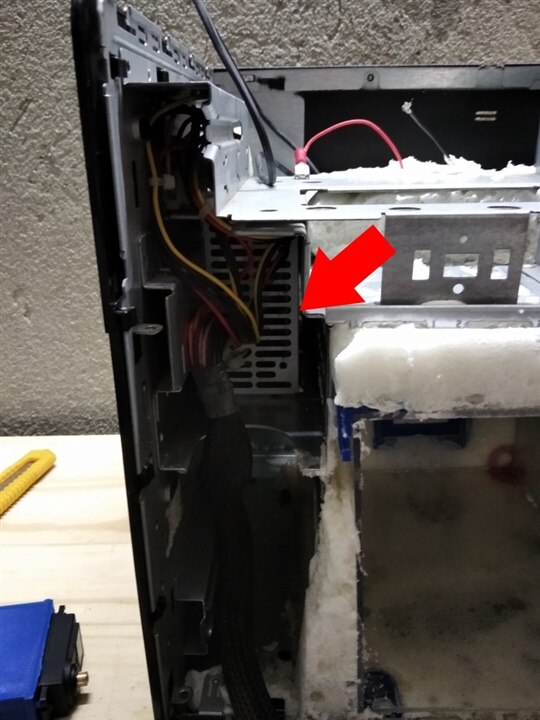
Everything is ready to install the control board with all the electronic components. Stay tuned for the next blog!


  • Sign in to reply
Parents
  • DAB
    DAB over 1 year ago

    I am interested to see how well this implementation works.

    • Cancel
    • Vote Up 0 Vote Down
    • Sign in to reply
    • More
    • Cancel
Comment
  • DAB
    DAB over 1 year ago

    I am interested to see how well this implementation works.

    • Cancel
    • Vote Up 0 Vote Down
    • Sign in to reply
    • More
    • Cancel
Children
No Data
element14 Community

element14 is the first online community specifically for engineers. Connect with your peers and get expert answers to your questions.

  • Members
  • Learn
  • Technologies
  • Challenges & Projects
  • Products
  • Store
  • About Us
  • Feedback & Support
  • FAQs
  • Terms of Use
  • Privacy Policy
  • Legal and Copyright Notices
  • Sitemap
  • Cookies

An Avnet Company © 2025 Premier Farnell Limited. All Rights Reserved.

Premier Farnell Ltd, registered in England and Wales (no 00876412), registered office: Farnell House, Forge Lane, Leeds LS12 2NE.

ICP 备案号 10220084.

Follow element14

  • X
  • Facebook
  • linkedin
  • YouTube