Welcome to
image
MiniZedTm is a single-core Zynq 7Z007S development board. This board targets entry-level Zynq developers with a low-cost prototyping platform.
image

Technical Specification

The MiniZed provides for an efficient hardware reference design with a Cortex A9 processor core.  It is an inexpensive board that can be used to run workshops and tutorials. Product Brief (Datasheet)

Click on the images to enlarge

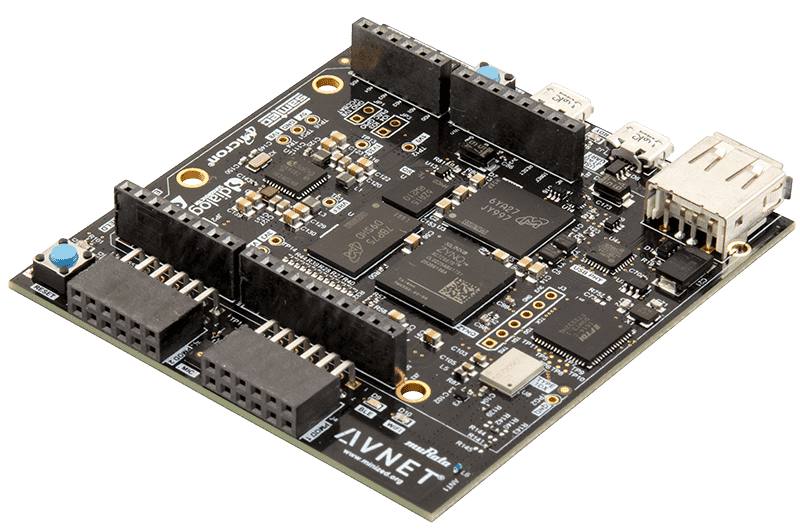
Top View
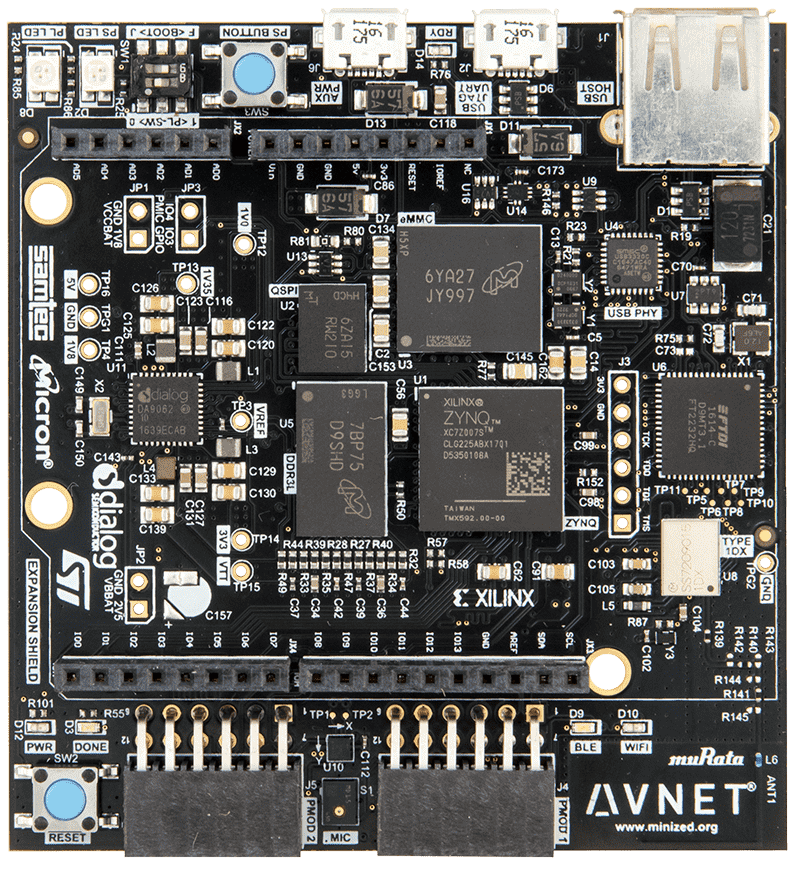
MiniZed Top View
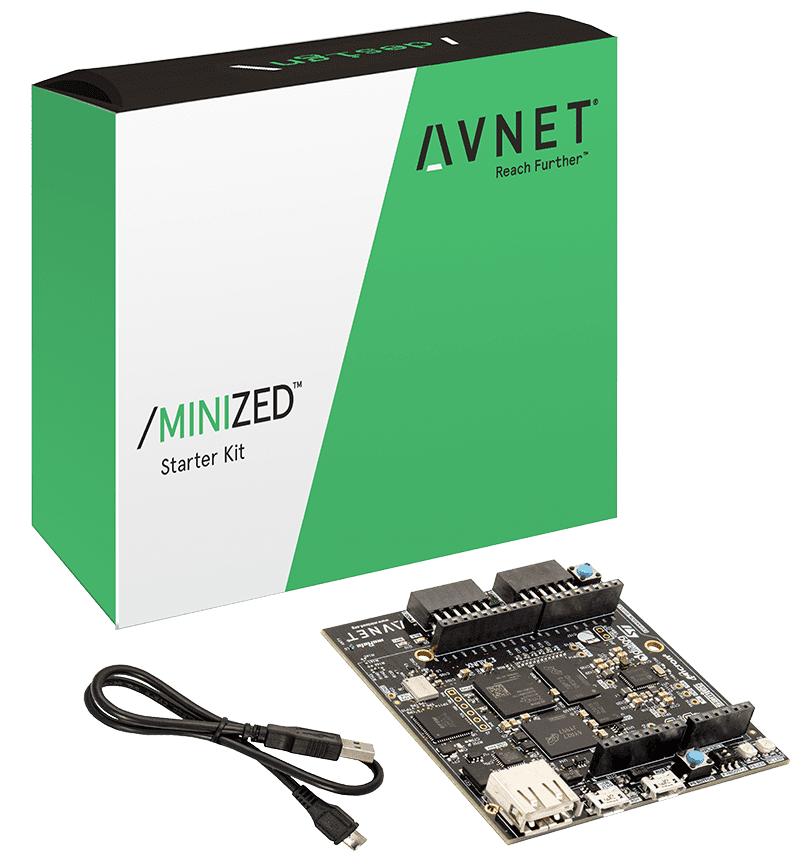
Kit
Kit
Antenna View
Antenna View
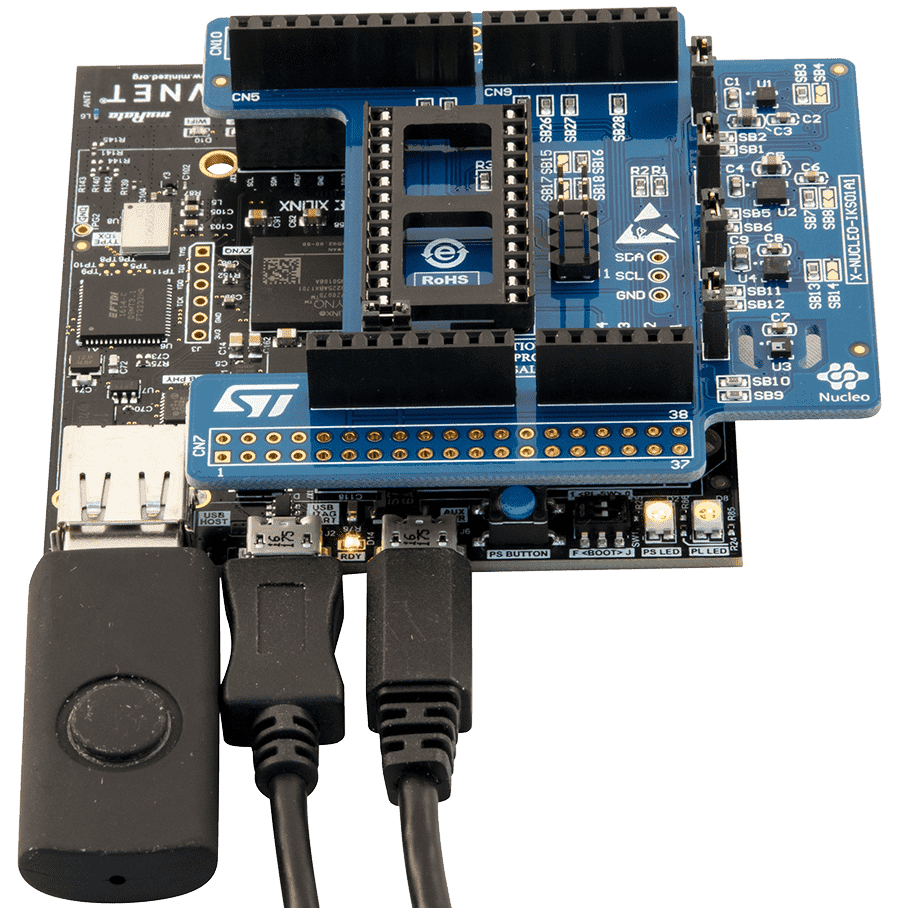
USB & Cable
USB & Cable
Block Diagram
Block Diagram

Hardware Specification

Specification Description
On-board connectivity through the Murata "Type 1DX" wireless module provides:
  • Wi-Fi 802.11b/g/n
  • Bluetooth 4.1 plus EDR and BLE (Bluetooth Low Energy)
On-board memory from Micron
  • 512 MB DDR3L
  • 128 Mb QSPI flash
  • 8 GB eMMC
Peripherals can be plugged into
  • Dual Pmod-compatible connectors (16 GPIO)
  • Arduino-compatible shield interface (22 GPIO)
  • USB 2.0 host interface
Physical interface
  • Two bi-element user LED’s
  • User pushbutton
  • Reset pushbutton
  • User switch
The integrated power supply from Dialog generates all on-board voltages.  An auxiliary microUSB supply input can be used to power designs that require additional current.
On-board MEMS sensors from ST Micro
  • LIS2DS12 Motion and temperature sensor
  • MP34DT05 Digital Microphone

Reference Designs

H264 Video Streaming on Avnet MiniZed

SDSoC Baremetal Platform - Xilinx Matrix Multiply Example

Tutorial 01 Build a Zynq Hardware Platform

Tutorial 02 First Application - Hello World

Tutorial 03 Generate and Run Test Applications

Tutorial 04 FSBL and Boot from QSPI

Tutorial 06 PL SPI Controller

Tutorial 01-08 Solutions

MJPEG Video Streaming over Wi-Fi on MiniZed using the TDNext Pmod

Prebuilt Platforms Using Hardware Definition Files (HDFs)

Technical Documents

Getting Started Guide

Restore QSPI and eMMC Factory Images

Errata and Product Change Notices

Board Definition Files

Related Blog Posts
  • [PP-09] Lab 6 - usage of DMA for improving data flow between PL and PS

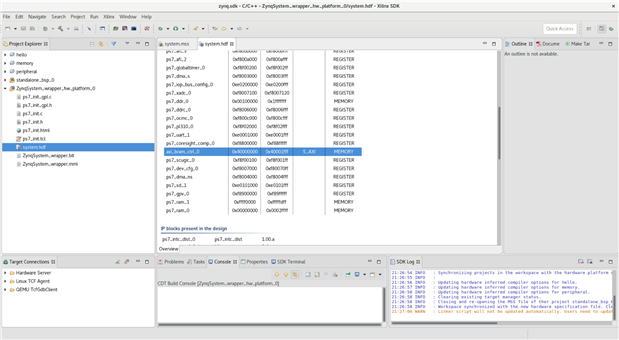
    In this lab we will enable PS DMA engine to improve data flow between PL-based BRAM and external DDR3 memory. We will base on project from lab 5. We need to launch SDK. Then we need to check if in system.hdf there is present BRAM IP block.Now pl...
  • [PP-08] Lab 5 - Adding a peripheral in programmable logic

    In this lab we will create a Block RAM in the programmable logic which can be used to buffer data going between the PS and PL. 1. How to add BRAM from IP CatalogOpen block design with ZYNQ7 processing system. Choose the Add IP button on the shor...
  • Labs 4-5-6 done! Path to the end???

    I have finished Labs 4, 5, and 6! About:Through Avnet, Xilinx and Element14, a training program to learn about the Zynq 7000 platform which is System On Chip combining an FPGA with an ARM processor. This comes to the students as complete develop...