


Index of the Moto Mods Developer project:
Moto Mods Developer Part 1 - Getting Started - Virtual Machine Setup and Linux Install
Moto Mods Developer Part 2 - Getting Started - SDK Setup & Android Studio Install
Moto Mods Developer Part 3 - Firmware Setup
Moto Mods Developer Part 4 - Getting Started - Make Build-Folder, add Utility and OS files
Moto Mods Developer Part 5 - Flashing Firmware with MDK Utility
Moto Mods Developer Part 6 - Blinking an LED on the Moto Mods Perfboard
Moto Mods Developer Part 7 - Modifying the C file for the perfboard LED
Moto Mods Developer Part 8 - Configure Nuttx
Moto Mods Developer Part 9 - Updating the Hardware Manifests file
Moto Mods Developer Part 10 - Cont’d Configure and Compile Nuttx
Moto Mods Developer Part 11 - Load newly created Nuttx Firmware onto Reference Board
Moto Mods Developer Part 12 - Soldering the Test Points to use the perfboard
Moto Mods Developer Part 13 - Making custom App to control the Firmware
The Moto Mods expansion for the Moto Z phones is not for the average tinkerer.
I set out to do the "hello world" of hardware design, blink an LED. Once you can do that, sky's the limit.
So, let's start from the beginning, part 1, getting set up:
To setup everything you need to develop with Moto Mods i’ve split this setup tutorial into 2 articles. The first one showing you how to setup Android studio and the Moto Mods SDK in Linux, which requires the setup of a virtual machine if using any other OS. The second article, showing you how to install all the firmware tools you will need for development.
Two software tools are required for developing on Moto Mods platform: Android Studio 2.0+ and the Moto Mods SDK Library. Your application can be made on any Android Studio platform. Firmware development at this point requires Linux. To develop the firmware using windows, we will setup a Virtual Machine (VM) using VirtualBox and version 16.04 of Ubuntu.
A little background about what we're about to do. In order to develop with Moto Mods, we need to install and configure:
- Android Studio - To develop android applications to control the Moto Mods MDK functionality
- Moto Mods SDK - To access hardware through API calls in your application
- Flashing and Debugging tools for Firmware - OpenOCD, GDB, USB and FTDI libraries
- Firmware runs Nuttx OS (RTOS) on the MuC - We need to build and Compile Nuttx in Ubuntu
- Nuttx to be configured with the standard Linux menuconfig utility
- Compile the MuC bootloader, muc-loader is a bootloader for Nuttx on STM32L4 devices
- Flash the MuC with either the MDK Utility Android App on the Moto Z Droid or via SWD using OpenOCD
These tools are all provided from the github repository: https://github.com/MotorolaMobilityLLC
The Mod Mods MDK comes with a backplate pictured below that attaches to the back of the Moto Z Droid via magnets and pogo pins. This Adapter, they call a reference Moto Mod, pictured on the right, that attaches directly to the phone and has a slot and connector for prototyping with anyone of the personality cards. The Perforated Board is then plugged into the connector on the reference Moto Mod, then the cover over that, pictured on the left. The Reference Board is where we will load the firmware. Built in is an Cortex-M4 based STML476, it provides onboard control of the GPIO and various standard interfaces.
From Moto Mods Developer Website:
“The example Personality Cards require custom firmware on the Reference Moto Mod to run. Each Personality Card includes an onboard EEPROM queried by the MuC (STML476) bootloader on attach. If needed, the MuC bootloader will request the Moto Z to download and install the latest firmware needed for the attached personality card.
IMPORTANT:
When using the Perforated Board, or Pi HAT Adapter Board, don’t forget to create a custom bootloader for your MuC that includes your unique VID/PID, or the prototype VID 0x42. If you don’t you’ll end up overwriting your custom firmware with the default MuC firmware each time you boot!”


Install Ubuntu on a Virtual Machine
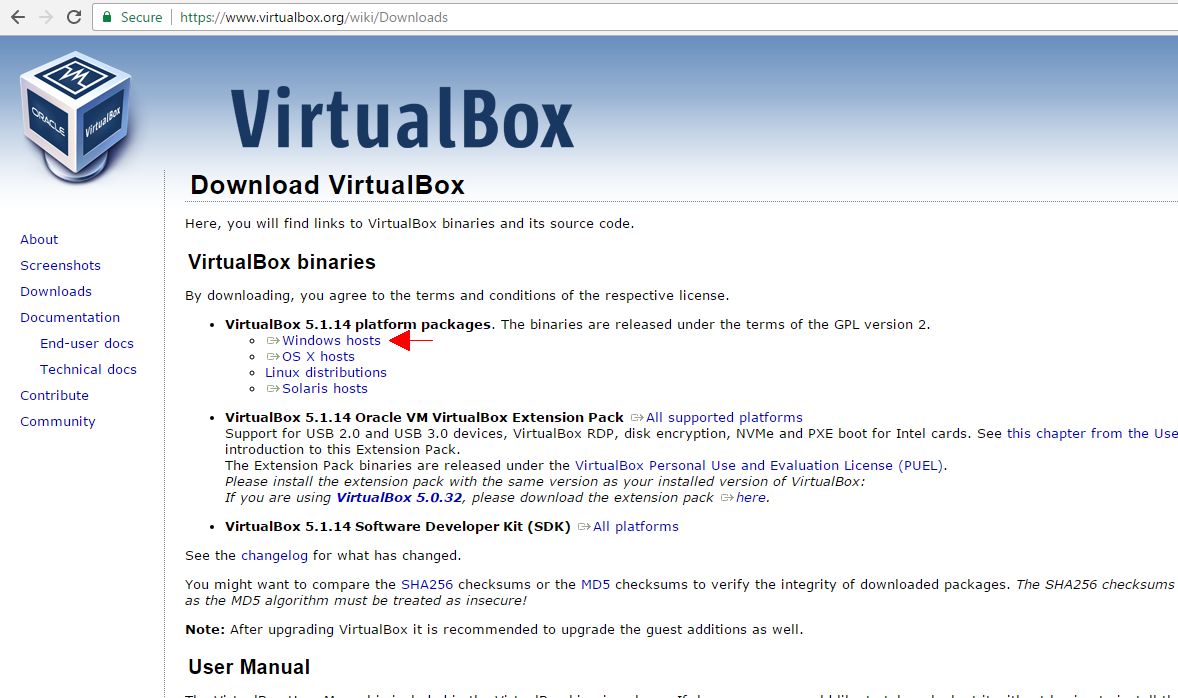
Download VirtualBox from the link above, since we are using Windows, download from the “Windows hosts” link
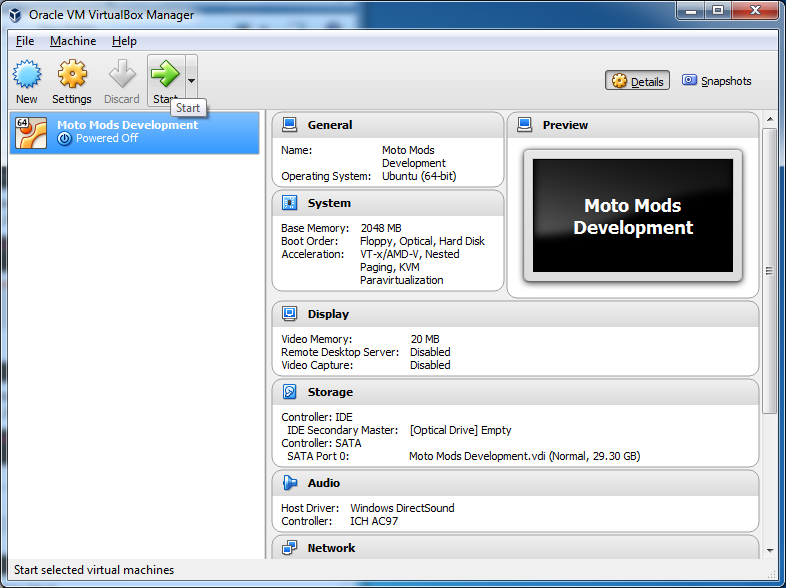
Once VirtualBox is installed, open VirtualBox Manager

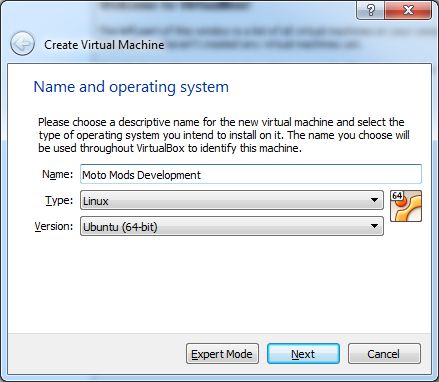
Create a name for you Virtual Machine and select Linux as the Type of OS and the Version as Ubuntu (64-bit)
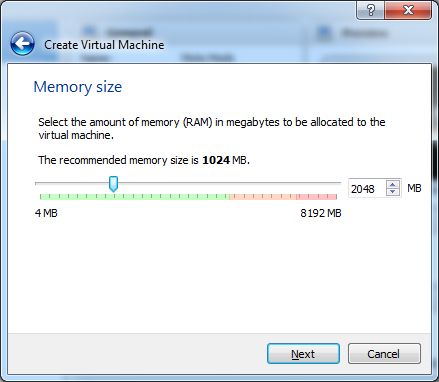
Hit Next, Ubuntu recommends at least 2 GB of Virtual RAM.
Ubuntu recommends at least 25GB of HD space and a minimum of 10GB but we are going to install programs so we don’t run out of space during the setup process. Ignore that 8GB

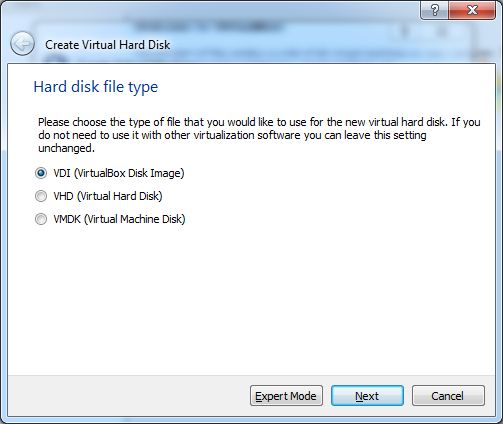
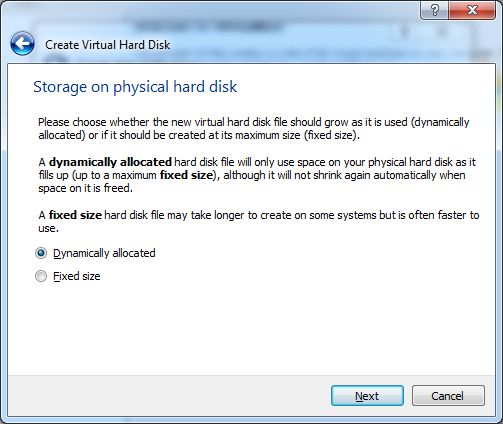
Create a Virtual HD, choose VDI (Virtual Disk Image)
Dynamically allocate the disk so you save space on your real drive.
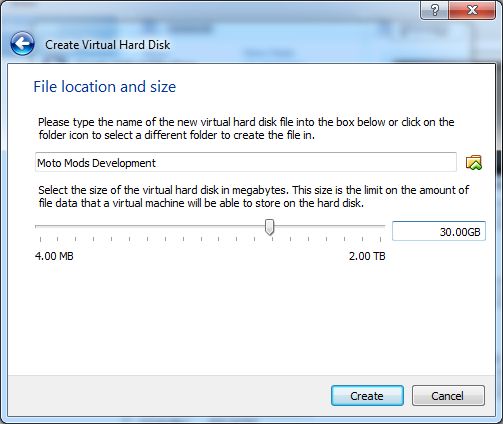
I created a disk with 30GB of space.
Once you hit create, the VM is done being set up. We now have to install Linux on it, We do this the same as a fresh copy of Windows. Boot from disk, but it's a virtual disk image.
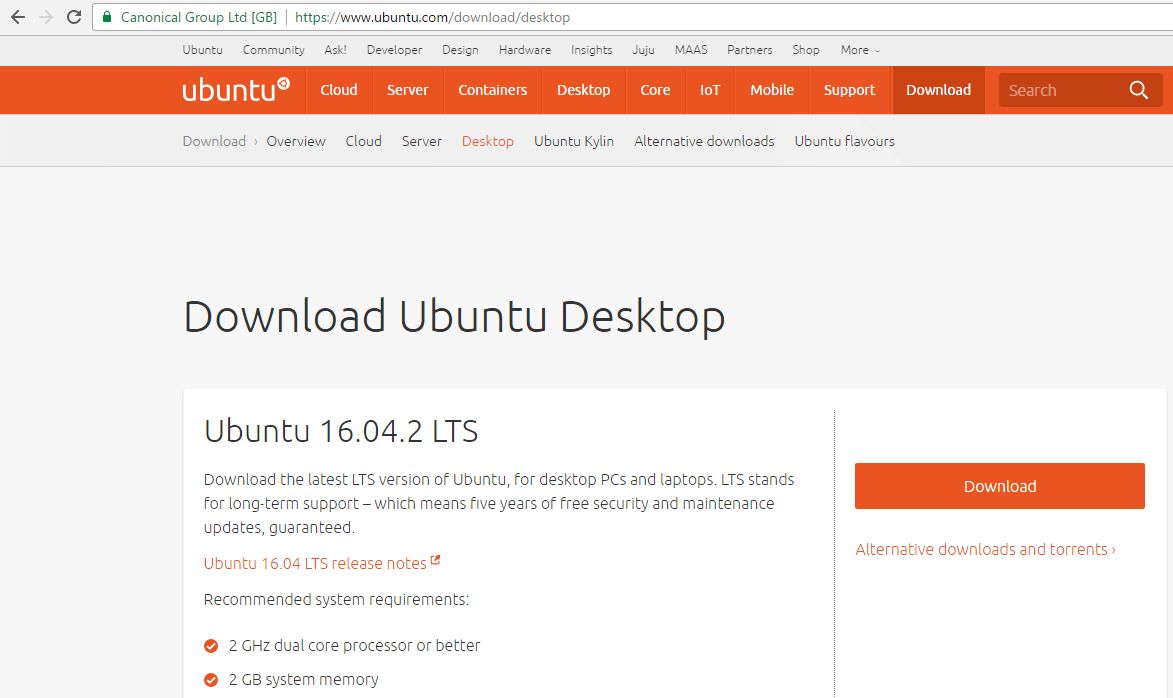
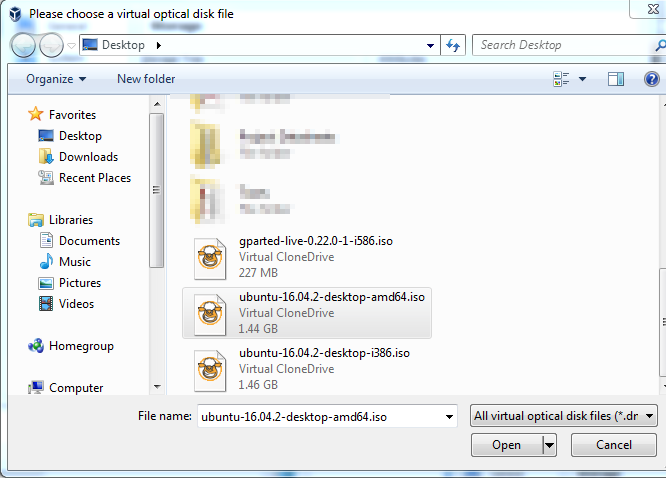
Go back to your browser... Since we are using 64-bit Windows, we will run 64-bit Ubuntu on our VM, download the “Ubuntu 16.04.2 LTS Desktop Image”. At this time, it will download an ISO file called “ubuntu-16.04.2-desktop-amd64.iso”
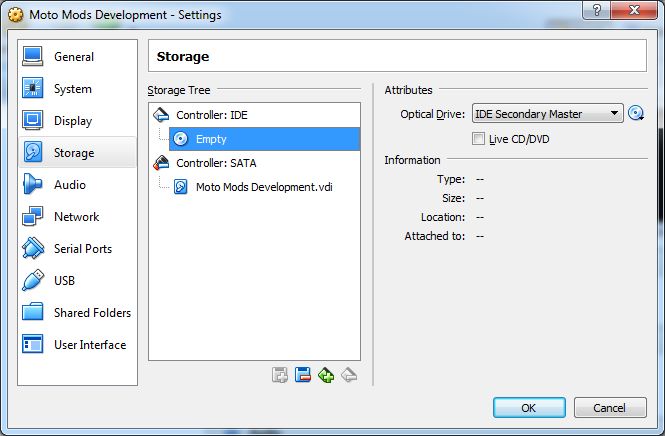
Back in your VM manager settings, Click on the Small CD symbol to the right of the Optical Drive: selection and in the dropdown select “Choose Virtual Optical Disk File...”
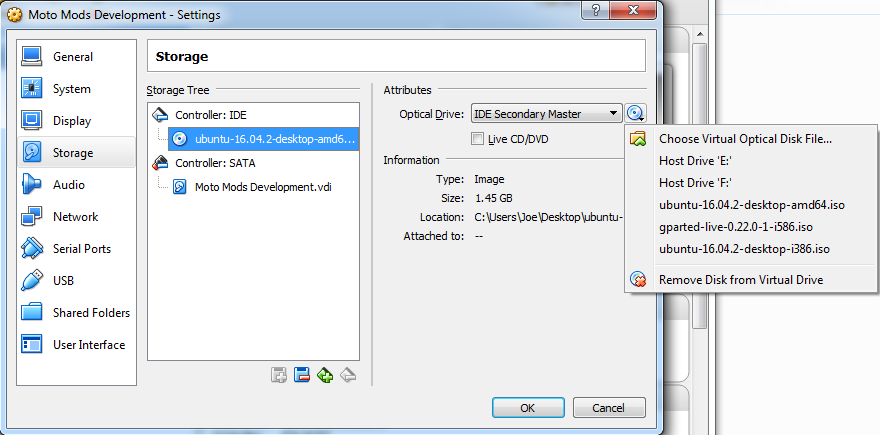
Open “ubuntu-16.04.2-desktop-amd64.iso”
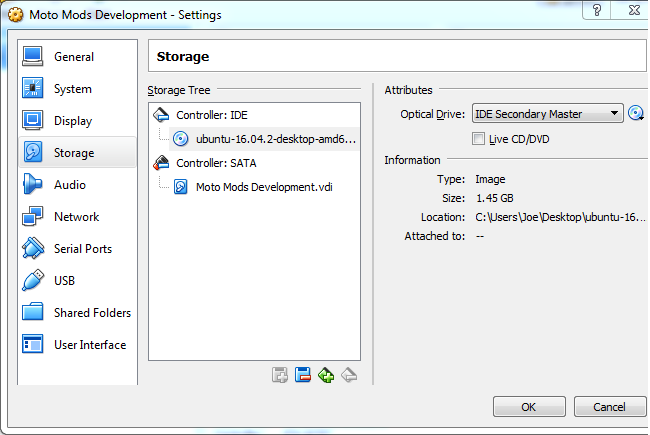
It will load the ISO file into the VM IDE Storage Controller. Click Ok. This will allow us to boot from the Ubuntu disk image
.
Start the VM, and the GUI screen will pop up.
When the GUI pops up it will go to the Ubuntu install screen.
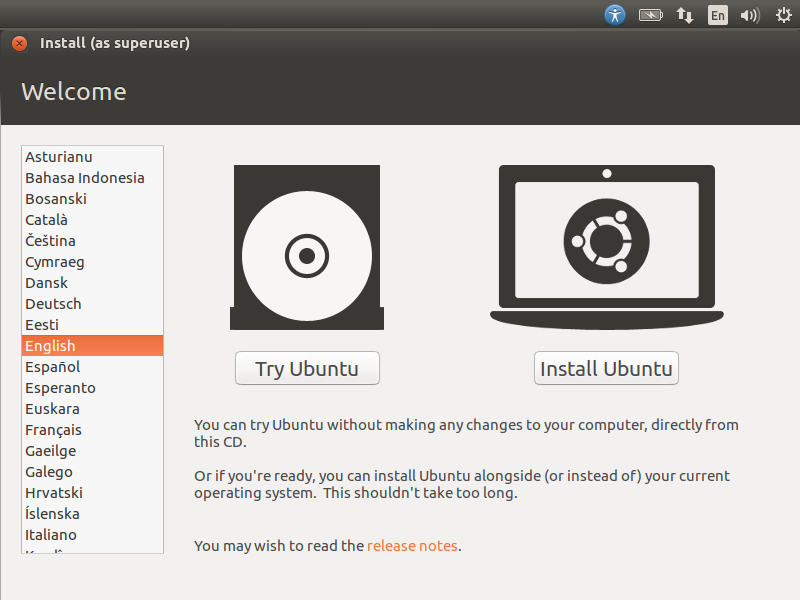
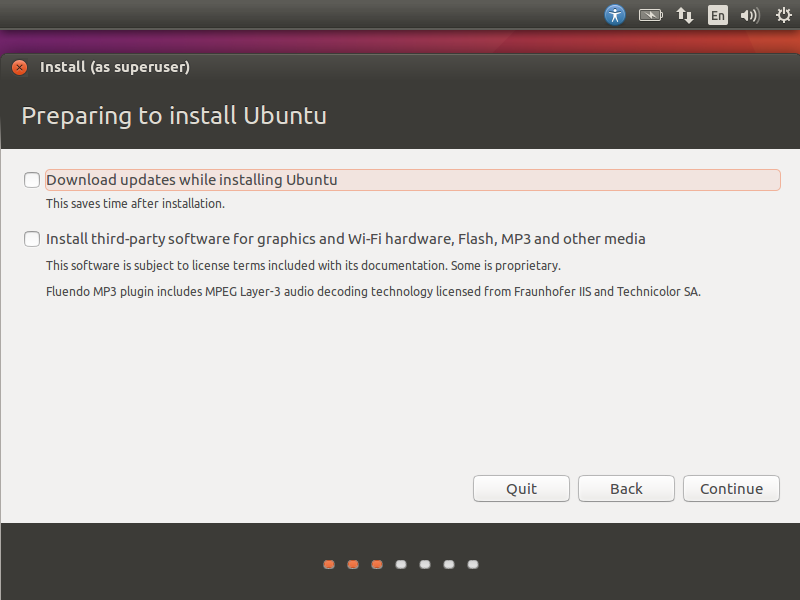
Hit “Install Ubuntu” and Continue, we don’t install updates because we are going to install all the tools and we want make sure versions stay the same.
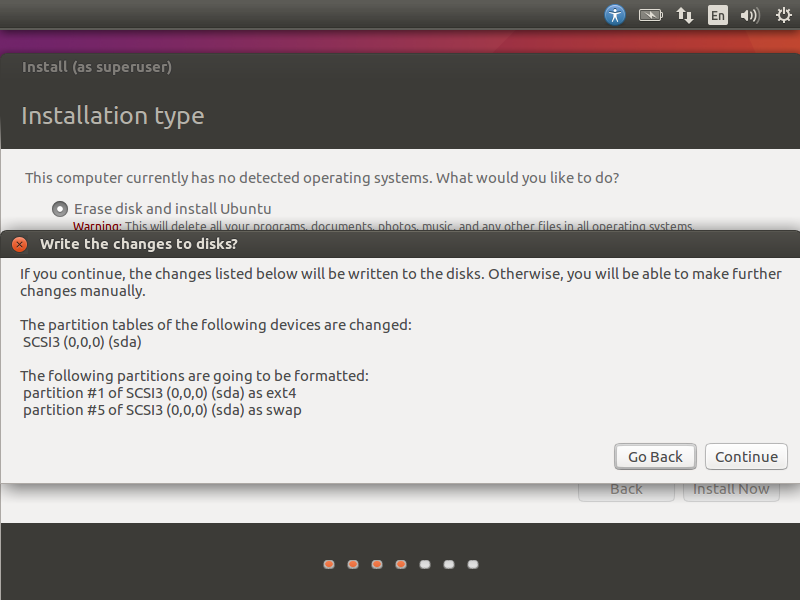
Choose “Erase Disk and Install Ubuntu”, and hit “Install Now”

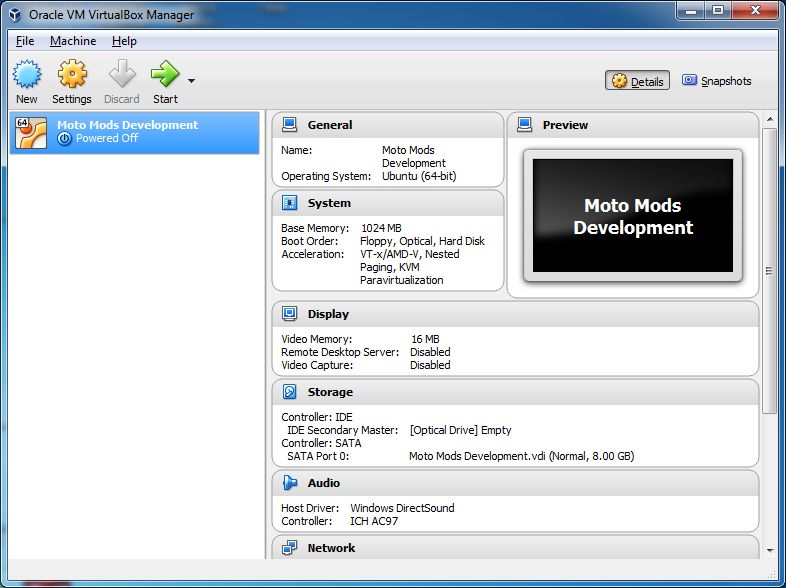
This will partition the VDI drive, Install Ubuntu on the “VirtualBox Disk Image” file that has the name Moto Mods Development.vdi ,and it is about 8GB in size. Click Continue.
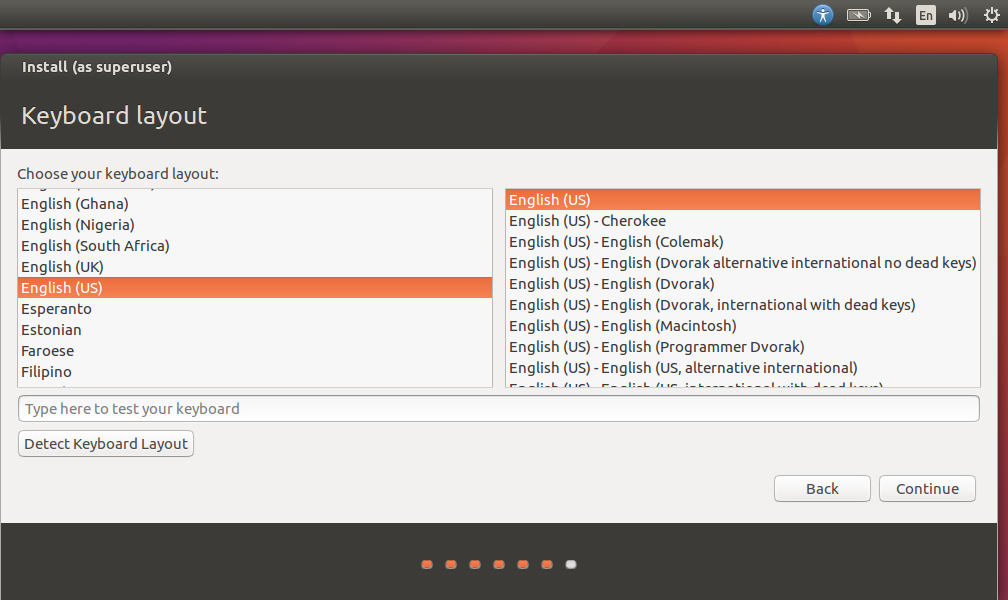
Select English
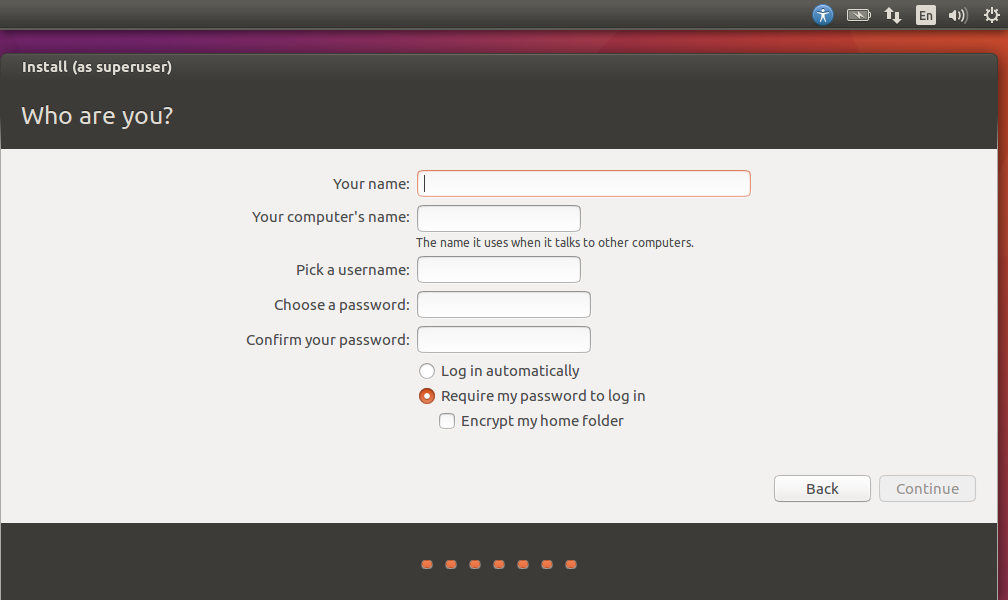
Fill out fields and choose, “Log in automatically”, click continue
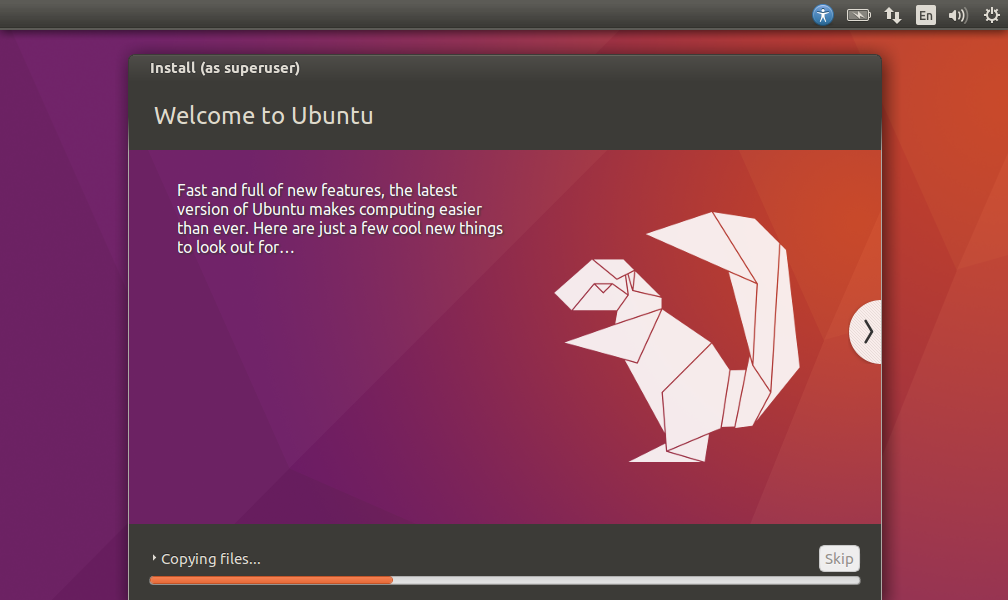
Ubuntu will Install….
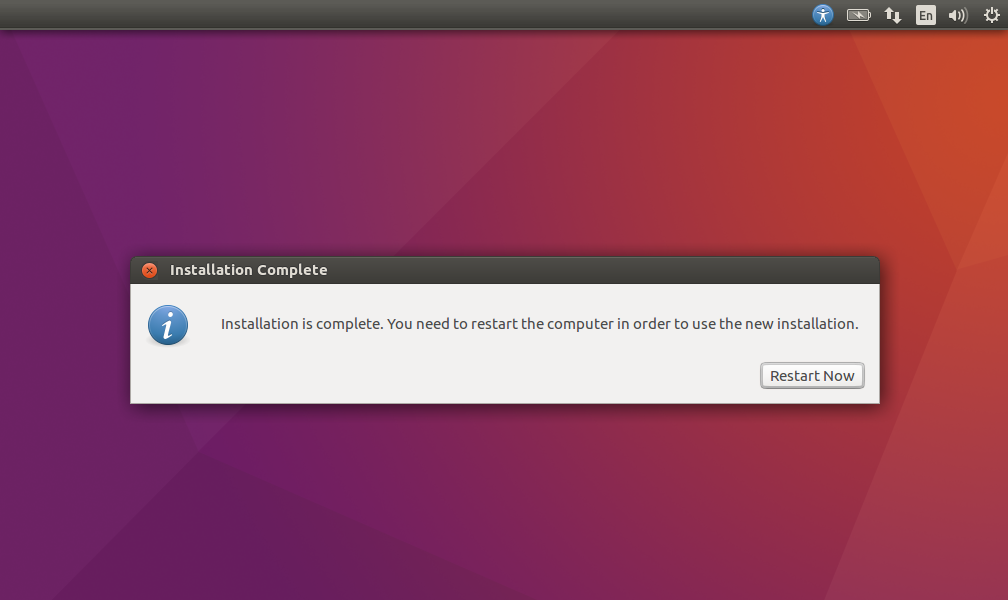
After installation is complete, hit “Restart Now”
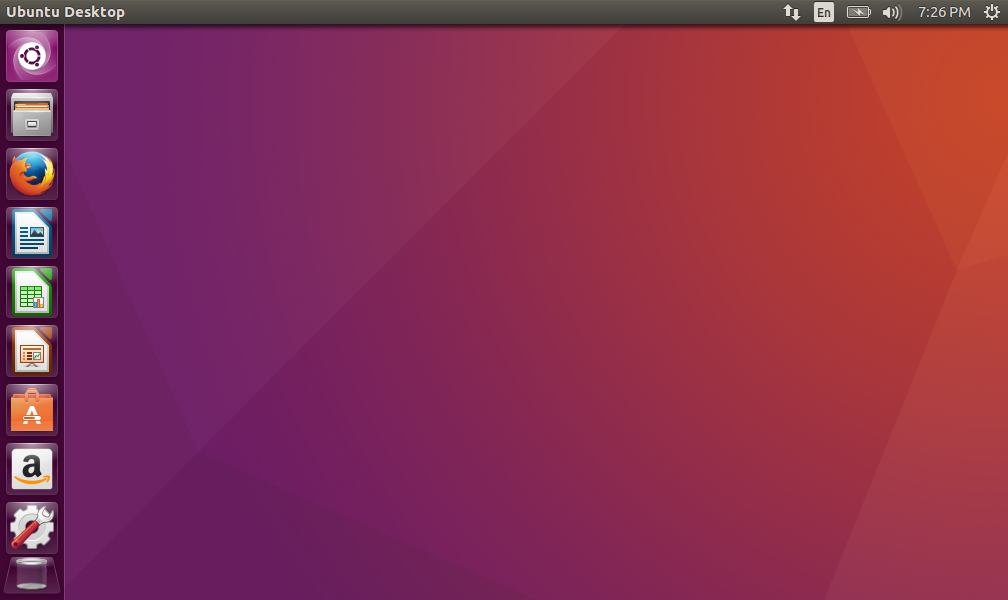
The VM will reboot and Ubuntu will show Desktop, Firefox and terminal are pre-installed. We will use these to install Android Studio, Moto Mods SDK, and the Firmware tools using installer code copied from the Moto Mods Developer website.
Launch Terminal from the search (Purple Ubuntu symbol button)
