element14 Community
element14 Community
    Register Log In
  • Site
  • Search
  • Log In Register
  • About Us
  • Community Hub
    Community Hub
    • What's New on element14
    • Feedback and Support
    • Benefits of Membership
    • Personal Blogs
    • Members Area
    • Achievement Levels
  • Learn
    Learn
    • Ask an Expert
    • eBooks
    • element14 presents
    • Learning Center
    • Tech Spotlight
    • STEM Academy
    • Webinars, Training and Events
    • Learning Groups
  • Technologies
    Technologies
    • 3D Printing
    • FPGA
    • Industrial Automation
    • Internet of Things
    • Power & Energy
    • Sensors
    • Technology Groups
  • Challenges & Projects
    Challenges & Projects
    • Design Challenges
    • element14 presents Projects
    • Project14
    • Arduino Projects
    • Raspberry Pi Projects
    • Project Groups
  • Products
    Products
    • Arduino
    • Avnet Boards Community
    • Dev Tools
    • Manufacturers
    • Multicomp Pro
    • Product Groups
    • Raspberry Pi
    • RoadTests & Reviews
  • Store
    Store
    • Visit Your Store
    • Choose another store...
      • Europe
      •  Austria (German)
      •  Belgium (Dutch, French)
      •  Bulgaria (Bulgarian)
      •  Czech Republic (Czech)
      •  Denmark (Danish)
      •  Estonia (Estonian)
      •  Finland (Finnish)
      •  France (French)
      •  Germany (German)
      •  Hungary (Hungarian)
      •  Ireland
      •  Israel
      •  Italy (Italian)
      •  Latvia (Latvian)
      •  
      •  Lithuania (Lithuanian)
      •  Netherlands (Dutch)
      •  Norway (Norwegian)
      •  Poland (Polish)
      •  Portugal (Portuguese)
      •  Romania (Romanian)
      •  Russia (Russian)
      •  Slovakia (Slovak)
      •  Slovenia (Slovenian)
      •  Spain (Spanish)
      •  Sweden (Swedish)
      •  Switzerland(German, French)
      •  Turkey (Turkish)
      •  United Kingdom
      • Asia Pacific
      •  Australia
      •  China
      •  Hong Kong
      •  India
      •  Korea (Korean)
      •  Malaysia
      •  New Zealand
      •  Philippines
      •  Singapore
      •  Taiwan
      •  Thailand (Thai)
      • Americas
      •  Brazil (Portuguese)
      •  Canada
      •  Mexico (Spanish)
      •  United States
      Can't find the country/region you're looking for? Visit our export site or find a local distributor.
  • Translate
  • Profile
  • Settings
Moto Mods
  • Products
  • Manufacturers
  • Moto Mods
  • More
  • Cancel
Moto Mods
Blog Moto Mods Developer Part 3 - Firmware Setup
  • Blog
  • Forum
  • Documents
  • Events
  • Polls
  • Files
  • Members
  • Mentions
  • Sub-Groups
  • Tags
  • More
  • Cancel
  • New
Join Moto Mods to participate - click to join for free!
  • Share
  • More
  • Cancel
Group Actions
  • Group RSS
  • More
  • Cancel
Engagement
  • Author Author: Catwell
  • Date Created: 5 May 2017 12:53 AM Date Created
  • Views 1577 views
  • Likes 0 likes
  • Comments 0 comments
  • android
  • tutorial
  • prototype
  • embedded
  • mobile
  • cabeatwell
  • motorota
  • moto mods
  • innovation
  • develop
Related
Recommended

Moto Mods Developer Part 3 - Firmware Setup

Catwell
Catwell
5 May 2017

Index of the Moto Mods Developer project:

Moto Mods Developer Part 1 - Getting Started - Virtual Machine Setup and Linux Install

Moto Mods Developer Part 2 - Getting Started - SDK Setup & Android Studio Install

Moto Mods Developer Part 3 - Firmware Setup

Moto Mods Developer Part 4 - Getting Started - Make Build-Folder, add Utility and OS files

Moto Mods Developer Part 5 - Flashing Firmware with MDK Utility

Moto Mods Developer Part 6 - Blinking an LED on the Moto Mods Perfboard

Moto Mods Developer Part 7 - Modifying the C file for the perfboard LED

Moto Mods Developer Part 8 - Configure Nuttx

Moto Mods Developer Part 9 - Updating the Hardware Manifests file

Moto Mods Developer Part 10 - Cont’d Configure and Compile Nuttx

Moto Mods Developer Part 11 - Load newly created Nuttx Firmware onto Reference Board

Moto Mods Developer Part 12 - Soldering the Test Points to use the perfboard

Moto Mods Developer Part 13 - Making custom App to control the Firmware


Be sure to see Part 1 of the Moto Mod Developer series, click this link.

Then see Part 2 after this link.

A wrong move means bigtime headaches. Follow it exactly. Then come on back here.


In order to build and compile the firmware we need to setup Ubuntu for USB/FTDI Libraries, OpenOCD, and GDB. Then install each utility, respectively.


Setup Ubuntu for Firmware building


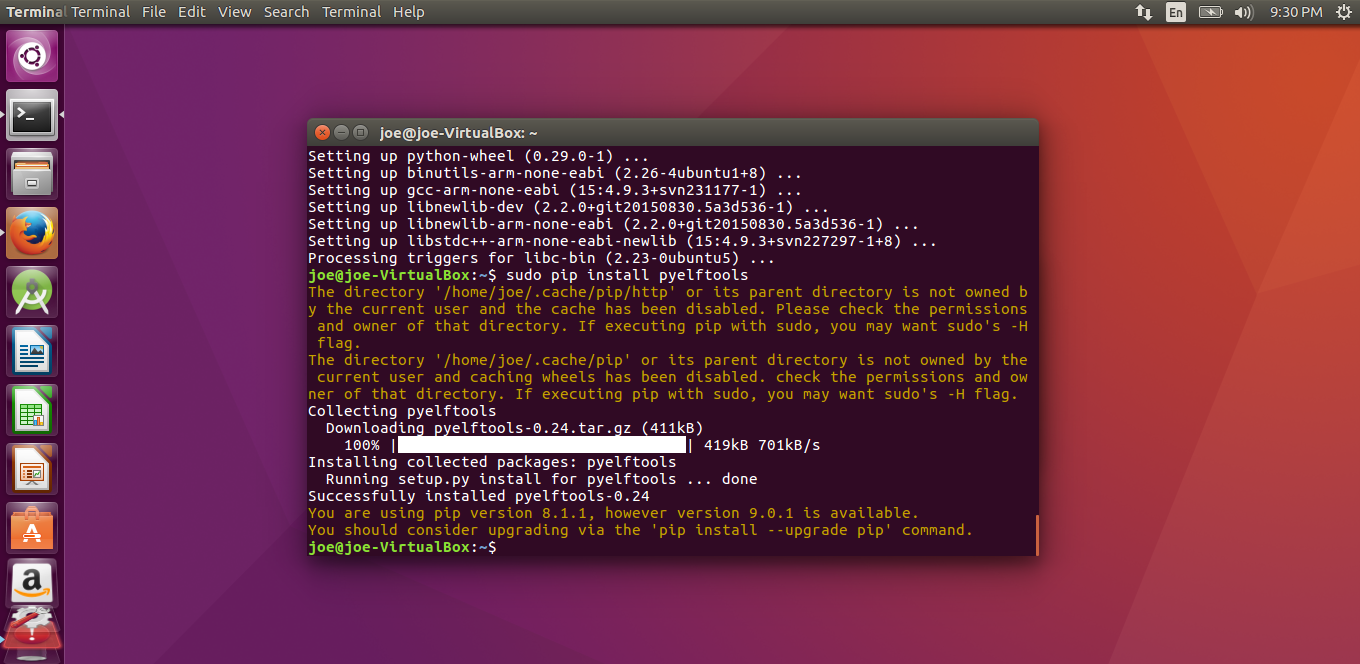
In Ubuntu terminal type,


$ sudo apt-get install -y git gperf flex bison libncurses5-dev gcc-arm-none-eabi python-pip
$ sudo pip install pyelftools


This will install Ubuntu's package management system used for building the flashing and debugging tools.


image


image


Install USB, FTDI libraries, and OpenOCD for USB JTAG emulation


This tool allows us to flash the firmware to MuC and debug it with GDB. This is using the USB C cable plugged into USB C slot #1 on the side of the Reference Moto Mod, which is used for programming/debugging.


$ sudo apt-get install -y libusb-1.0-0-dev libftdi-dev libtool autoconf texinfo
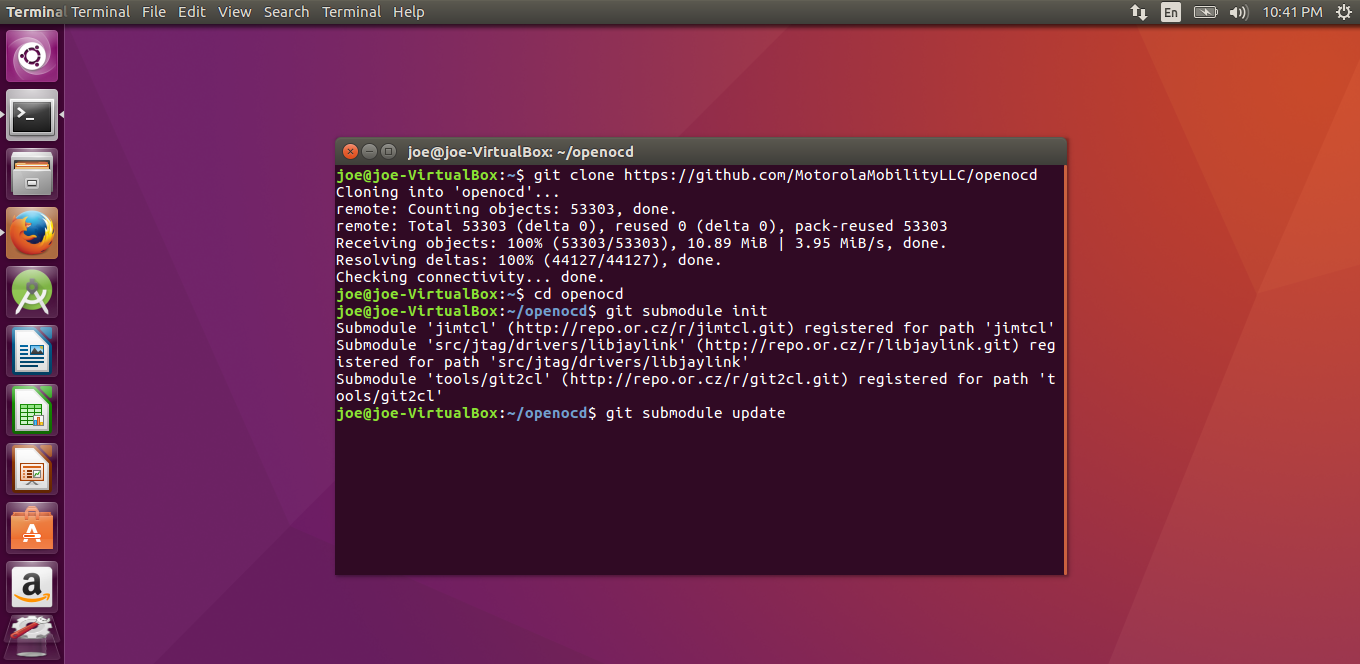
$ git clone https://github.com/MotorolaMobilityLLC/openocd
$ cd openocd
$ git submodule init
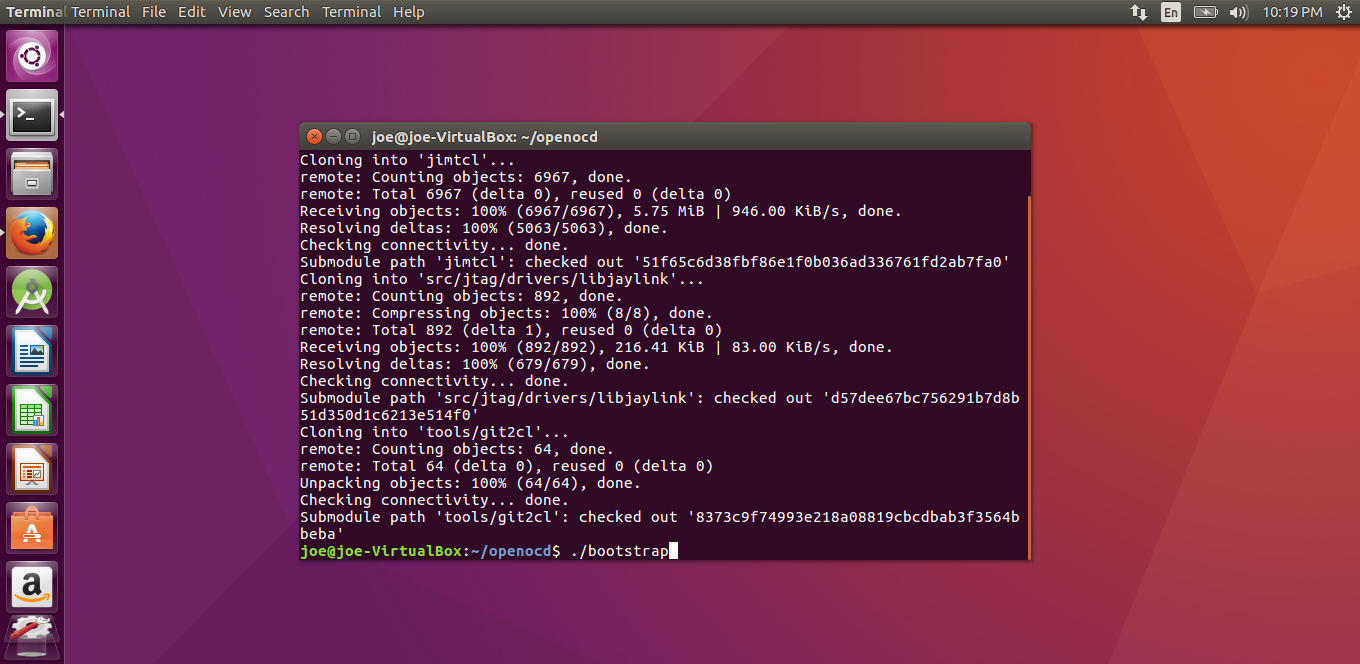
$ git submodule update
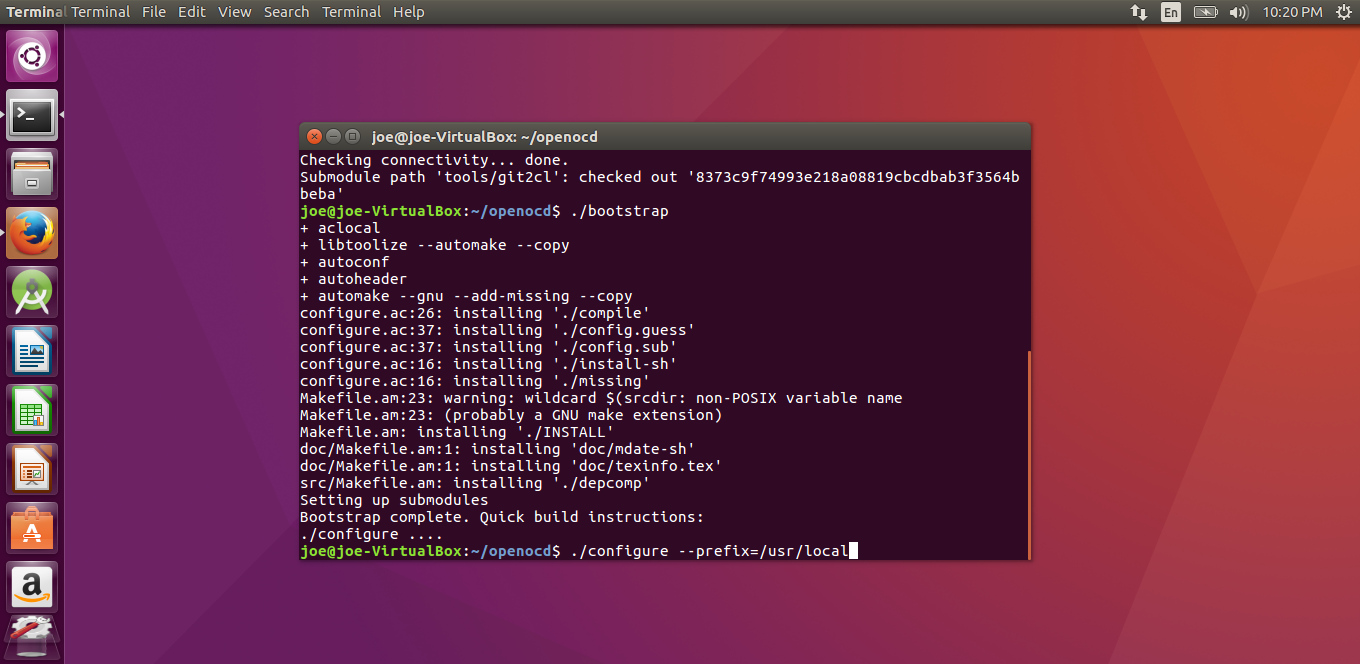
$ ./bootstrap
$ ./configure --prefix=/usr/local
$ make
$ sudo make install
$ cd -


Note: If you are using Ubuntu 16.10 or later, you will need to install gcc-5 (sudo apt install gcc-5) and add "CC=gcc-5" to the above ./configure statement. This is only required for OpenOCD.


This will install libUSB and libftdi.

libUSB is a C library that provides generic access to USB devices

libftdi is an open source library used to talk to FTDI devices


image


image


image


image


image


image


image


image


image


image


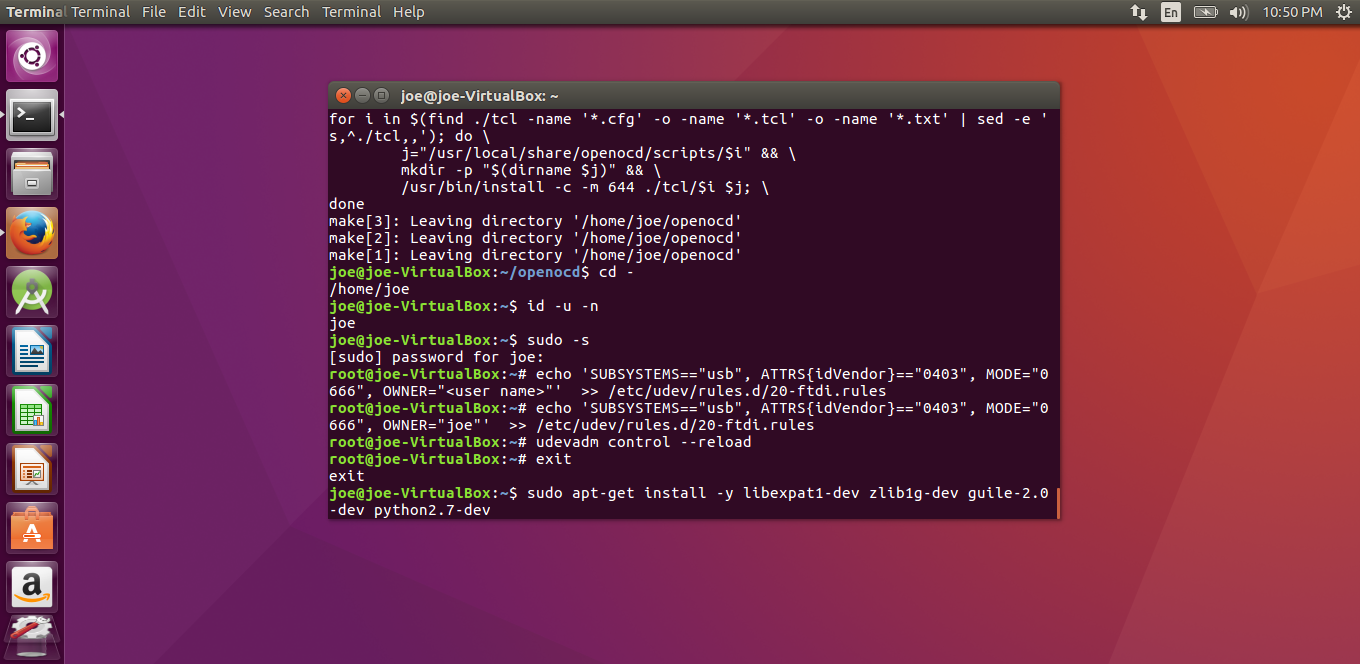
Since OpenOCD uses the USB, we need to grant permissions to your linux username so it can use the FTDI. Enter the commands below in terminal:


$ id -u -n

$ sudo -s
# echo 'SUBSYSTEMS=="usb", ATTRS{idVendor}=="0403", MODE="0666", OWNER="<user name>"'  >> /etc/udev/rules.d/20-ftdi.rules
# udevadm control --reload
# exit


image


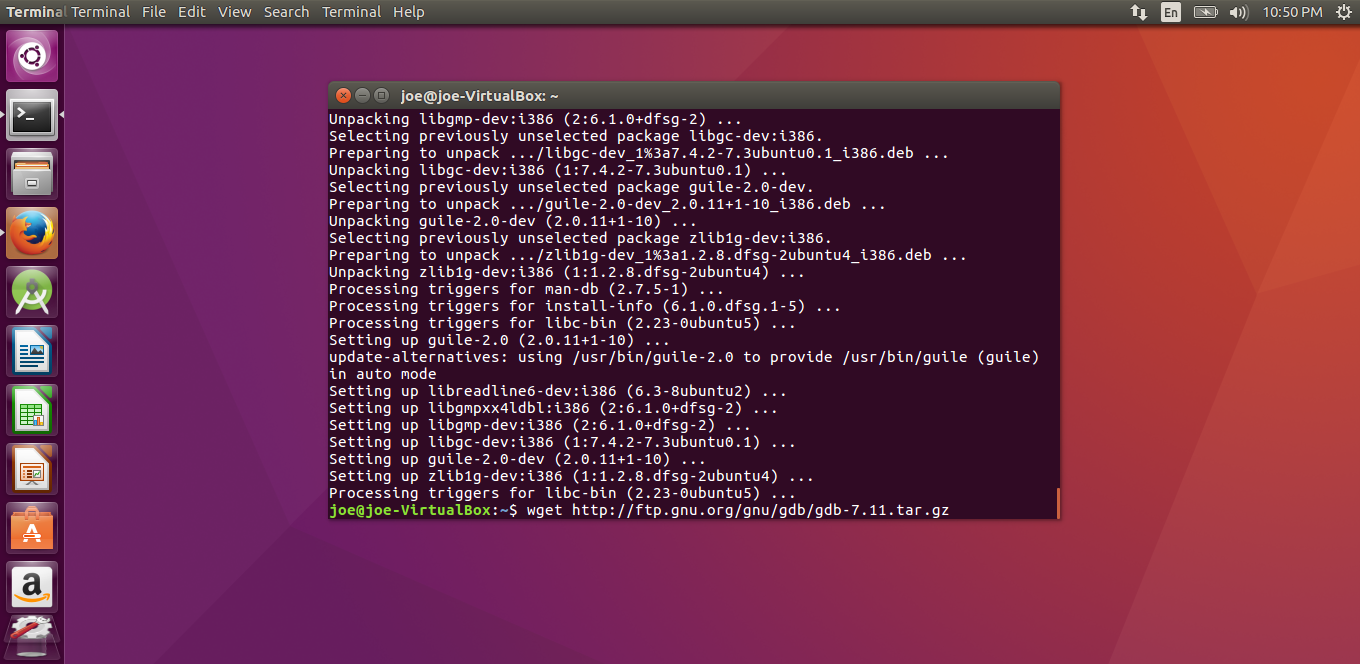
Install GDB for low-level Debugging


The MDK provides utilities for using GDB, we will install with the commands below:


$ sudo apt-get install -y libexpat1-dev zlib1g-dev guile-2.0-dev python2.7-dev
$ wget http://ftp.gnu.org/gnu/gdb/gdb-7.11.tar.gz
$ tar -zxf gdb-7.11.tar.gz
$ cd gdb-7.11
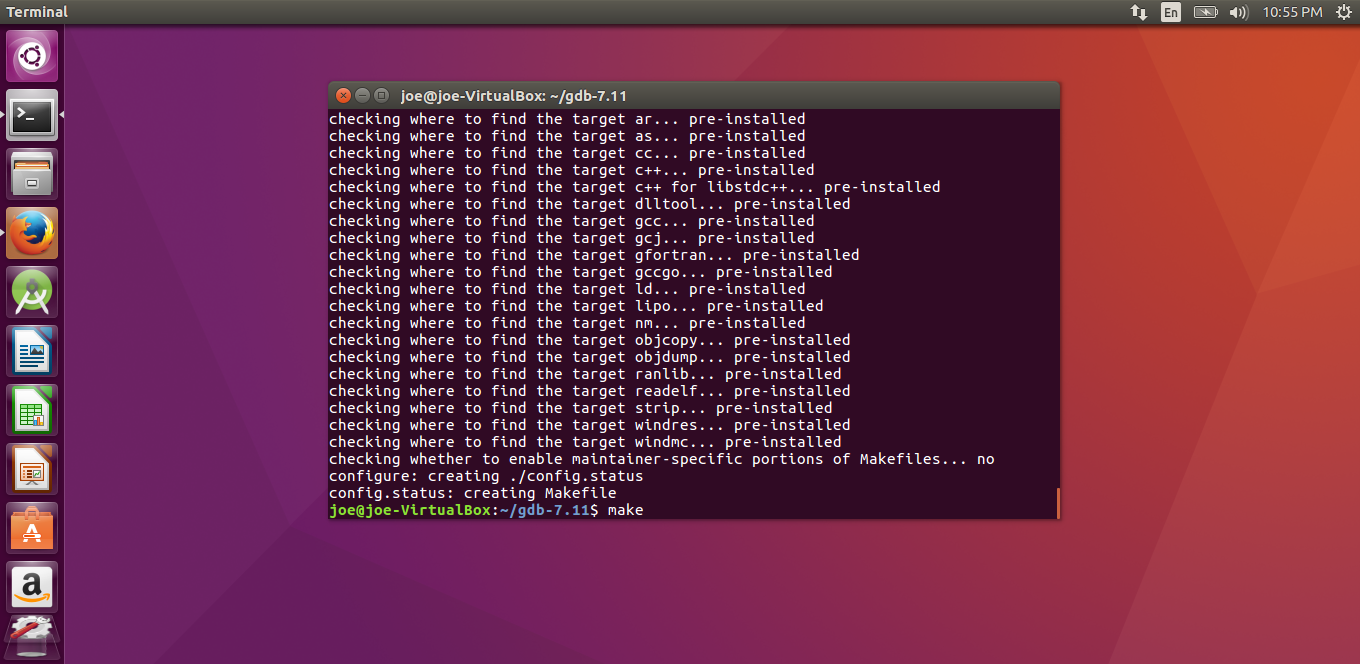
$ ./configure --prefix=/usr/local --program-prefix=arm-none-eabi- --target=arm-none-eabi --with-python --with-guile
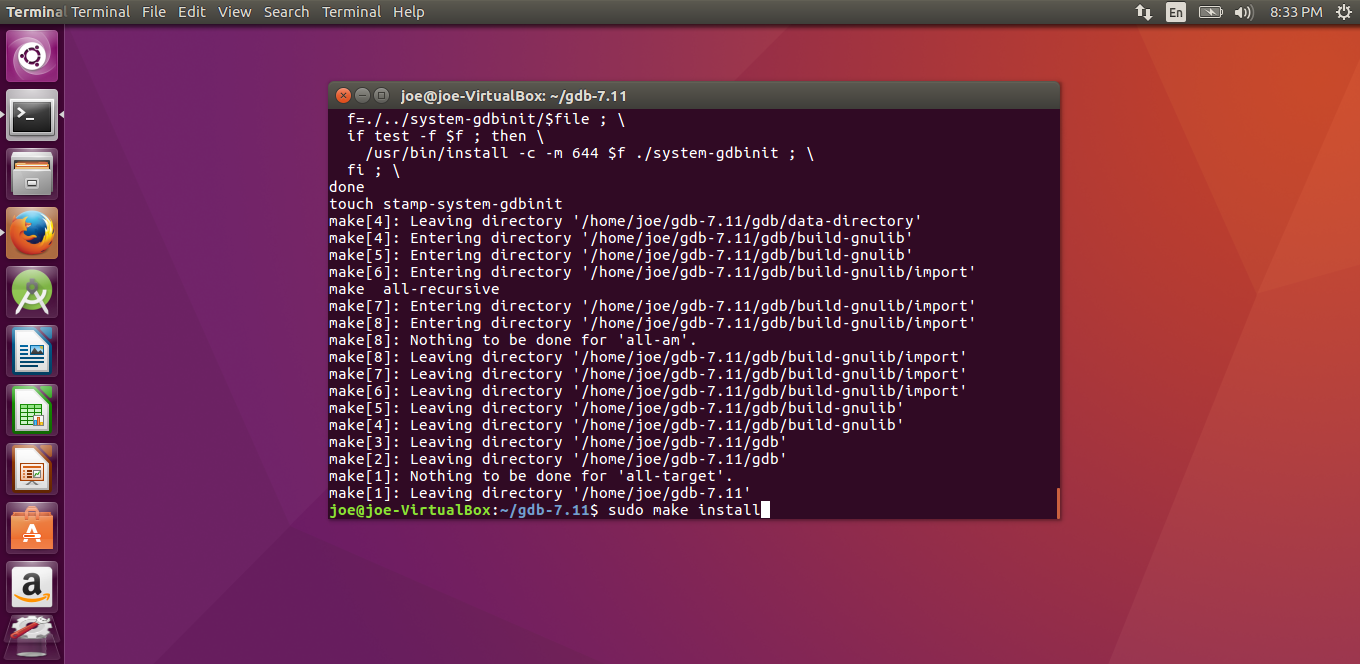
$ make
$ sudo make install


image


image


image


image


image


image

  • Sign in to reply
element14 Community

element14 is the first online community specifically for engineers. Connect with your peers and get expert answers to your questions.

  • Members
  • Learn
  • Technologies
  • Challenges & Projects
  • Products
  • Store
  • About Us
  • Feedback & Support
  • FAQs
  • Terms of Use
  • Privacy Policy
  • Legal and Copyright Notices
  • Sitemap
  • Cookies

An Avnet Company © 2025 Premier Farnell Limited. All Rights Reserved.

Premier Farnell Ltd, registered in England and Wales (no 00876412), registered office: Farnell House, Forge Lane, Leeds LS12 2NE.

ICP 备案号 10220084.

Follow element14

  • X
  • Facebook
  • linkedin
  • YouTube