


Overview of the Illuminated Tricopter project
Again, I must say thanks for choosing me to review great Texas Instruments and Würth Elektronik products!
My Roadtest proposal was built around my other hobby - RC flying. It was great fun working on something I like so much like visual effects and RC flying - combined!
The idea was to make the tricopter flyable at night and even being able to make videos of near proximity objects at night.
I hope at least someone else had fun reading these posts too  . I received the kit early in November so this Roadtest+ lasted for more than two months.
I was very surprised when I received the kit after only 3 days from being sent! So, I started with a mandatory unboxing video Kit unboxing - LED RoadTest.

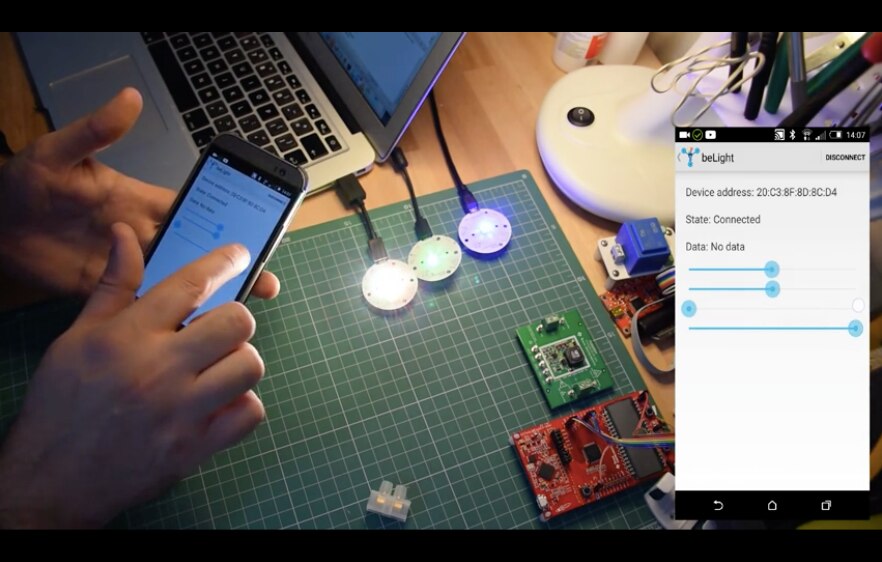
The first thing I started playing with after I unboxed the kit was the Texas Instruments’ BLE LED kit. It’s a nice kit but was lacking a proper Android application to test with. I tried using the Cypress BLE Android application and it turned out that it provides enough information for me to build my own app for Android.

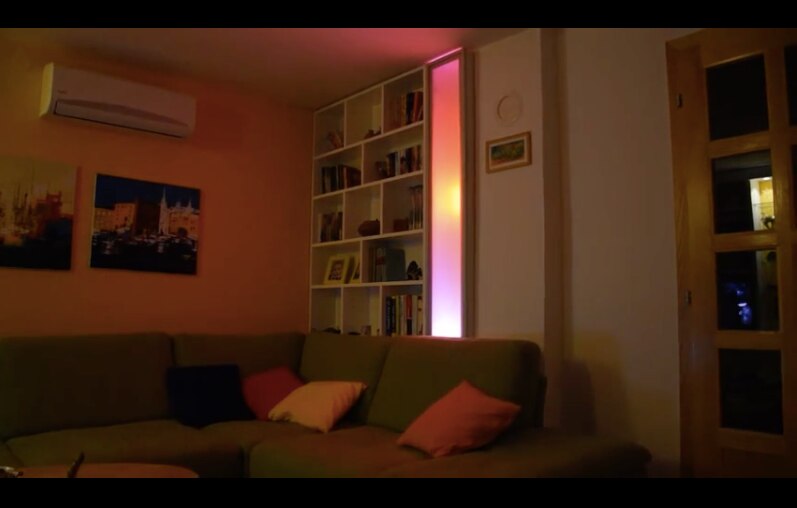
In my next post I demonstrated the custom Android application Android Support for TI's BLE LED Control. At that time, my plan was to use TI’s BLE modules to make tricopter signal lights but later I decided to use them as my living room bookshelf lights.
After I got the BLE modules to work with my phone, I decided to focus on the MSP430FR4133 LaunchpadMSP430FR4133 Launchpad so I used it to acquire HMC5883L magnetometer readings and visualise them using a WS2811 LED strip I also got from eBay.
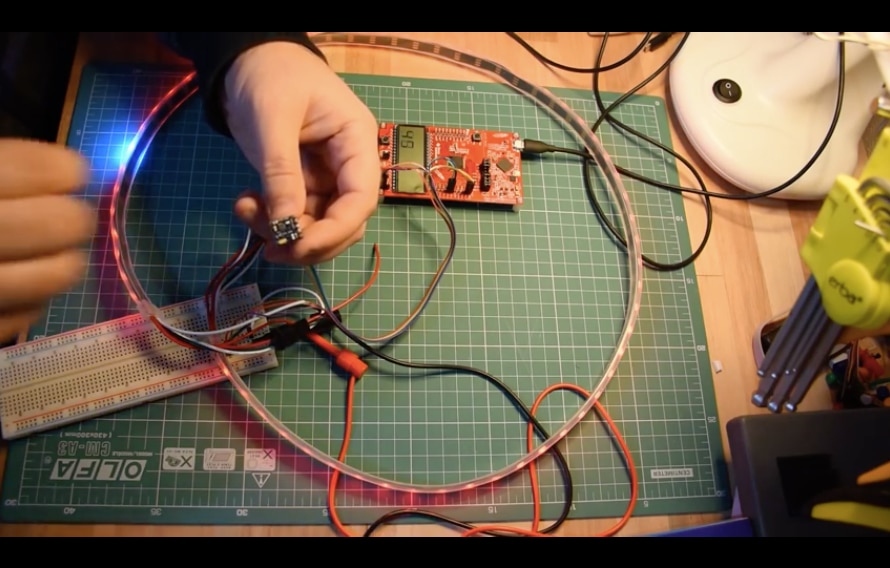
Then I shared the details about how I mounted the addressable LED ring to the tricopter downside.

After all this was working, it was time to make the Boosterpack for the Launchpad so that it all looks better when mounted on Tricopter.

Next couple of posts were dedicated to demonstration of various parts of my project… MSP430FR4133 Launchpad with Custom BoosterPack in Action, MSP430FR4133 Launchpad with Custom BoosterPack in Action - appendix, MSP430FR4133 Launchpad with Custom BoosterPack update
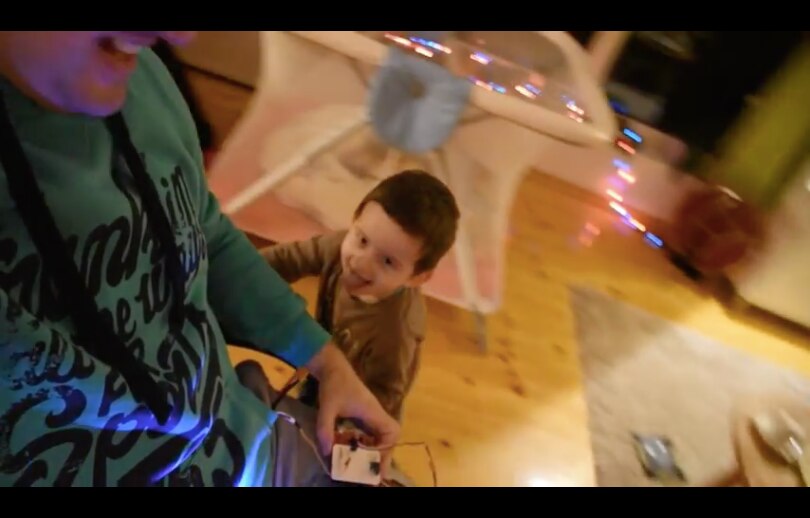
During the demo recording I had a great help!
After that I focused on building electronics and software for headlights using TPS92512EVM and Würth Elektronik LED.

The last part of this project was to make the headlights body and attach it securely to the front side of camera mount

So, today I finalised my work by mounting all the components and making the wires shorter - there’s a lot of wiring.
It was -2ºC with 7m/s winds here. The weather is very bad for flying (or anything else really) but I felt like this review would be left incomplete without making a night flight video.
However, that wasn't a very smart move  I crashed my tricopter after less than 2 minutes of "flight". In fact, I was just trying to lift it above trees. Good thing is that I managed to repair everything in 30 minutes. I had to put some new zip-ties and reconfigure the firmware (for some reason, flight controller configuration was bad after crash)
Test flight / Crash video (I didn't set the camera properly so the video is of very low quality and, as you will witness, I didn't get the chance for "take 2"):
I have no chance to make a proper video tonight. I will make one when weather gets better and edit this post.
I will share the headlights demo by using the tricopter as flashlight - a very expensive flashlight with remote control and square radiation pattern
UPDATE (April 2016.):
Here's another video of working headlight, this time using the onboard camera. Unfortunately, water droplets did affect the video quality, but video gives the idea about headlight usability:
Improvements
Test flight exposed a problem with the way I use TPS92512EVM. I will have to switch 4S battery or to use a dedicated battery for lighting because as soon as I start the motors, voltage drops under the TPS92512EVM minimum input voltage boundary of 12V. Another way to resolve this issue would be to set a lower under-voltage lockout by changing the resistor in voltage divider.
I also set the low battery level to high so it got triggered after I increased the throttle even though the battery was still OK - but that's easy to fix by decreasing the low battery threshold in code.
Conclusion
This Roadtest was very successful for me personally as I learned a lot about BLE, magnetometers and addressable LEDs (never used any of these, I only tested Cypress BLE kit with provided samples).
I also learned more about using Energia and MSP430.
It's a great feeling when something goes well from the first try, and this is how testing many of provided products was - easy and straight-forward.
I was also lucky not to burn any of components even though I was a bit too confident with applying power at times.
Other contestants provided their own fun projects. I enjoyed the most reading amgalbu's posts and especially his final demo and seeing dougw's illuminated trophies . I read all the posts tagged with ledroadtestplus and there are more of them that deserve to be mentioned so check out this tag and see for yourself
Related posts:
Introduction to Bluetooth Low Energy Light Development Kit - CC2540TDK-LIGHT
Android Support for TI's BLE LED Control
MSP430FR4133 Launchpad - Magnetic North Visualisation
Illuminated Tricopter Upgrade - Adding an Addressable LED Ring
MSP430FR4133 BoosterPack for Illuminated Tricopter
Bookshelf Lights Using TI's CC2450 BLE LED Modules
MSP430FR4133 Launchpad with Custom BoosterPack in Action
MSP430FR4133 Launchpad with Custom BoosterPack in Action - appendix
MSP430FR4133 Launchpad with Custom BoosterPack update
Adding Remotely Controlled Headlights to Tricopter
Illuminated Tricopter - Headlights
Thanks,
Dragan
Top Comments