


In this blog series, I build a Texas Instruments MSPM0 example with VS Code as IDE, and CMake as build infrastructure.
In posts 1 - 3, I created an end to end flow, from install over build to debug.
In post 4: testing it out on the EasyL1105: A Dev Board for the TI ARM Cortex-M0+ L-Series with a blinky.
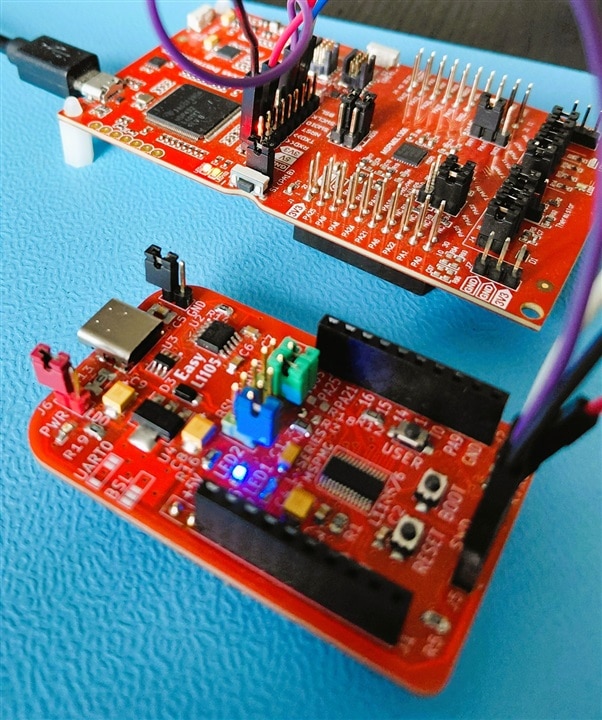
Project and Changes
I used TI's existing pwm_led_driver example for the L1105 (project is attached at the end of this post).
Changes to SysConfig:
- different GPIO for LED:
the code I attached uses PA14, to reflect my setup. I have a blue LED on PA14..
If you use an unaltered EasyL1105 board, edit pwm_led_driver.syscfg and change PA14 to PA26 on line 27. That's where one of its LEDs sits.
Changes to the scripts:
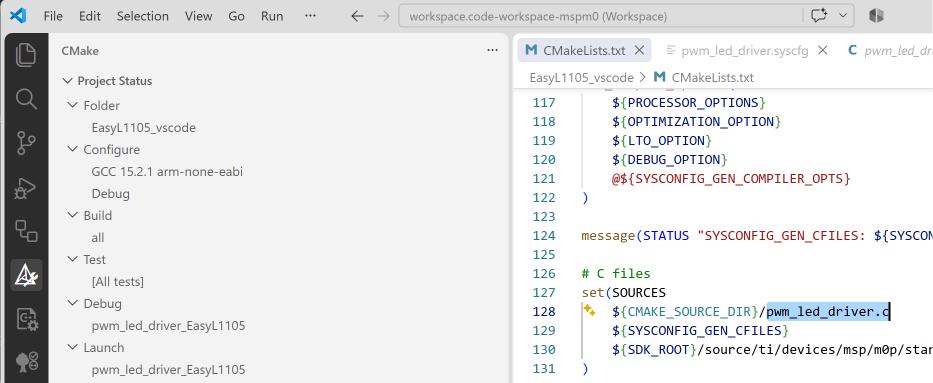
- in CMakeLists.txt I changed the project name, and the file names of the sysconfig and .c file
- in launch.json, I changed the device to MSPML1105 on line 32
Debugger
I used the on-board XSD110 from one of my LaunchPads. Works equally well with a standalone XSD110.
On the EasyL1105, I removed all jumpers (in particular the power ones). On the LaunchPad, I removed all jumpers that connect the debugger to the controller. Then I routed Ground, 3V3, nRST, SWDIO and SWCLK from debugger to EasyL1105 J5 (SWD connector).
I selected the project in VS Code CMake extension. Selected GCC toolkit. Config, Build.
After that, started a debug session. All worked. The code got loaded on the MSPM0L1105, and the LED started glowing...
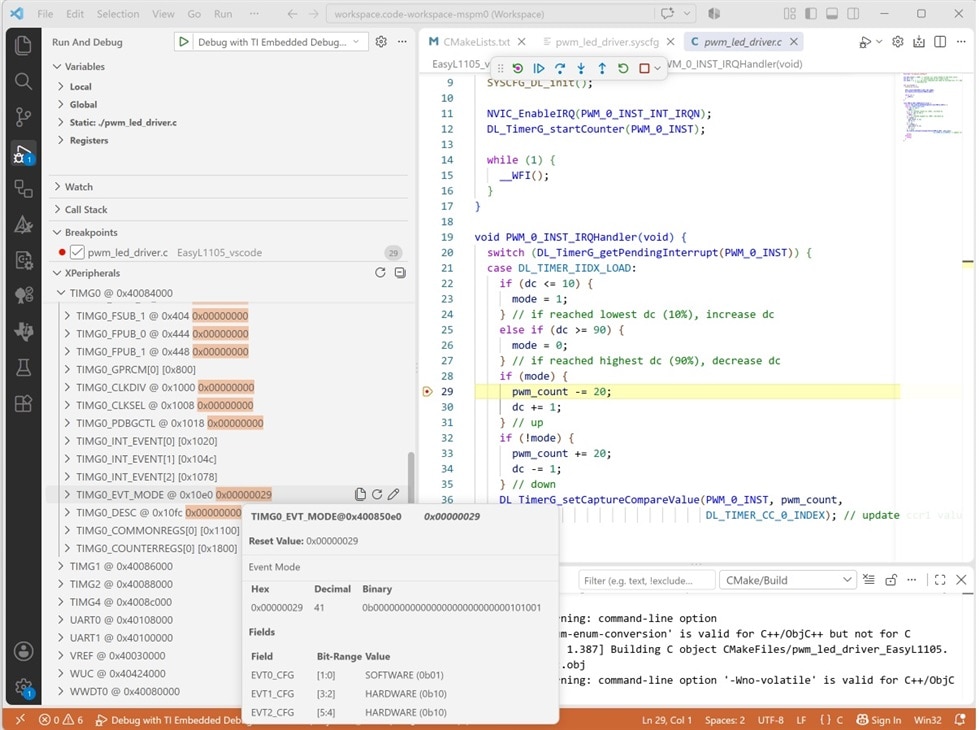
The build script also generates a .hex firmware compatible with shabaz' python programmer.
VS Code project: EasyL1105_vscode_20260906.zip
post 3: MSPM0 project with VS Code, CMake and GCC - part 3: debug
post 5: MSPM0 project with VS Code, CMake and GCC - part 5: Open .syscfg file in SysConfig GUI
part of the EasyL1105 series. all posts
Top Comments