


This is the 7th of my Blogs for the Bluetooth Unleashed Design Challenge
The other posts are here :-
| Link to other posts |
|---|
| BT_Sentry Introduction |
| BT_Sentry : Zero Emission Detection |
| BT_Sentry : Data Transmission |
| BT_Sentry : Sentry Power |
| BT_Sentry : Raspberry Pi |
| BT_Sentry : Bluetooth Options |
Concept
The idea is to detect the bluetooth transmitted from the vehicle and signal other Home Automation functions.
If the vehicle is known then it can open the garage door, and inform the home owner that xx is home.
Hardware
The detection point needs to be at the start of the driveway, and because there is no power source, this will need to be low power with solar charging.
The PSOC range seems a very good fit, but because of the timeline and my need to upskill, the inital design will be Arduino based and some form of RF transmitter/transceiver.
Adding a vehicle detection loop or beam is necessary to ensure those vehicles without bluetooth will also trigger the system.
Time
Last blog I talked about vacations and how time was marching on, and this week hasn't really helped me much.
Some of the issues were personal and others were to do with planning next weeks trip, software and the dreaded taxman.
I've decided to sort out the software I need for my Hero Board the Raspberry Pi 3 B+.

I eluded to using Raspbian Stretch Lite in the last blog BT_Sentry : Raspberry Pi and this was based on it not requiring a GUI.
The usual
sudo apt-get update
sudo apt-get upgrade
needs to be performed and it should take a few minutes.
UV4L
I've used this for my Rear View Camera Rear View Camera ver 2.0
The install instructions are here https://www.linux-projects.org/uv4l/installation/
You need to add the key to the distribution with
curl http://www.linux-projects.org/listing/uv4l_repo/lpkey.asc | sudo apt-key add -
You need to add a line to the /etc/apt/sources.list.
Since this requires you need to be root to do this, sudo is added at the front, and my preferred editor is nano.
sudo nano /etc/apt/sources.list
add the line deb http://www.linux-projects.org/listing/uv4l_repo/raspbian/stretch stretch main
For nano, you save by pressing Ctrl X and Y to confirm.
It is now time to download and install the files by typing
$ sudo apt-get update
$ sudo apt-get install uv4l uv4l-raspicam
For anyone reading this, and using windows you don't actually need to type the text into the terminal window.
Simply highlight the text and right click and select copy.
In your terminal ensure the mouse is where you want to enter the copied content, and press the right mouse button.
After a few minutes the package has been downloaded and installed.
I have also installed and executed the following
sudo apt-get install uv4l-raspicam-extras
sudo service uv4l_raspicam restart
sudo apt-get install uv4l-server
Configuration
While we're adding software and doing all the other bits, it's a good time to update the Locale, Timezone and of course enable the camera
Type sudo raspi-config into the terminal window and the generic configuration file comes up.
For anyone used to doing this, the process is the same, but for newbies, you use the up/down arrows to navigate, and then press the space bar to select those multi-choice ones.
Tab gets you into the Yes/Back options at the bottom.
Once everything is set, it will ask to reboot, and now I have the right time showing ....
You can use ps -ef to check if the driver is running or simply force it by typing
uv4l --driver raspicam --auto-video_nr --width 640 --height 480 --encoding jpeg
You can control the UV4l by pointing your browser at http://<Rpi-address>:8080 and you should get this picture

If you click on Delayed Snapshot, it should open a new tab and display a snapshot taken from the camera (in this case another tab)

This checks that the camera and the necessary drivers are working correctly.
OpenHAB
I've decided to try using OpenHAB, it may be overkill for what I'm trying to achieve ... but.....
We used it during the "Forget Me Not" Design Challenge Forget Me Not Design Challenge (hard to believe it was 4 years ago)
Luckily fvan was also part of the Challenge as he was much more familiar with writing strange text that made it function well.
I've come back to this particular this blog [CaTS] ForgetMeNot - Week 4: Arduino-OpenHAB communication in order to interface between an Arduino (moteino) acting as a receiver, and the Raspberry Pi.

Using my original concept drawing, I've highlighted the parts used for turning on the outside Lights.
Somewhere within the design I probably need to add a light sensor, but for now it's just a bit more power, and with the rain we've been having the hydro dams will be full.
The install instructions for OpenHAB are here https://www.openhab.org/download/
You even get a very nice graphic

I'm going to do it using the Raspberry Pi so once again open a terminal windows and type in the following
wget -qO - 'https://bintray.com/user/downloadSubjectPublicKey?username=openhab' | sudo apt-key add -
sudo apt-get install apt-transport-https
You need to tell the Raspbery Pi where to find the files and I elected to add the locations to the /etc/apt/source.list file as we did for UV4L
sudo nano /etc/apt/sources.list
add the line
deb https://dl.bintray.com/openhab/apt-repo2 stable main
For nano, you save by pressing Ctrl X and Y to confirm.
It is now time to download and install the files by typing
$ sudo apt-get update
This updates the system where files are collected from
sudo apt-get install openhab2
It takes a few minutes and it includes one way of starting openHAB in the text at the end.
### NOT starting on installation, please execute the following statements to configure openHAB to start automatically using systemd
sudo /bin/systemctl daemon-reload
sudo /bin/systemctl enable openhab2.service
There is a comment about the add-ons only being required if the device is off-line
sudo apt-get install openhab2-addons
You can access the program by opening a browser and pointing it at http://<RPi-address>:8080
Depending on the distribution, you may need to load java
You can check if you have it loaded by typing
sudo java - version
If you get an error try downloading it by typing
sudo apt-get install oracle-java8-jdk
This does take a bit longer as it loads the various parts
BUT this is not going to work, since the UV4L server is also pointing at that port (8080) so we need to redirect one or the other.
Ports
One way to think of ports are the doors to a house.
You can use the front door (port xxxx) or the back door (port yyyy).
If two people wanted to enter at exactly the same time, then one could use port xxxx and the other port yyyy.
When we do software upgrades at work, they provide the revised application on one port and shift the various machines to that port until they are all pointing to the new software version.
It's much less disruptive than shutting down the whole system.
By default a browser uses port 80 and a secure (https) uses 443. Telnet is port 22 and there are various others, but you can force applications to use other ports.
Our UV4L and OpenHAB are providing their information on port 8080, and this causes a clash if both run together.
A bit of searching and I discovered that the setting for OpenHAB are held in /etc/default/openhab2
The first thing to do is copy it by typing in a terminal window
cp /etc/default
sudo cp openhab2 openhab2_org
We can edit it with
sudo nano openhab2
You can see the first few lines are the ones we want to modify

Remove the # and change the 8080 to read 8081
Remove the # and change the 8443 to 8444

For nano, you save by pressing Ctrl X and Y to confirm.
note this means to access it you'll need to use
http://<RPi-address>:8081 or https://<RPi-address>:8444
If you've previously started OpenHAB, then you need to stop and restart it by typing
sudo /etc/init.d/openhab2 stop
sudo update-rc.d openhab2 defaults
sudo /etc/init.d/openhab2 start
You can check that it is running the revised port by typing
netstat -a -v

You can try browsing by typing
http://<RPi-address>:8081

and to prove they both work (even at the same time)
https://<RPi-address>:8444

and finally just to be sure
http://<RPi-address>:8080

So that's about it for this blog.
I have most of the software loaded, I just need to get NodeRED sorted out and find my instructions and files for the device.
I was looking for a decent graphic to add about port clashing and couldn't find anything appropriate.
But I did find this which explains why the internet is slowing down.
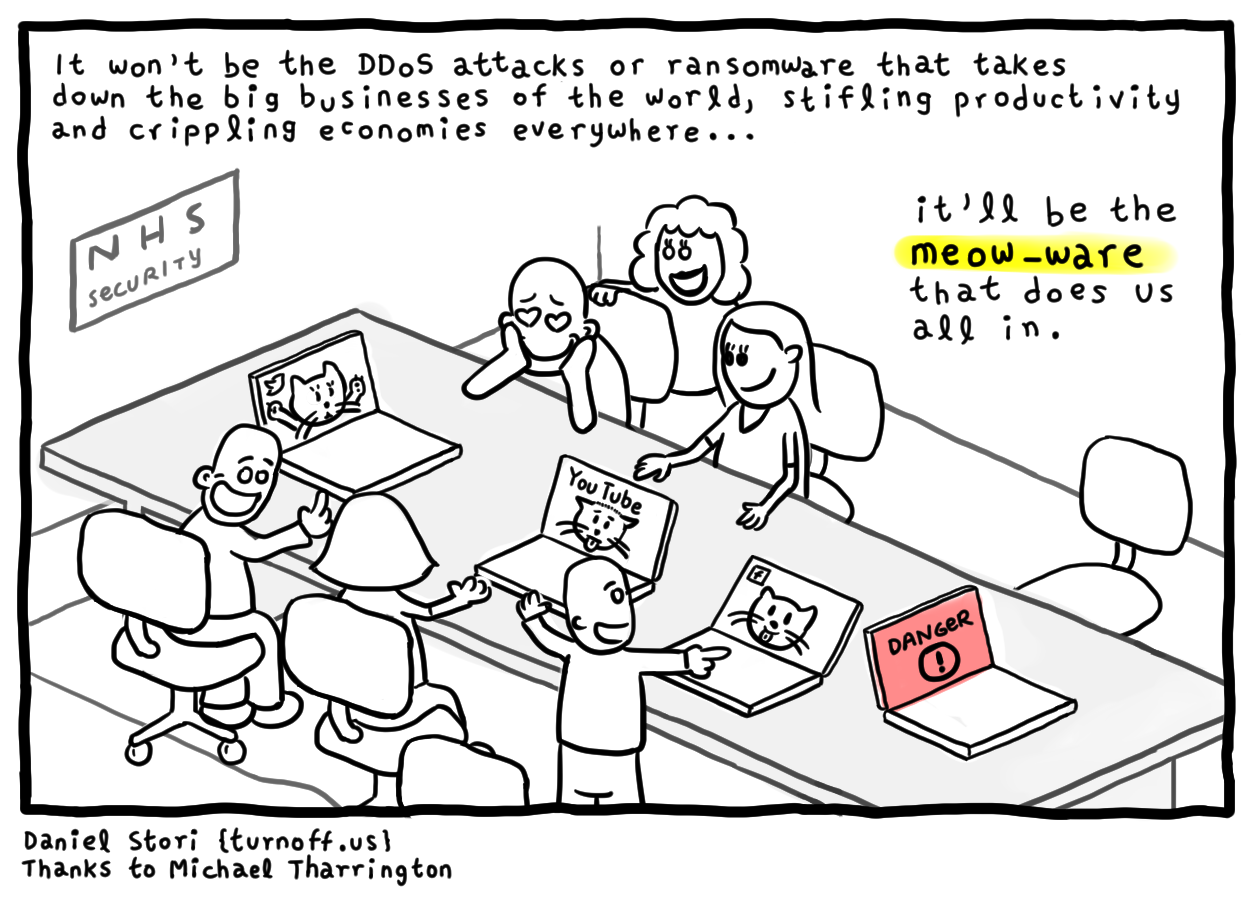
source Meow-ware
cheers
Mark
Top Comments