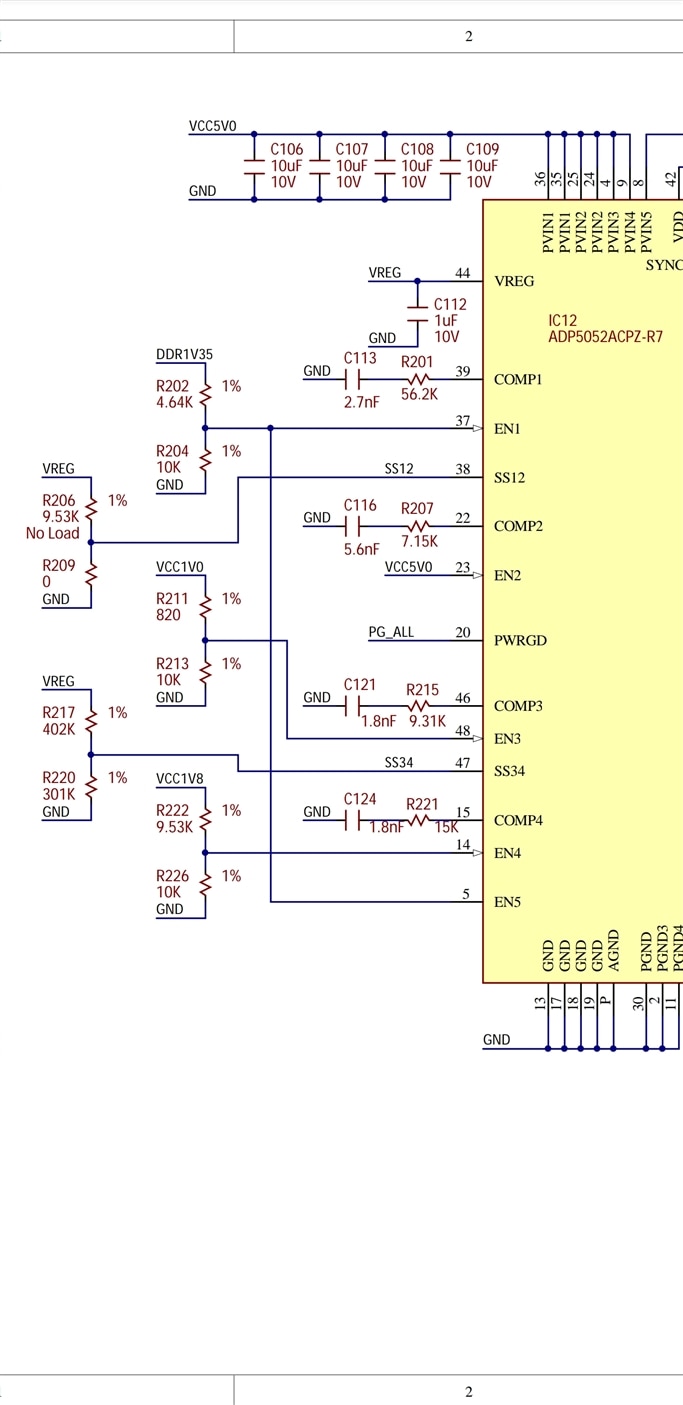
A quick update on the hardware issue. I tried powering the board and it didn't power up. It turns out the hardware had a short-circuit in production. Short in R220 and R217 had resulted in the failure of a 3.3V supply to the board which was removed. Even though I removed the short, it had already fried the power regulator. After replacing the high-performance multi-output LDO ADP5052, the board is ready to be powered.

Setting up Vivado 2019.2
Xilinx Unified installer allows users to install multiple Xilinx tools using a single installer. Users can install Vivado Design Environment, Vitis, Lab Edition, Hardware Server, On-premise install for cloud deployment, Bootgen, and Documentation Navigator using a single installer.
- Go to the Xilinx Downloads Website.
- Click an installation file to download it. Xilinx Unified Installer 2019.2: Windows Self Extracting Web Installer
- Select a product to install
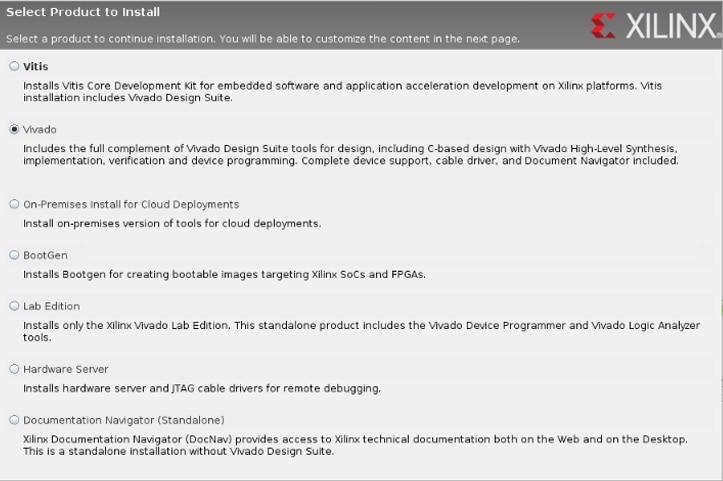
It took me more than 6 hours to install Vivado 2019.2
Demo program
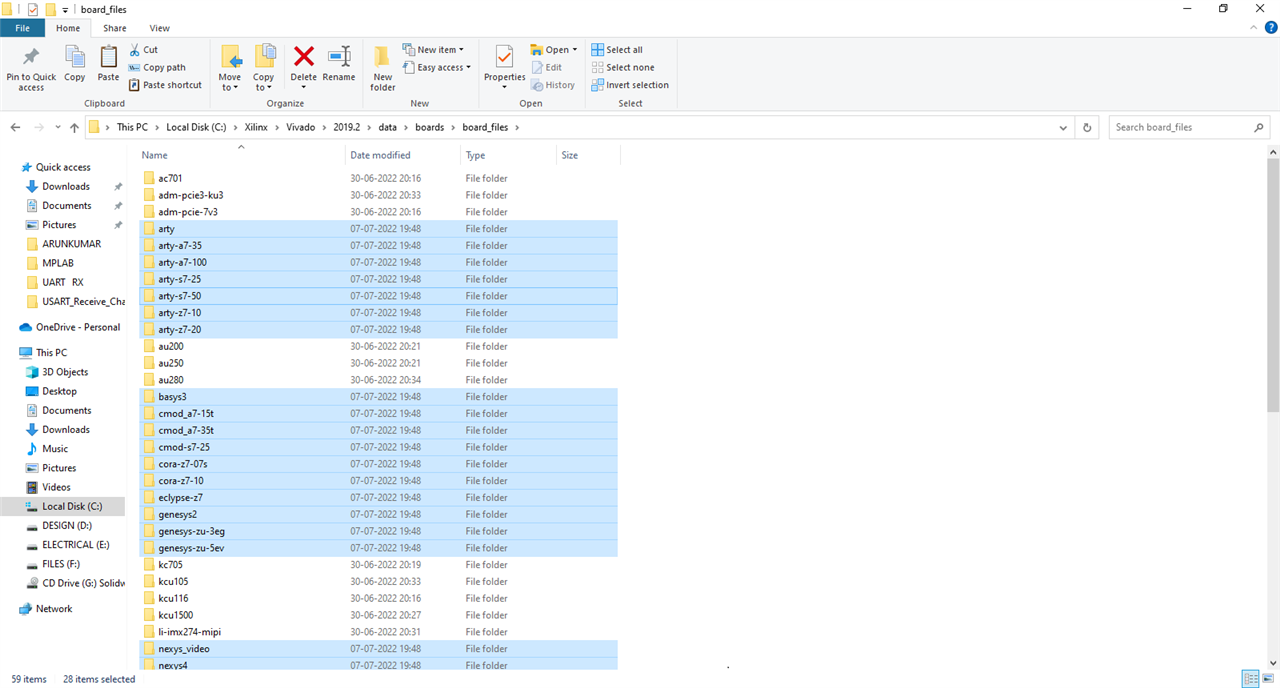
- Firstly, we will be adding the board files to the directory.

- Copy and paste the board files to /Vivado/2019.2/data/boards/board_files/
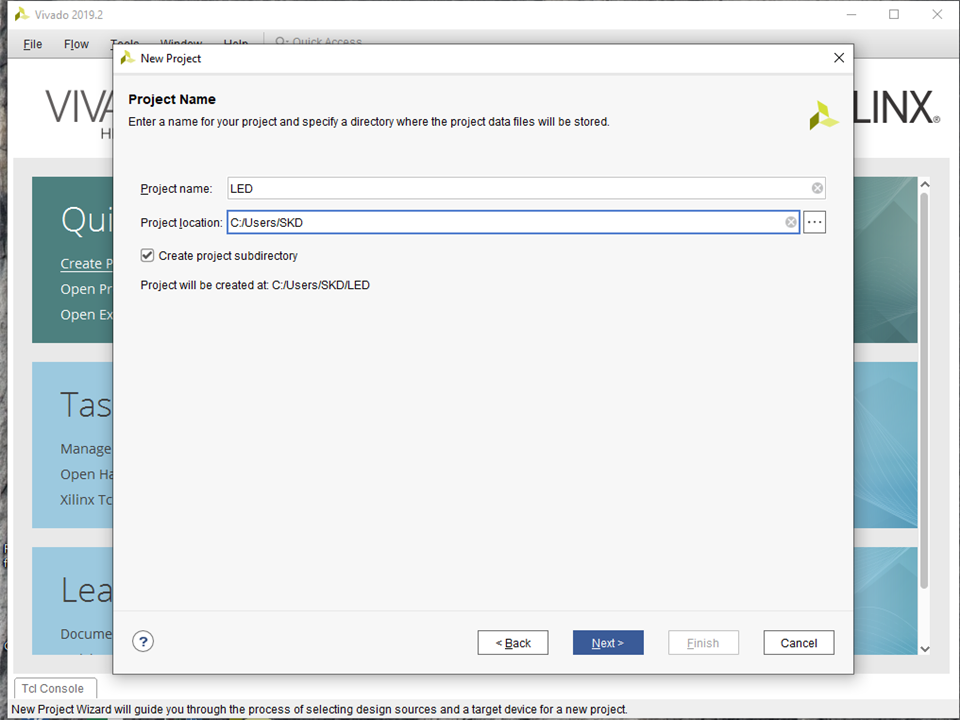
- Now create a new project on the Vivado 2019.2 IDE and name the project.
- Select ARTY S7-50 under the board's tab and click the Next button to create the project.
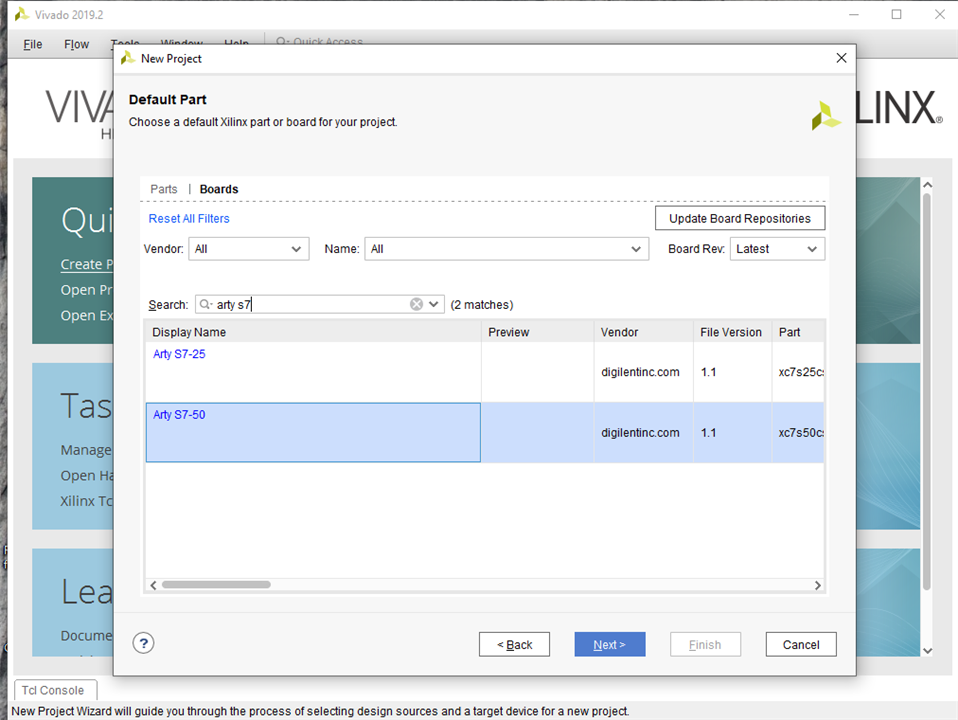
- Add the constraint and source files to the project
- Run Synthesis, Implementation, and Generate Bitstreams as shown.


- Select the local device and click on the program to upload the bitstream. Once uploaded, click on the prog reset button to run the program.
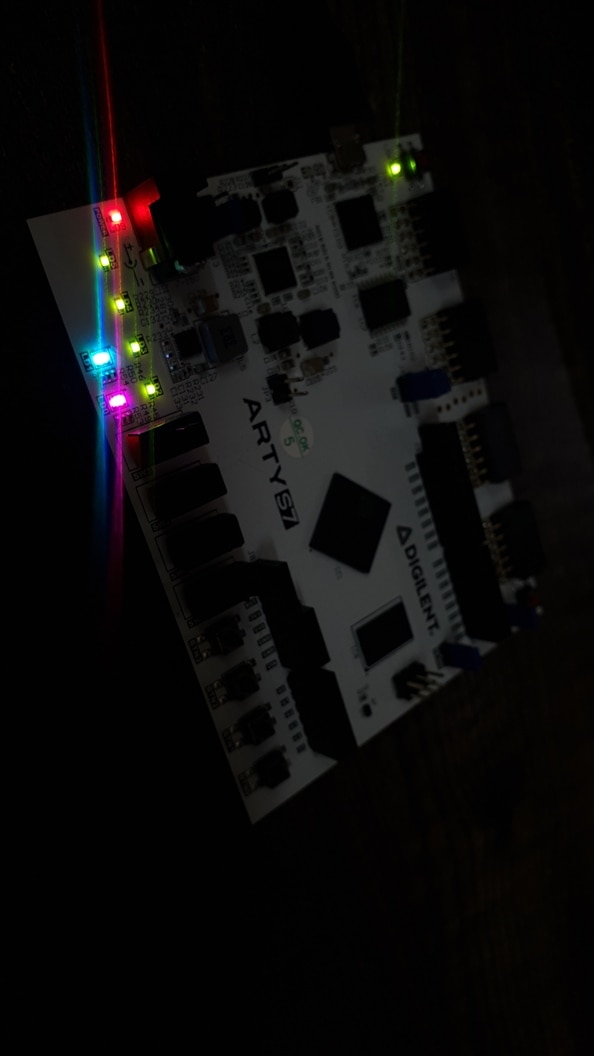
Now, the Demo program is active. The LED combinations are made using SW1, SW2, SW3, and SW4. The device is ready to be programmed.
We will be interfacing with the sensors and will be implementing a motor control program in the next blog.
