


In the last posting, I managed to put my assembled breadboards each containing an MKR WAN 1310 outside to collect environmental data in-situ. While the boards sit outside inside a plastic box “hive”, experiencing the harsh environment of the outside, it is time for me to get started with the Arduino Pro Nicla Vision board to understand how to work with it.
Table of Contents
Hardware Preparation
The board itself is a lovely, compact little thing, packed tight with sensors and processing capability. While it is a nice marvel to behold, it is also frighteningly fragile from my perspective, with the camera’s flexible flat cable and lots of exposed metal which might make contact with a stray wire scrap at a whim.
Not wanting to risk the hardware, I decided that it would be best to mount it to a breadboard. Thankfully, I had some 2.54mm header pins spare, which I mounted to the holes along the edge of the board. Of note is that there are two contacts on the top that shouldn’t have pins mounted, otherwise they would short out …
Then, after soldering, I can get my tweezers and remove the protective film from the camera and the infrared time-of-flight sensor. It was then that I plugged it into a breadboard and found that my USB micro-B cable wouldn’t fit anymore … so I had to carefully trim a bit of the plastic body of the cable away. I then snapped the included antenna to the IPEX/MHF connector so that the board can get a Wi-Fi signal. After that, I found a clamp to mount it to the side of my monitor, so it could get a good view of my face.

Installing Arduino Board Libraries
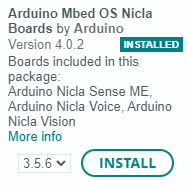
As I already had a copy of the Arduino IDE, I decided to use my existing install. Following the guide from Arduino here, I installed the necessary library.
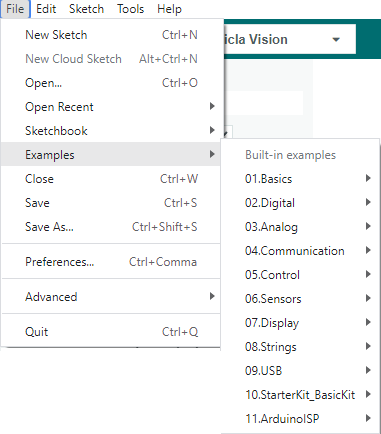
But this only led me down a confusing dead-end as there was no examples relevant for the board and it seemed to be more for bare-metal development of software which is less interesting.
Installing OpenMV IDE
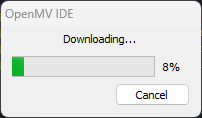
It was then I also discovered this guide which is more helpful. This guide pointed me to installing the OpenMV IDE to do computer-vision tasks. I downloaded the software and executed the installer:

During install, it installed specific drivers for their boards.

But then, my installation failed with an unknown error …
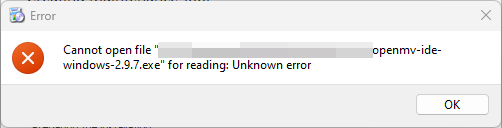
… as it turns out, you’re not supposed to execute the installation from a Network Drive, otherwise, it will fail. Copying it to local storage and re-executing the install allowed me to complete set-up.

I then gingerly launched the IDE …


… which provided me some helpful tips on LED interpretation. Even though I downloaded the latest version, there were still some updates to be performed.

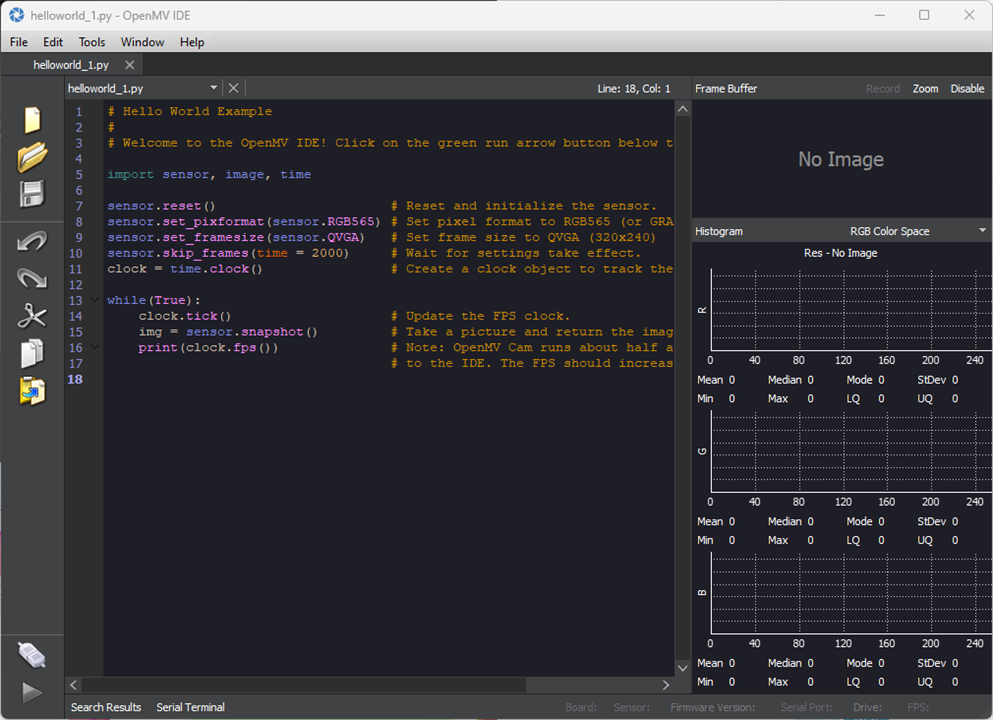
After closing and re-opening the IDE to apply the updates, I am now at the stage of staring down a Python-based helloworld example.
At this point, I’m supposed to update the firmware on the board through Arduino, but guess what? There isn’t any sketch to do the firmware update, at least, not in the latest version of the board support files. As a result, I skipped that step.
Testing Example Code
In order to run any example code, we must connect to the board in the IDE. As it turns out, connecting the board gives us the warning that the board is out-of-date …
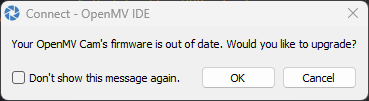
… and so I opted to upgrade, as any sensible user will usually do.
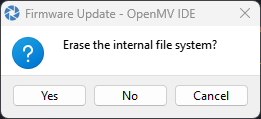

I opted to erase the internal filesystem but then the upgrade failed with No DFU settings for the selected board type! That’s not good.

Attempting to reconnect was slow, but it detected a board in DFU mode allowing me to manually select to install the firmware.
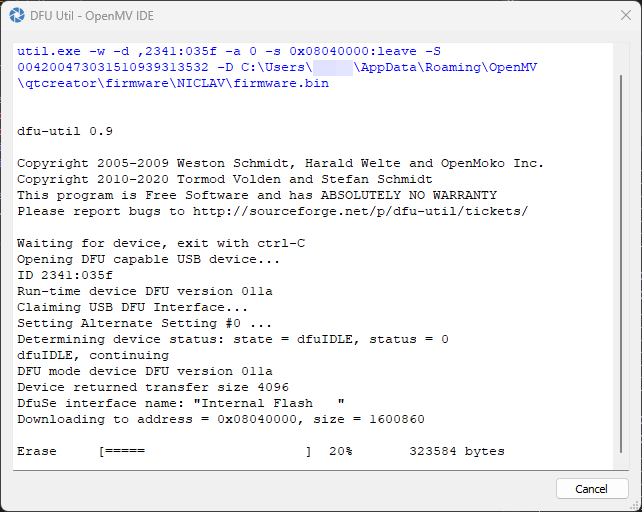

This attempt was then successful, allowing me to start running some code. But the message was confusing - I interpreted the final message as if I had to wait for the blue flashing LED to stop, which never seemed to happen. Instead, I suspect the blue flashing LED means the self test has finished ... so eventually, I got impatient and clicked OK. Thankfully, things seemed to work, although the connection process seems to be a bit slow, resulting in the IDE hanging for about 20 seconds.

Hello World indeed! Getting 20fps out of the board isn’t half-bad, although this is in QVGA RGB565 (16-bit) format. It identifies the board as having a GalaxyCore 1/5” GC2145 UXGA (1600x1200) CMOS sensor.
There are plenty of examples, many for general OpenMV-compatible boards that will usually run, and some specific for the Nicla Vision. I tried the audio FFT example and was pleasantly surprised to see an audio spectra rendered as video frames. I tried another (yes/no) audio example with the use of a TensorFlow Lite model but I couldn’t get it to work – it seemed to hang and never gave either result.

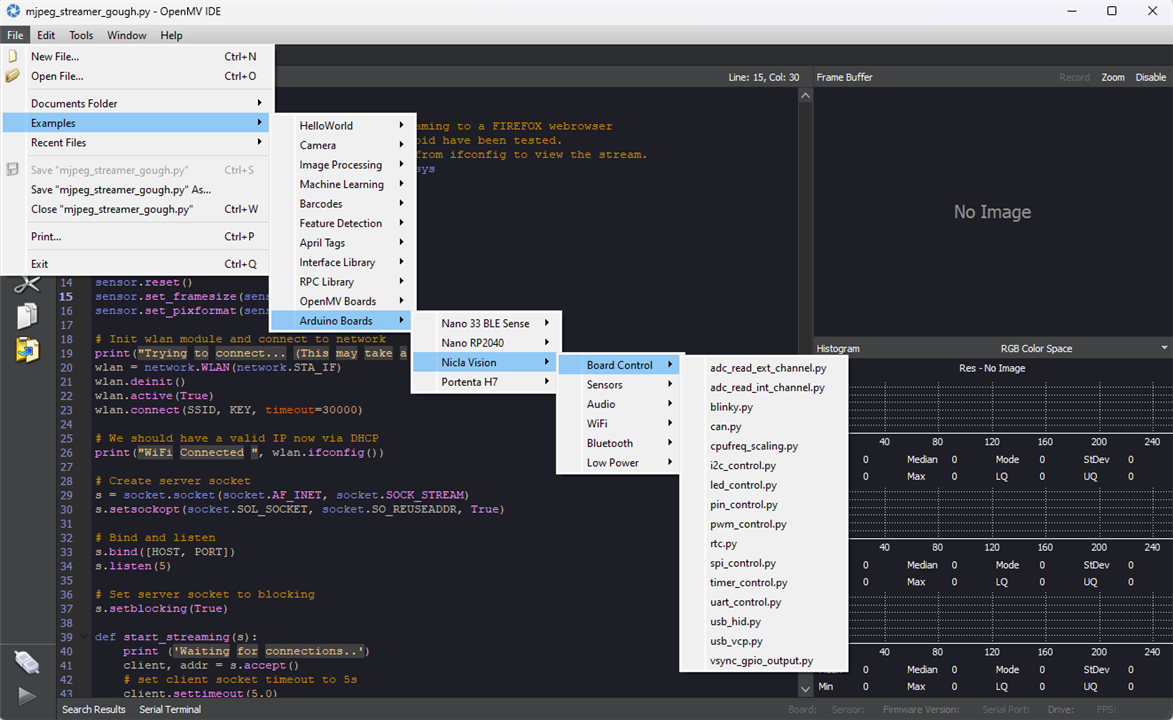
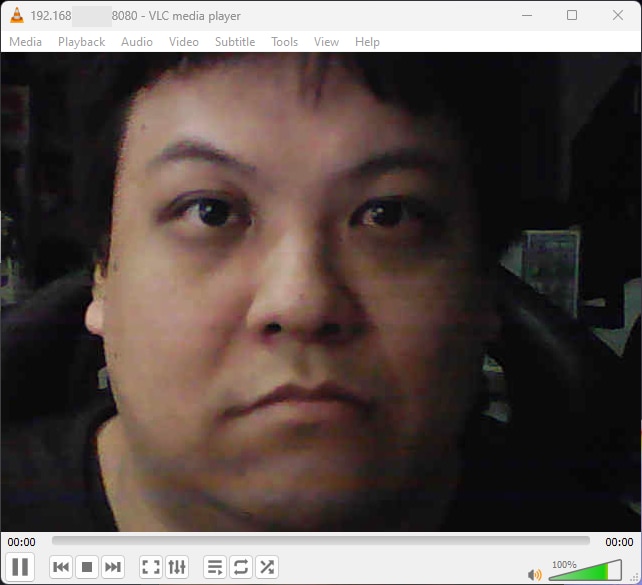
I pushed things a bit further, with the MJPEG streamer example, being able to turn the board into an IP camera of sorts with up to VGA resolution. Unfortunately, quality wasn’t high at the 1Mbit/s bitrate.

While it did work, it was quite strenuous for the board … and when I tried to stop the example … it wouldn’t stop!
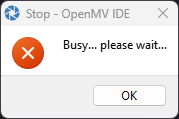
Instead, it blinked white, suggesting to me that it had overflowed its internal memory and crashed, hard. Thankfully, unplugging and replugging seemed to bring it back to life.
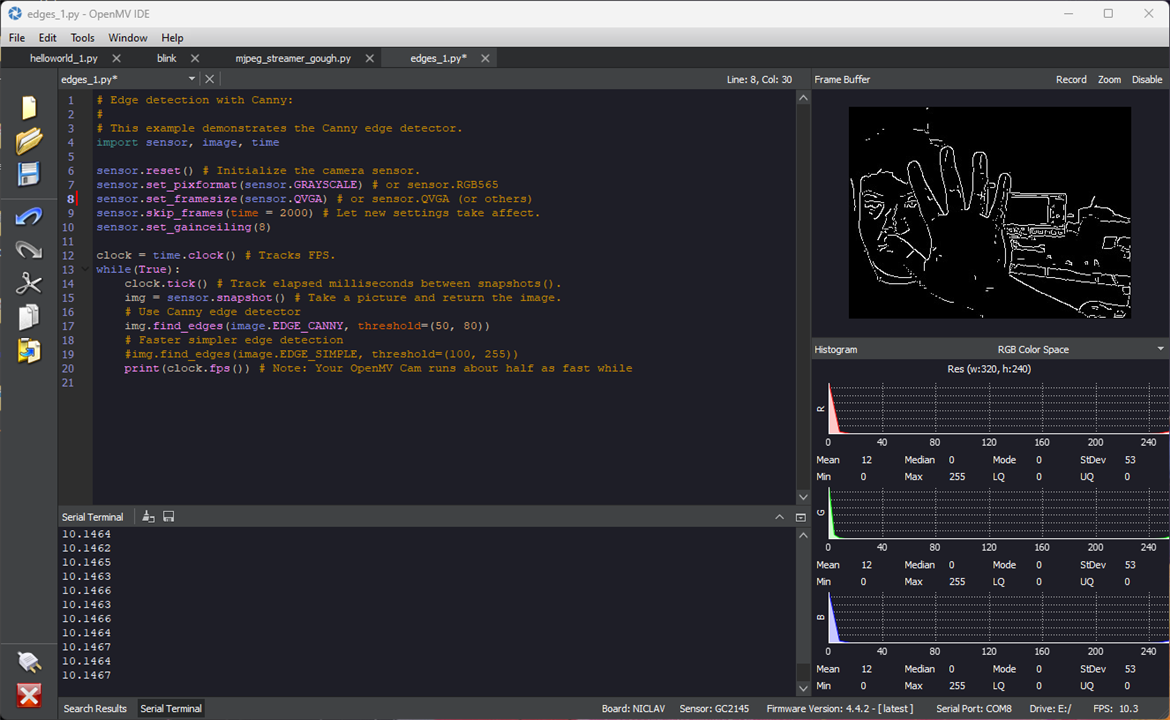
I did try another example, in this case, edge detection. However, the frame sizes are very limited, due to the memory limitations. Similarly, it seems any models trained for the device will have to contend with both limited processing power and storage. It is still pretty surprising it can do as much as it does, but being so used to programming in a C-like Arduino IDE for so many years, and in ordinary Python for desktop applications, the change to use Python in embedded feels unusual to me.
Thinking deeper about this, integration of such a board into a larger project might be best done with a GPIO pin to signal to another board to “wake”. Then, perhaps a UART-based protocol should be used to pass data and commands between boards for speed and simplicity assuming one can hijack a low-power GPIO pin to do serial (even if bit-banged), compared to SPI or getting I2C host/device communications going. Otherwise, it seems I2C and SPI are hosted by the board, requiring the other board to be configured as a peripheral. It seems eminently possible, although if Wi-Fi or Bluetooth connectivity is enough, then the board can do it all on its own. In that sense, using sensors such as the IR ToF sensor could theoretically be done using MQTT over Wi-Fi, for example.
Building a Model?
Not having anything to do with artificial intelligence (AI) models until now, I haven’t the slightest clue of how to develop a model of my own on my own hardware. While I know about datasets, various model architectures and annotation of data, I have never actually done this in practice.
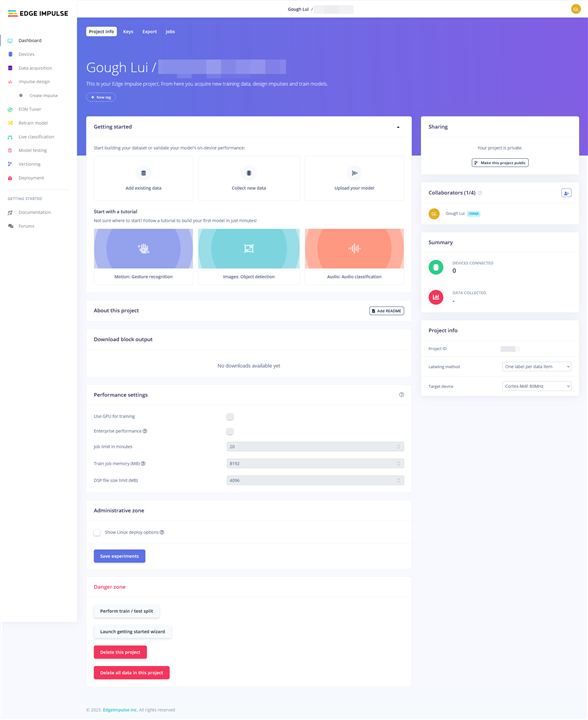
Looking at the guides suggests the best way forward is to use Edge Impulse, a cloud-based service, to handle the dataset and train models. Individual developers can use it for free, but with 20 minutes per job, 4GB or 4 hours of data per project and some limited features.
I’m personally not much of a fan of relying on cloud services, especially free offerings, as they come and go. Furthermore, data sovereignty and privacy concerns may mean that certain datasets shouldn’t be uploaded to third party providers and trained there as it may be tantamount to giving the dataset away. While the terms and conditions may state otherwise, the potential for cyberattacks and data breaches remain a risk.
In spite of this, for this project, I think I will have to give it a try anyway … perhaps it can be coaxed to work in my favour, but somehow, I suspect I’ll not have enough data for any robust models.
Conclusion
The process of getting started with the Arduino Pro Nicla Vision was not quite as straightforward as I had originally expected, with unexpected dead-ends and the occasional error message. However, that being said, once working – the OpenMV examples are numerous and quite amazing considering the hardware they are running on, although not every example seems to work. The use of Python for embedded programming is a bit of a departure from the norm. The Nicla Vision has a lot packed into a small space and integration through GPIO + UART seems to be the best approach based on my understanding.
However, to actually make it useful will require developing a model which will likely require building up a dataset and training upon that. The recommended path seems to be through Edge Impulse, a cloud-based solution that has a free tier. However, such a solution does have potential drawbacks and limitations, however, I don’t know enough at this time to spin up my own solution locally. Hopefully I will be able to make the board do something interesting in the coming weeks … but I’m not sure if I’ll have enough data for that.
[[BeeWatch Blog Index]]
- Blog 1: README.TXT
- Blog 2: Unboxing the Kit
- Blog 3: LoRa vs. LoRaWAN & Getting Started with MKR WAN 1310
- Blog 4: LoRaWAN Gateway Set-Up & MKR WAN 1310 Quirks
- Blog 5: Power, State Saving, Using Sensors & Battery
- Blog 6: Particulate Monitoring & Solar Power Input
- Blog 7: Powered by the Sun & Initial Data
- Blog 8: Getting Started with Nicla Vision
- Blog 9: Nicla Vision IR ToF & Audio Sensing, Data Dump
- Blog 10: Nicla Vision Power, Saving B’s & Dashboard Woes
- Blog 11: Summary Conclusion
Top Comments