


Table of Contents
- Introduction
- Getting Started
- Build and Wiring
- Programming with Vivado Design Suite
- Adding the PIR Motion Sensor
- Experimenting with Automatic Sliding Door
- Summary
**********************************************************************************************************************
In this chapter I am going to show you the main features of Arty S7 board, how to install Vivado on Windows 10 and do a simple test with this board.
Arty S7
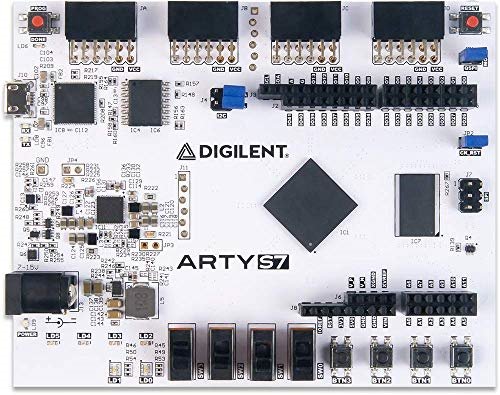
The Spartan-7 FPGA offers the most size, performance, and cost-conscious design engineered with the latest technologies from Xilinx. Putting this FPGA in the Arty form factor provides users with a wide variety of I/O and expansion options. Use the dual row Arduino® connectors to mount one of the hundreds of hardware compatible shields available, or use the Pmod ports with Digilent's pre-made Pmod IP blocks for a more streamlined design experience. Arty S7 was designed to be MicroBlaze ready.
Features:
- DSP slices: 80
- Clock management tiles: 3
- Block RAM (Kbits): 1,620
- Flip-flops: 29,200
- Slices: 3,650
- Logic cells: 23,360
- 1 MSPS on-chip ADC
- FPGA part: XC7S25-CSGA324
Installing Vivado
First, Its necessary to register on the official Xilinx web site: https://www.xilinx.com/
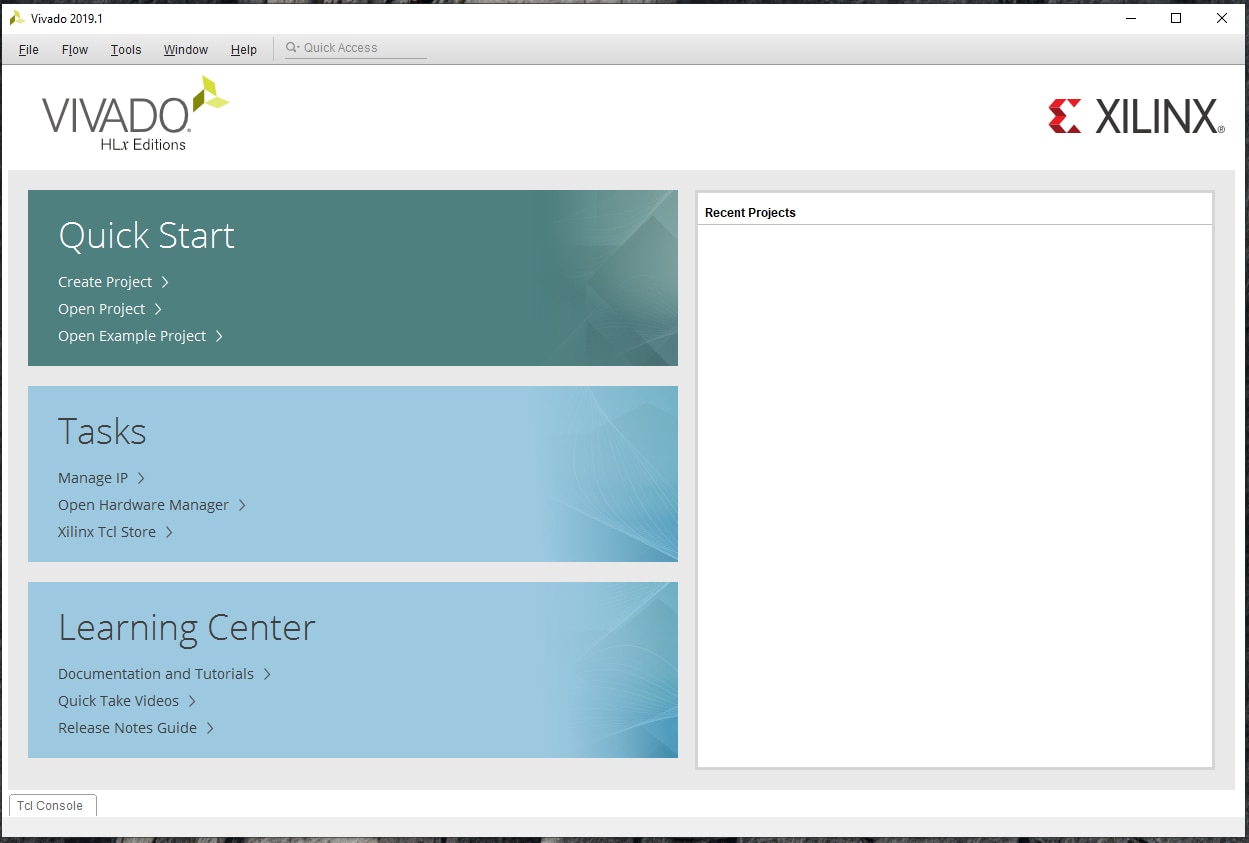
To install Vivado 2019, I followed the instructions shown below:
For our purposes its not necessary to pay any license. I spent 3 hours to download the software and 1 hour to install it approx. If the download is interrupted, don't worry because the system keeps the last download point. This is what we see when we run vivado for the first time.
Example with Logical Operators
Its necessary to verify that our board is in good condition, so any example is a good idea to do so. In my case I show you the use of logical operators like the ones shown below:
- && - logical AND
- || - logical OR
- ! - logical NOT (or negation)
I my example I will use AND logical operator; for example: A && B is true if both A and B are true.
Click on File > Project > New
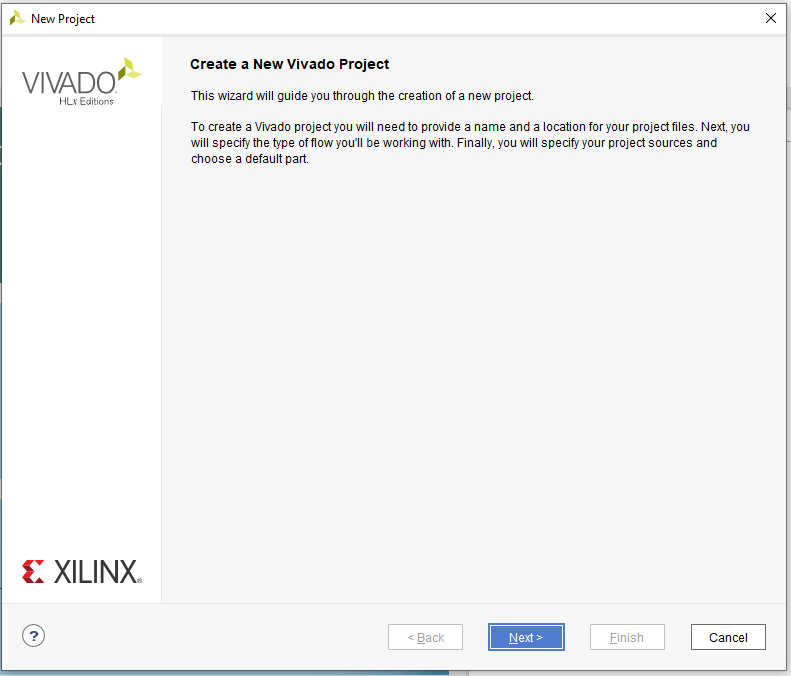
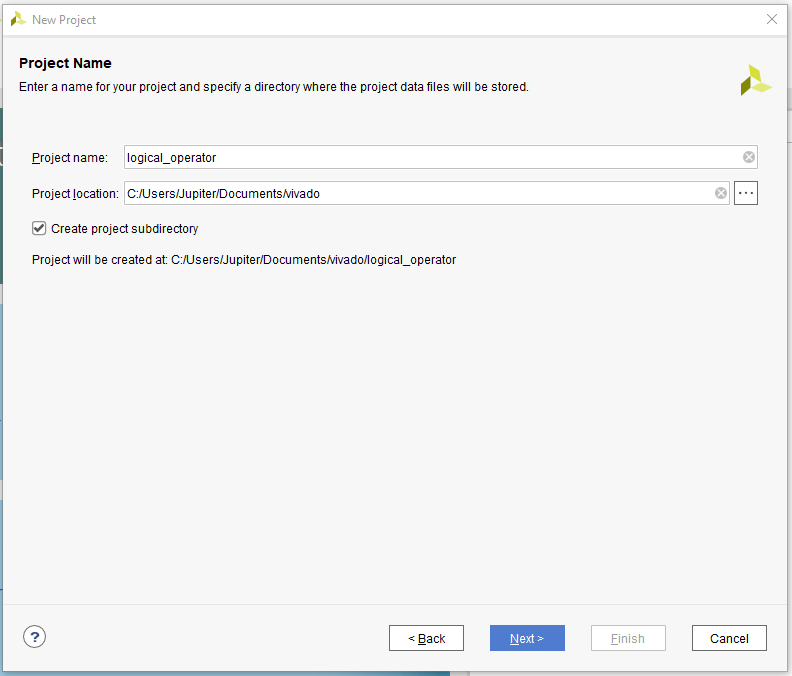
Click next to continue, Now, we set the name of the project: logical_operator
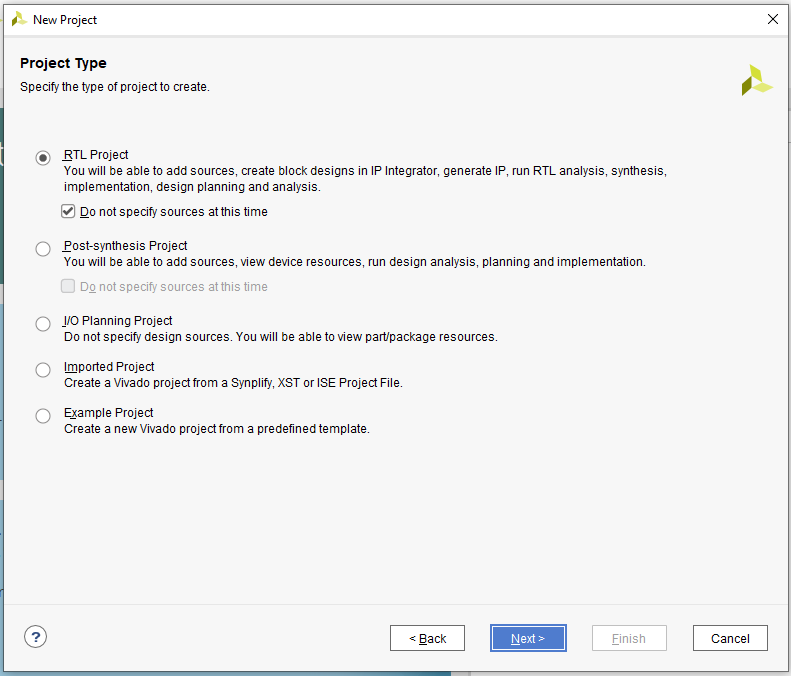
On the project type menu, select "RTL Project" and click next:
Now, we select the target Arty S7-50 board. Click next to continue

If your programming board does not appear in the list, just click on the "Update Board Repositories" button and wait a few minutes for it to update the database. Finally we see a summary, verify and click finish.

The created project is shown below:

Adding a Constraint file
Digilent has produced a Xilinx Design Constraint (XDC) file for each board. Download digilent-xdc-master.zip, then extract it in a location you will remember. In the Project Manager section, click the Add Sources button. Select add or create constraints and click next.

Click on Add Files:

Then click on the file for your board and click OK to continue.

Once the file was added click on Finish.

On Arty-S7-50-Master.xdc file add the next lines:
## Configuration options, can be used for all designs
set_property BITSTREAM.CONFIG.CONFIGRATE 50 [current_design]
set_property CONFIG_VOLTAGE 3.3 [current_design]
set_property CFGBVS VCCO [current_design]
set_property BITSTREAM.CONFIG.SPI_BUSWIDTH 4 [current_design]
set_property CONFIG_MODE SPIx4 [current_design]

## SW3 is assigned to a pin M5 in the 1.35v bank. This pin can also be used as
## the VREF for BANK 34. To ensure that SW3 does not define the reference voltage
## and to be able to use this pin as an ordinary I/O the following property must
## be set to enable an internal VREF for BANK 34. Since a 1.35v supply is being
## used the internal reference is set to half that value (i.e. 0.675v). Note that
## this property must be set even if SW3 is not used in the design.
set_property INTERNAL_VREF 0.675 [get_iobanks 34]

## Switches
set_property -dict { PACKAGE_PIN H14   IOSTANDARD LVCMOS33 } [get_ports { sw[0] }]; #IO_L20N_T3_A19_15 Sch=sw[0]
set_property -dict { PACKAGE_PIN H18   IOSTANDARD LVCMOS33 } [get_ports { sw[1] }]; #IO_L21P_T3_DQS_15 Sch=sw[1]
set_property -dict { PACKAGE_PIN G18   IOSTANDARD LVCMOS33 } [get_ports { sw[2] }]; #IO_L21N_T3_DQS_A18_15 Sch=sw[2]
set_property -dict { PACKAGE_PIN M5    IOSTANDARD SSTL135 } [get_ports { sw[3] }]; #IO_L6N_T0_VREF_34 Sch=sw[3]

## Buttons
set_property -dict { PACKAGE_PIN G15   IOSTANDARD LVCMOS33 } [get_ports { btn[0] }]; #IO_L18N_T2_A23_15 Sch=btn[0]
set_property -dict { PACKAGE_PIN K16   IOSTANDARD LVCMOS33 } [get_ports { btn[1] }]; #IO_L19P_T3_A22_15 Sch=btn[1]
set_property -dict { PACKAGE_PIN J16   IOSTANDARD LVCMOS33 } [get_ports { btn[2] }]; #IO_L19N_T3_A21_VREF_15 Sch=btn[2]
set_property -dict { PACKAGE_PIN H13   IOSTANDARD LVCMOS33 } [get_ports { btn[3] }]; #IO_L20P_T3_A20_15 Sch=btn[3]

## LEDs
set_property -dict { PACKAGE_PIN E18   IOSTANDARD LVCMOS33 } [get_ports { led[0] }]; #IO_L16N_T2_A27_15 Sch=led[2]
set_property -dict { PACKAGE_PIN F13   IOSTANDARD LVCMOS33 } [get_ports { led[1] }]; #IO_L17P_T2_A26_15 Sch=led[3]
set_property -dict { PACKAGE_PIN E13   IOSTANDARD LVCMOS33 } [get_ports { led[2] }]; #IO_L17N_T2_A25_15 Sch=led[4]
set_property -dict { PACKAGE_PIN H15   IOSTANDARD LVCMOS33 } [get_ports { led[3] }]; #IO_L18P_T2_A24_15 Sch=led[5]
Adding a SystemVerilog file
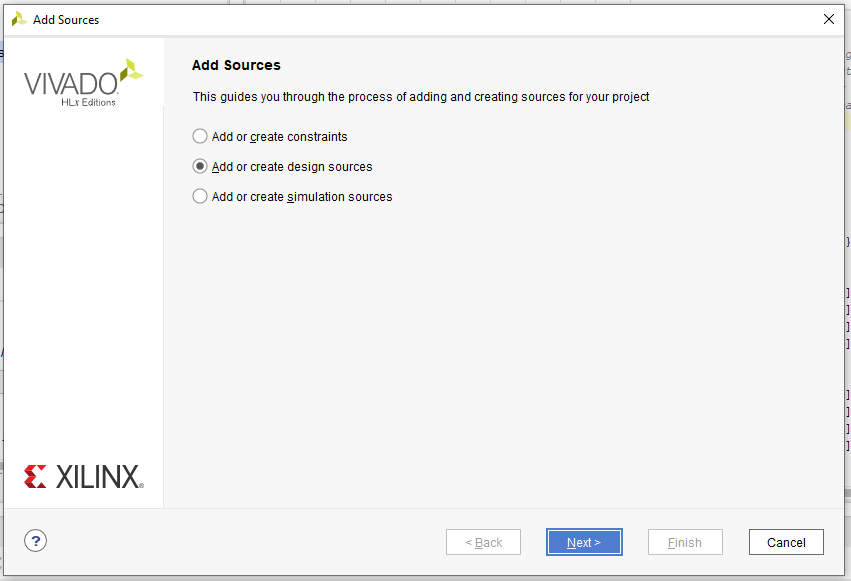
In the Project Manager section, click the Add Sources button. Select Add or create design sources and click next
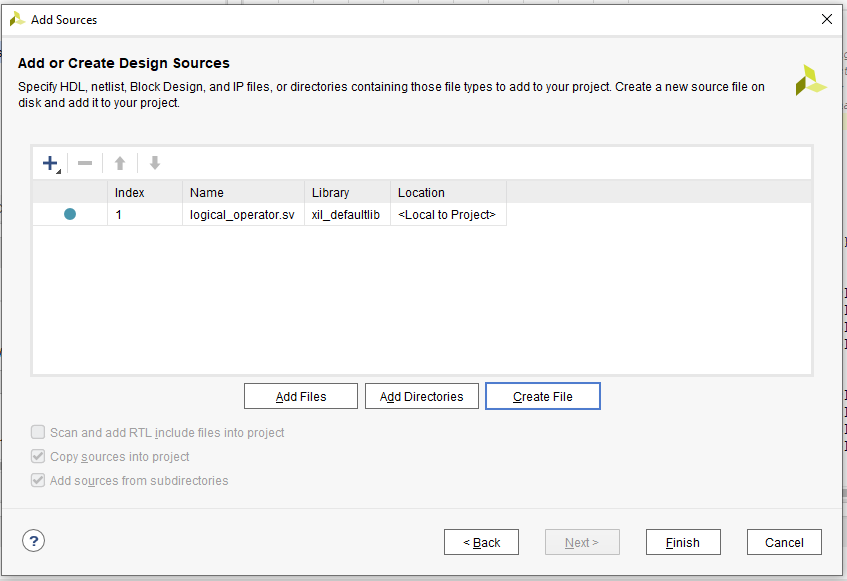
Click Create file, and type File type: SystemVerilog & File name: logical_operator.sv and click OK

Ckeck that the new SystemVerilog source file has been added into the list of sources, then click Finish
Open the logical_operator.sv file and add code shown below:
module logical_operator (
    input wire logic [3:0] sw,
    input wire logic [3:0] btn,
    output     logic [3:0] led
    );

    always_comb begin
        if (sw[0] == 0 && sw[1] == 1) begin
            led[3:0] = btn[0] ? 4'b1001 : 4'b0110;
        end else begin
            led[3:0] = 4'b0000;
        end
    end
endmodule
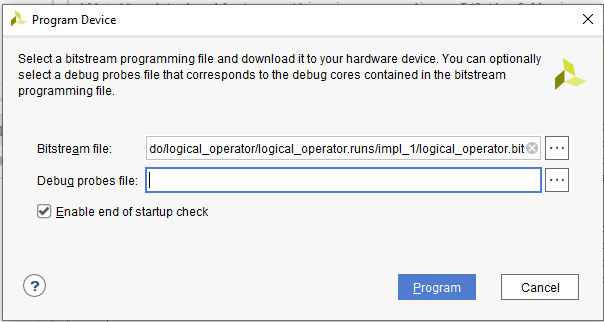
Run synthesis, implementation, bitstream generation, and program your board.
How does it work?
- SW0 and SW1 control whether the LEDs are enabled;
- BTN0 selects two different patterns of lights.

Thanks for reading this blog. In the next chapter I'll start building my project, I'll show you how to reuse an old scanner stepper motor and elevator prototype assembly.
Top Comments