


Introduction
The entire meaning of this thirteen episode is contained in the Klingon sentence Heghlu'meH QaQ DaHjaj. (Today is good in order to die), and you'll see soon why (look at the video below).

What happens to Seven Of Nine when is not online? She is regenerating in her alcove where the Borg Access Terminal connects the drone with the rest of the Borg Collective. Just during one of these periods of regeneration, I stole her terminal and hacked it, to be able to speak with Seven Of Nine and – eventually – someone else of the Collective. Take a look to the video, and see how I was able to save the Earth from the Borg assimilation.
Hacking the Borg Communication Terminal
Or making a new one.
Definition, from the official Borg Collective Website:
An access terminal was a small port which was located within a Borg drones alcove, it was an integral part of early 24th century Borg technology which allowed a drone to connect to it and perform a number of different functions such as; linking the drone directly to the Hive Mind, absorption and transfer of power to and from the drone, access to vessel to the vessels database. The technology of the access node was altered to function without the drone being required to directly connect to it, instead, when the drone is inside the alcove the uplink is established remotely.
After hacking the original terminal it went destroyed so I decided to make a new one from scratch based on the original design; at the end of the job it worked like the original and I was able to communicate with Seven Of Nine and the Borg Collective.
Construction of the Terminal
Excluding the weird green light characterizing the Borg technology the members of the Collective are connected through their implants and their alcoves so no display or monitor is needed to them. As a matter of fact, a Borg Communication Terminal is a headless computer.

The hacker at work. The sunglasses have special colored lenses to protect the eyes from the green light.
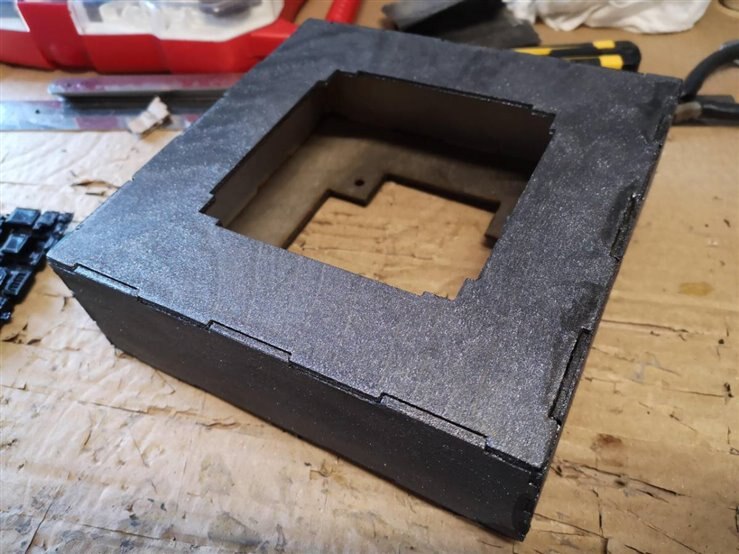
The first step was building the container. Thanks to 3D printer and laser cutter it was possible to recreate an object resembling the Borg terminal
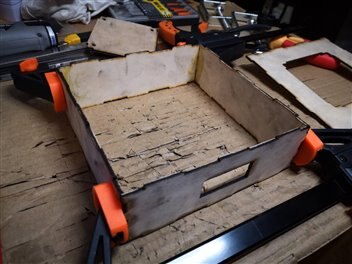
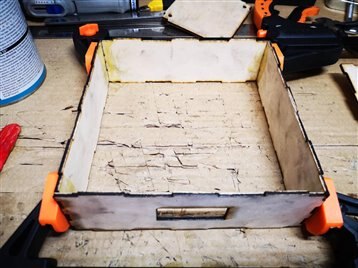
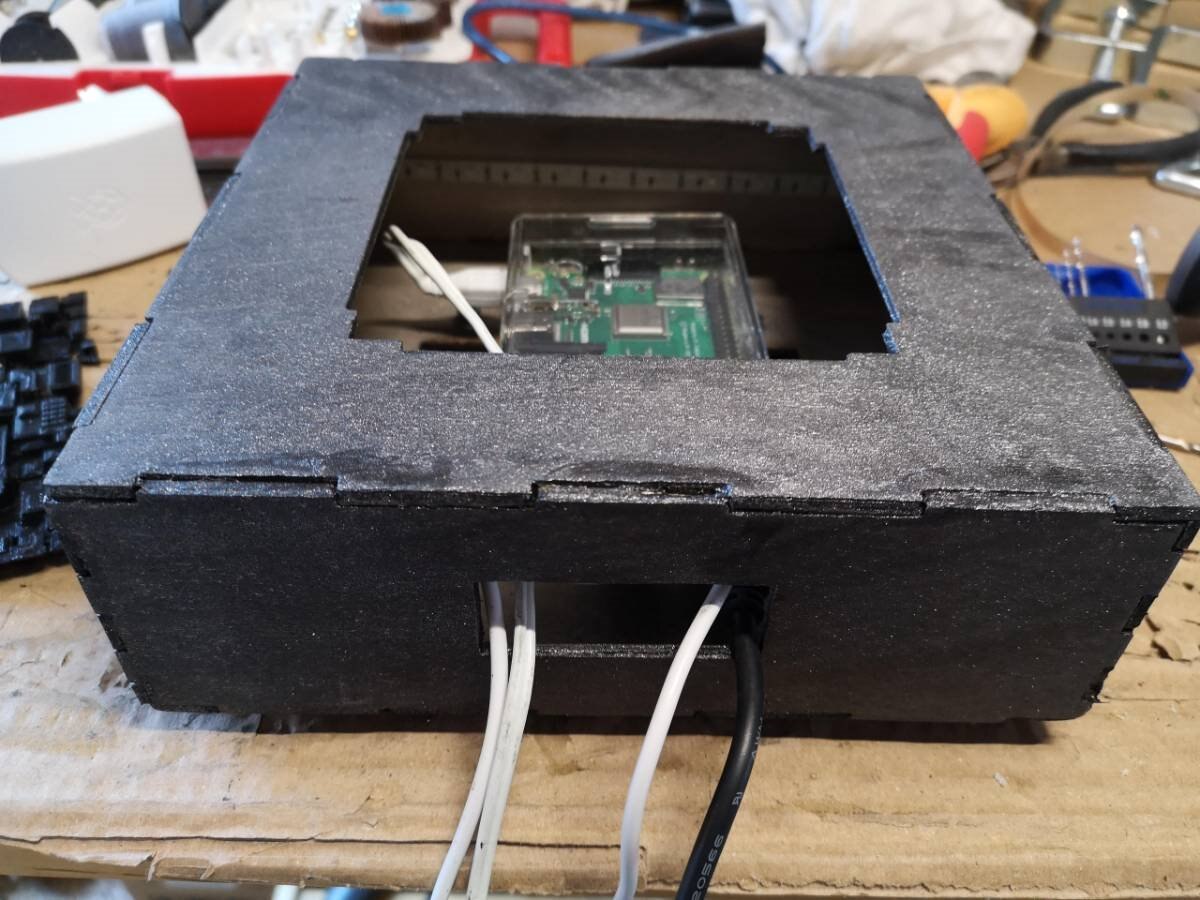
Above: the four sides of the terminal box (laser cut) glued together. The rectangular hole is the side where I will connect cables and probes to the internal electronics.
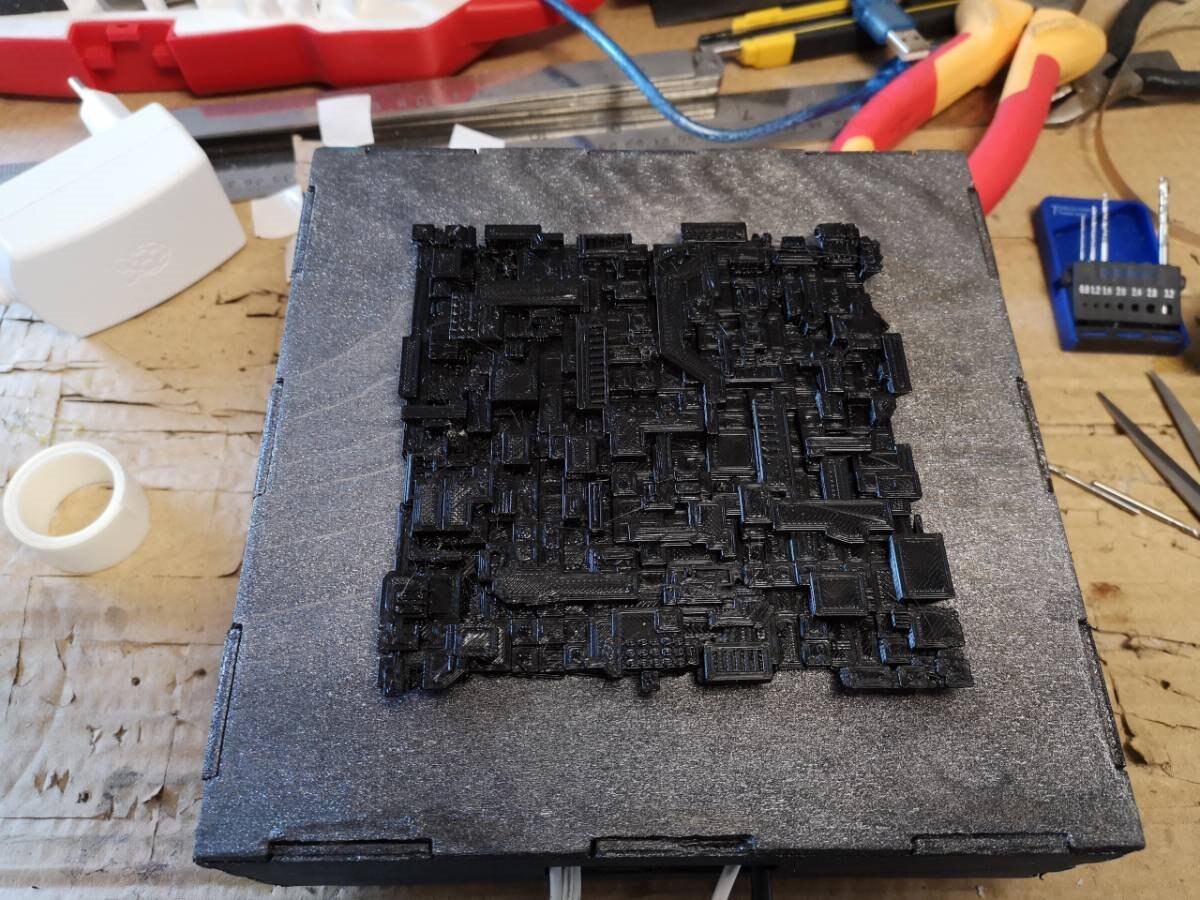
Below: The front side glued to the frame. This side will host the Borg plate, resembling a face of the Borg Cube starship. I have 3D printed it with the Elegoo Neptune 3D printer set to a Z-axis resolution of 0.06 mm per layer for the better quality of the details of the surface.
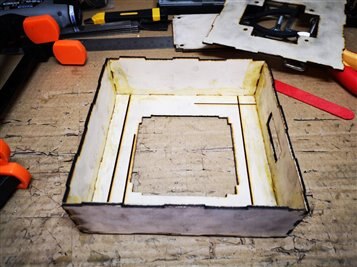
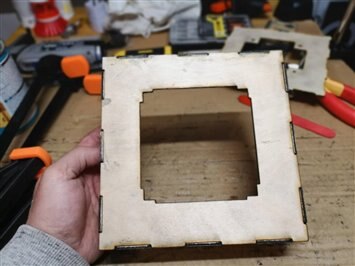
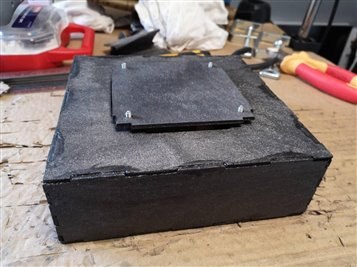
After assembling the essential parts of the case, the next step has been to create a box that can confuse Borgs. As shown in the images below, I have painted the assembled terminal case with metal black paint embedding nanodrones, to create a camouflage effect for the Borg sensors in case they discover where I am.
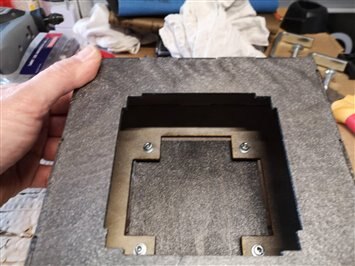
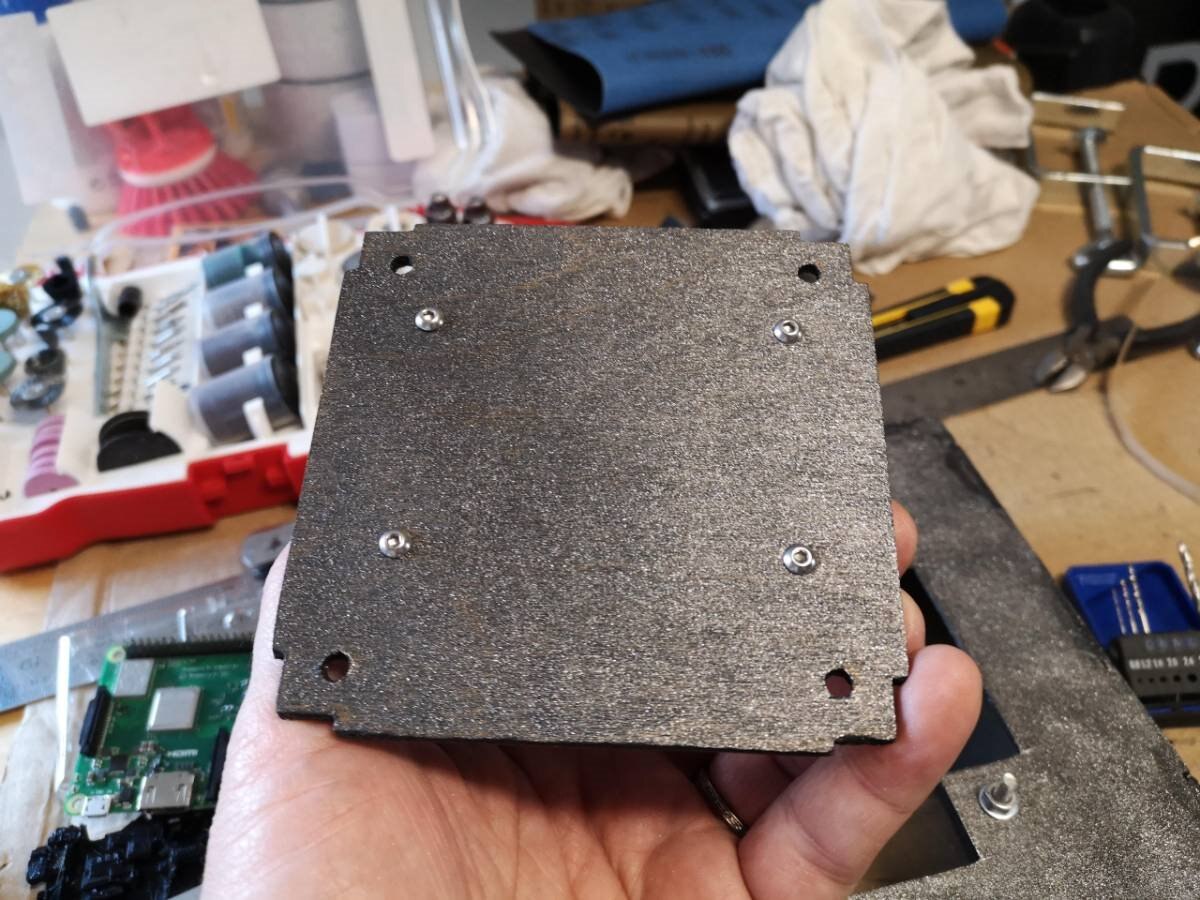
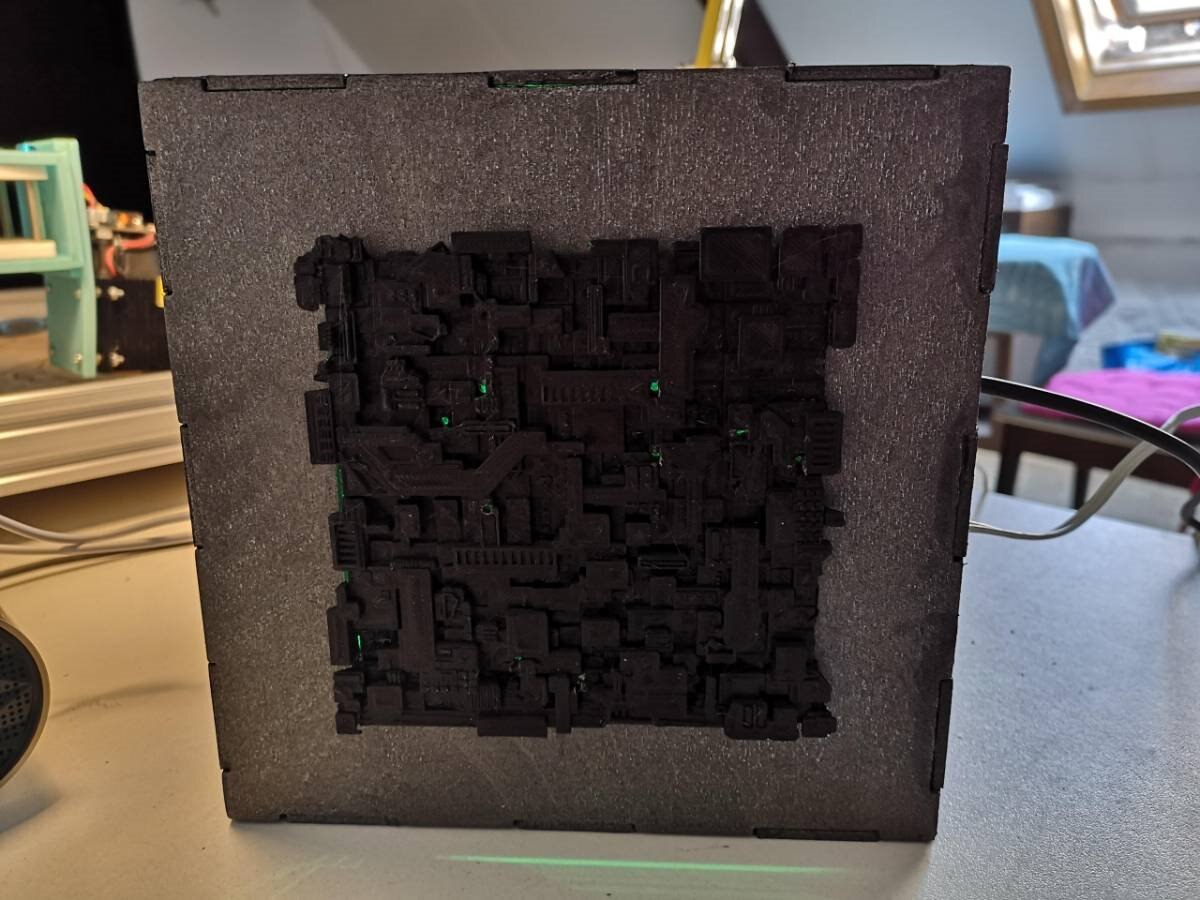
The back side will keep firmly the Raspberry PIRaspberry PI headless Brain Module so it can be inserted in the case and kept suspended in the middle. This is to avoid reaching too high temperatures due to the effort of the processor. The back side does not close completely the box so the green radiations – another camouflage effect – are emitted from the entire device.
The PI Inside
The procedure to install is almost complex, at least the first time. While the board is kept in place by the back side, the connection should be inserted until the front side is open.
| {gallery} Raspberry PI Inside |
|---|
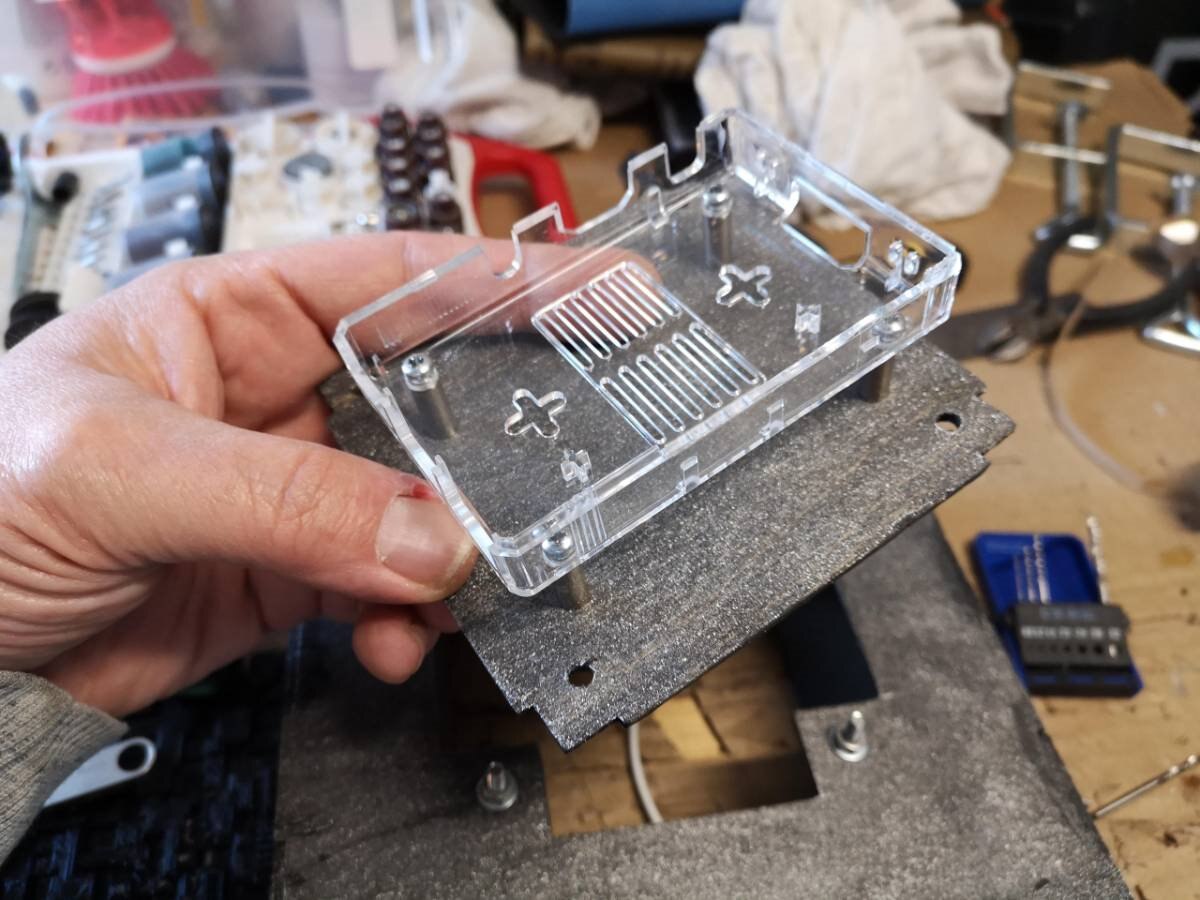
The Raspberry PI case suspended to the internal side of the back cover of the box |
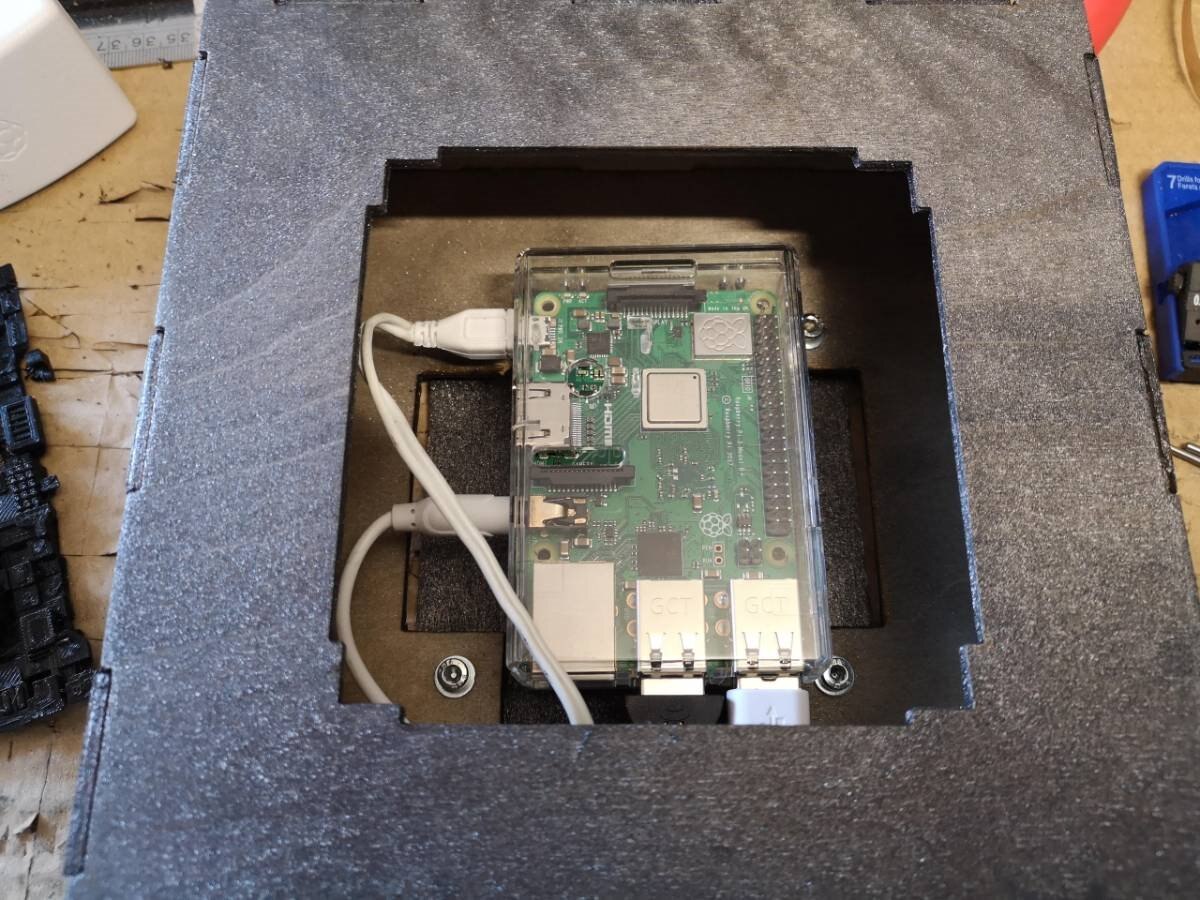
How the backside cover appears with the PI board inside |
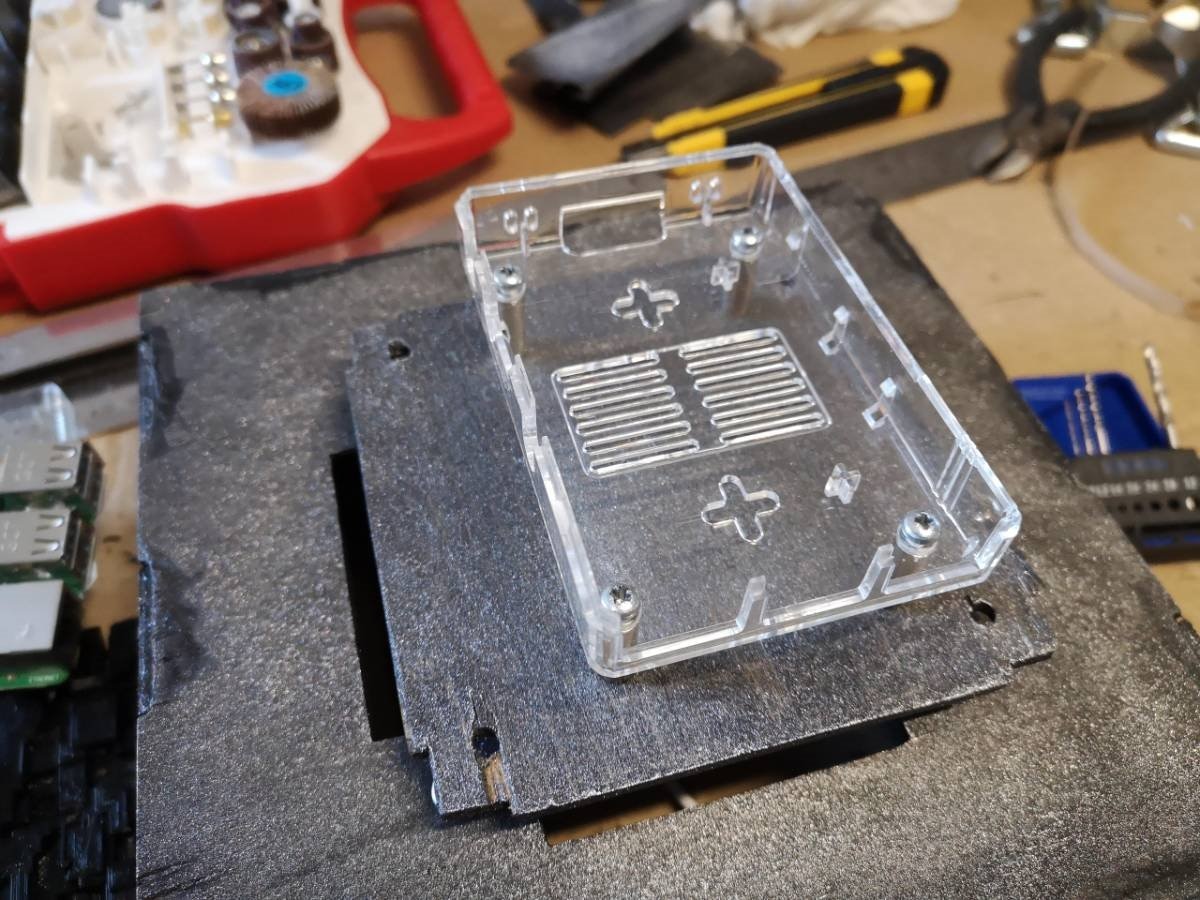
The PI is exactly centered to the middle of the box |
The PI can be inserted to the back without the connections |
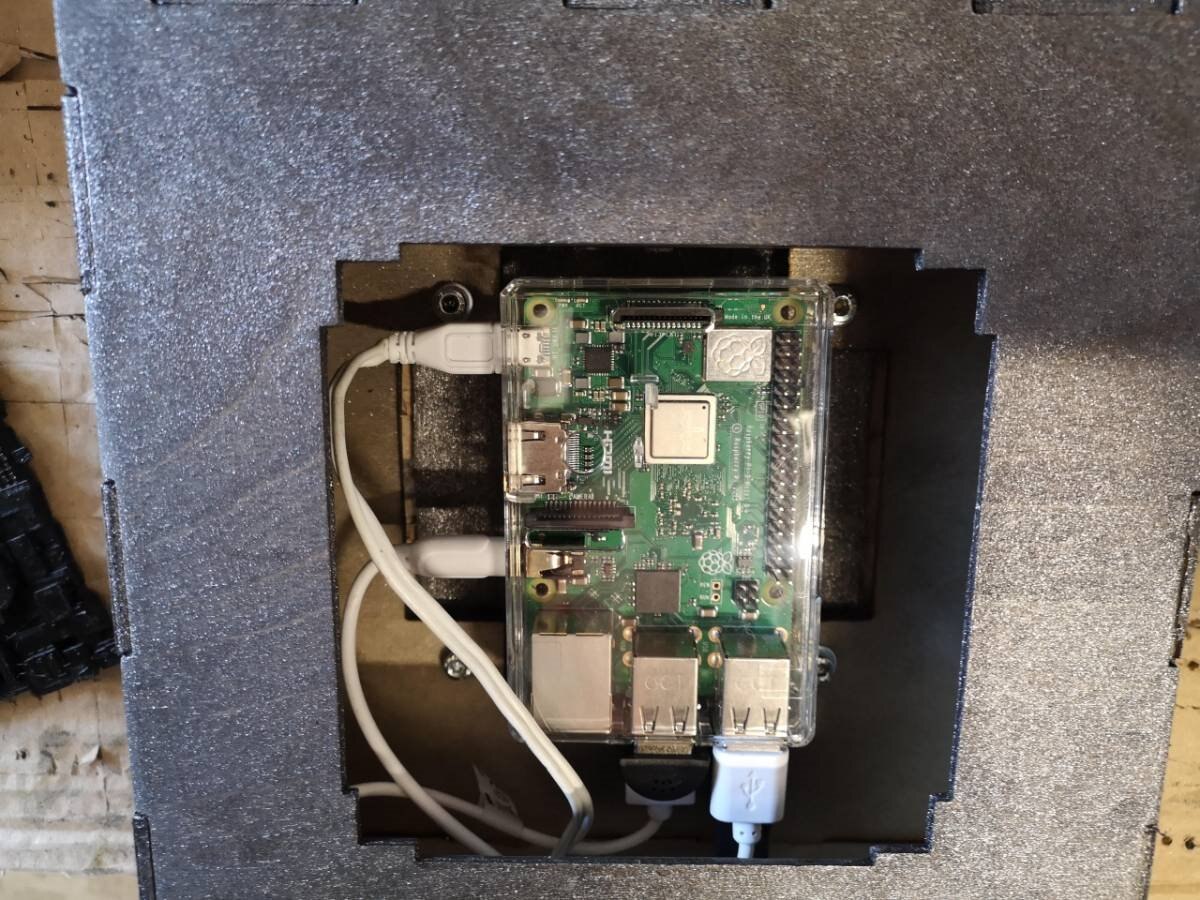
After closing the back side, the connections and power are inserted from the side keeping the front of the box open |
Power and audio out can't be inserted from the box side |
After assembling the terminal all the cables are accessible from the open side. |
The last step closing the front side with the 3D printed plate |
The Borg Communication terminal complete. First power-on |

Setup of the Raspberry PI
The second part of creating the Borg Access Terminal is related to the software setup. To solve all the issues I met the resulting software architecture is an almost ordered mix of bash shell commands and Python commands. To make the things as much linear and clean possible I have created very simple commands and a Python class to control the language interpretation algorithms (and some other tasks).
Sound Input
A well-known issue of the board is that the Raspberry PI does not include an audio input. It seems that the most elegant way to solve this problem – in this case, it is an essential device – is adopting the Raspberry PI USB microphone by Adafruit, as far as I see, mentioned almost everywhere. I bought it on Amazon and just connected to one of the USB ports. Then tried with the command arecord (from the ALSA audio package). As I am used, nothing went as expected and I got no recording at all.
In effect, there are some things to consider before. First of all, the USB mic, it is truly a plug-and-play device as it is immediately recognized but then you should know how the system see it else you never will use it.
The microphone is recognized as a USB device inside the USB thread. A good explanation on how to see the device installed on a specific Raspberry PI configuration and how to set up the arecord command for recording from the USB microphone can be found on the Soundfounder Wiki
arecord --channels=1 -q -D plughw:1,0 -d 3 -t wav -f S16_LE -r 16000 "speechtest.wav" &>/dev/null
The complete command is shown below
#!/bin/bash
# sample a bunch of seconds from the USB mic
# to test the silence

arecord --channels=1 -q -D plughw:1,0 -d 3 -t wav -f S16_LE -r 16000 "speechtest.wav" &>/dev/null
sox "speechtest.wav" -n stat
Note that after recording 3 seconds on the speechtest.wav file, I use the command sox to produce statistics from the recorded sample, including the maximum sound level. If the value does not match the present the Python application won't start the voice chat with the user. This is to prevent that the system will try to communicate also when there is only loud in the environment.
The other command is used to acquire 5 seconds of voice during the AI based chat with the Borg. In fact, the approach followed by the Python engine (that uses these commands) is a sort of half duplex; if the terminal is acquiring the sentence from the user, it is not processing nor emitting sounds and vice-versa.
#!/bin/bash
# sample a bunch of seconds from the USB mic
# then send them to speech to text google api

# Create the voice speech file
arecord --channels=1 -q -D plughw:1,0 -d 5 -t wav -f S16_LE -r 16000 "speech.wav"
# Play interlude sound while converting
./robot_interlude.sh &>/dev/null
# And convert it to json response'
gcloud ml speech recognize speech.wav --language-code='en-US'
The speech recognition uses the Google service and will be explained in the next paragraph.
The Speech-to-text Google Service
Using the Google service to convert voice to text is not a very difficult task. The difficult part – at least for the first time – is creating a project and registering your own account on the Google console, activate the specific API service and install the related components on the Raspberry PI. The good news is that all the development kits, SDK and Linux commands do not need any recompilation; all are available with the sudo apt-get install command from Raspbian.
The bad news – at least, it was for me – is that the Internet is full of examples and tutorials but none of those I have tried are fully updated to the last Google console specifications. Then I have found the right solution reading the Google documentation and extracting just four articles that I found essential to address the API installation and examples from the command line. Below the articles links:
- https://cloud.google.com/sdk/docs/#deb (refers to Ubuntu but wors also for the Raspbian Linux and probably for most of the Debian Linux distributions)
- https://cloud.google.com/speech-to-text/docs/quickstart-protocol
- https://cloud.google.com/speech-to-text/docs/sync-recognize#speech-sync-recognize-gcloud
- https://cloud.google.com/sdk/gcloud/reference/ml/speech/recognize
Before doing any procedure on the Google console you should be registered as a developer and have created the API authorization keys. Google updates almost frequently its policies so it is the best practice to read the documentation just when you decide to start
The most difficult part is activating the APIs and registering as a user, as well as creating the project on the console. The speech-to-text recognition itself, as you can see in the comand reported above, is just one line of code:
gcloud ml speech recognize speech.wav --language-code='en-US'
Text-to-Speech With Google Translate
The first tries I have done were installing some local text to speech engines but none of these produced a decent output so I decided to move to the Google services again. Also, in this case, I have found a lot of very complex tutorials but none was really convincing. My intuition was that there will be the easiest way to use the free to all Google translate service, including the conversion of text to voice. I definitely found the solution with a single-command terminal program that n can be installed from the Raspbian repositories: trans
After all the failures or poor or complex results, this console command, in my opinion, is the best solution I have found until now. In addition to Google translate (the default), you can choose also other engines like Bing, Yandex, and Apertium. I have used as it has also the speak option (I am not really interested to translate sentences but to speak them).
As the real program (the translate/speech engine) is in charge to the cloud, the genial solution of trans is that it has been developed with AWK, a programming language specific for text processing and data extraction from natural language sentences. You can find more on the AWK language on Wikipedia.
Also, trans is supported by the standard Raspbian repositories so you can install it just with sudo apt-get install trans
The package is open source with a very well explained documentation on its GitHub repository https://github.com/soimort/translate-shell
In the next episode, we will see in detail how I have integrated all those things together with the natural language parser and processor. It is an AIT engine that runs locally – very fast on the Raspberry PY – that deserves a separate discussion.
Top Comments
-

three-phase
-
Cancel
-
Vote Up
+3
Vote Down
-
-
Sign in to reply
-
More
-
Cancel
-

balearicdynamics
in reply to three-phase
-
Cancel
-
Vote Up
+2
Vote Down
-
-
Sign in to reply
-
More
-
Cancel
Comment-

balearicdynamics
in reply to three-phase
-
Cancel
-
Vote Up
+2
Vote Down
-
-
Sign in to reply
-
More
-
Cancel
Children