


Introduction

In this fourth episode, we see the completion of the torso movement of the Art-a-Tronic mannequin. The solution adopted seems working fine with good mechanic stability. The only problem was finding a way to get fast a considerable number of steel spheres to make the Lazy Susy bearing support; unfortunately the Amazon order of the 3.5 mm diameter 1000 sphere set has been delayed and I can't expect to be delivered before next April, 15. I thought what is the mechanism that contains this kind of spheres, cheap and easy to disassemble then finally I solved it in a sport mega discount. At the ridiculous price of 7 Euro, I bought two freewheels replacements for bicycles. Not difficult to open it with the Dremel metal cutter and like magic I have found the treasure: some hundred of 3.5 mm diameter steel spheres. Let me show you how I have completed this part.
All the material shown in these posts are available on the GitHub repository https://github.com/alicemirror/mannequin released as open source, license LGPL 3.0
Moving the Torso: Parts Design
As already mentioned in the previous post, the 3D printed part has been designed with Fusion 360.
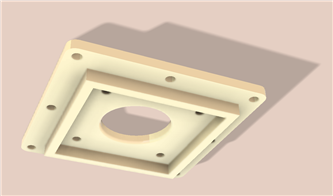
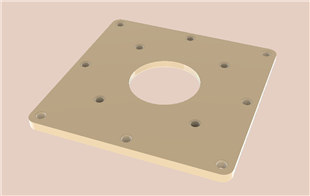
The two above images show a more detailed rendering of the stepper motor support discussed in the previous post.
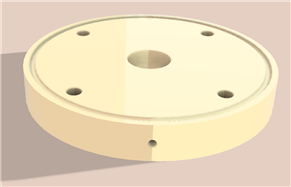
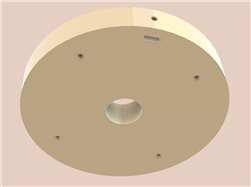
The base
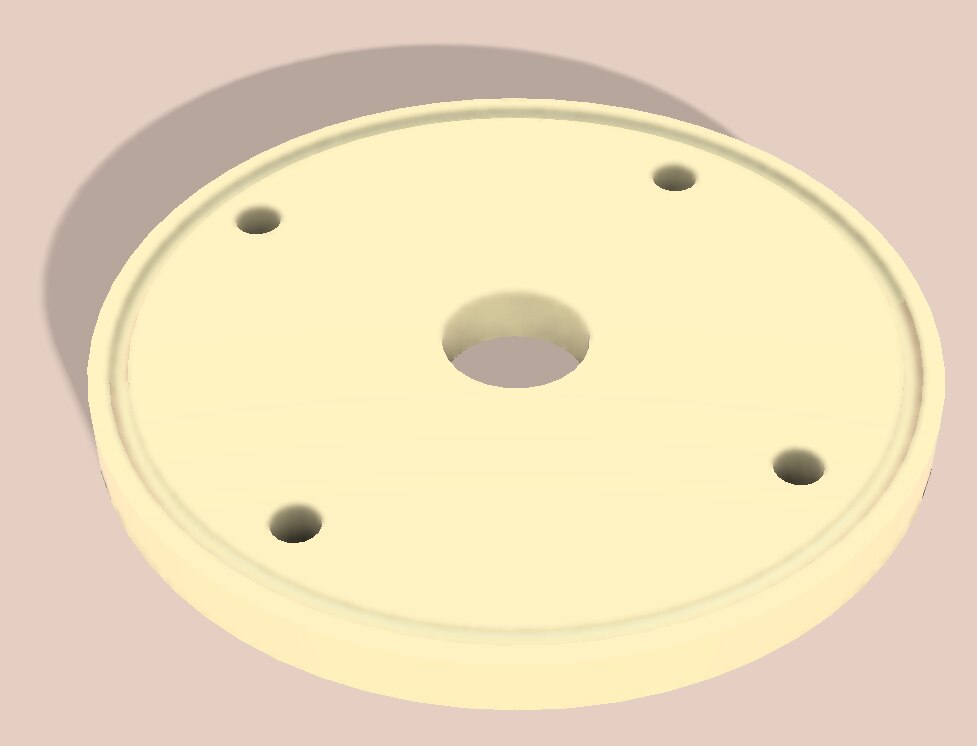
The base of the rotating support has four holes to keep it in place with the central hole of the same diameter of the mannequin shaft. the engraved guide on the internal diameter of the base is 3 mm depth; it is half of the Lazy Susy bearing guide. The rotating support has the same to keep the spheres in place.
The Rotating Support
Below, the top and bottom rendering of the rotating plate, coaxial to the fixed base.
The fixation method is the same as the bottom base, through four holes screwed to the bottom plane of the dorso. The rotating support is coaxial to the base. The first rendering shows the bottom with the second half of the guide for the bearings sphere. The hole in the middle of the side perimeter will be used to screw the clamp of the teeth belt transmission. The second rendering – the side of the rotating plate adhering to the bottom of the torso – shows the 2 mm rectangular hole for the nut of the clamps blocking screw. The nut will be kept imprisoned when the support is screwed to the body. The sketch below shows the detail of this part.
The clamp

As the rotation of the torso is not complete, the teeth belt does not need a 360 DEG full revolution, so the belt is fixed to the rotating plate by a clamp to keep the teeth belt with the right tension.
Assembling the Rotating Support
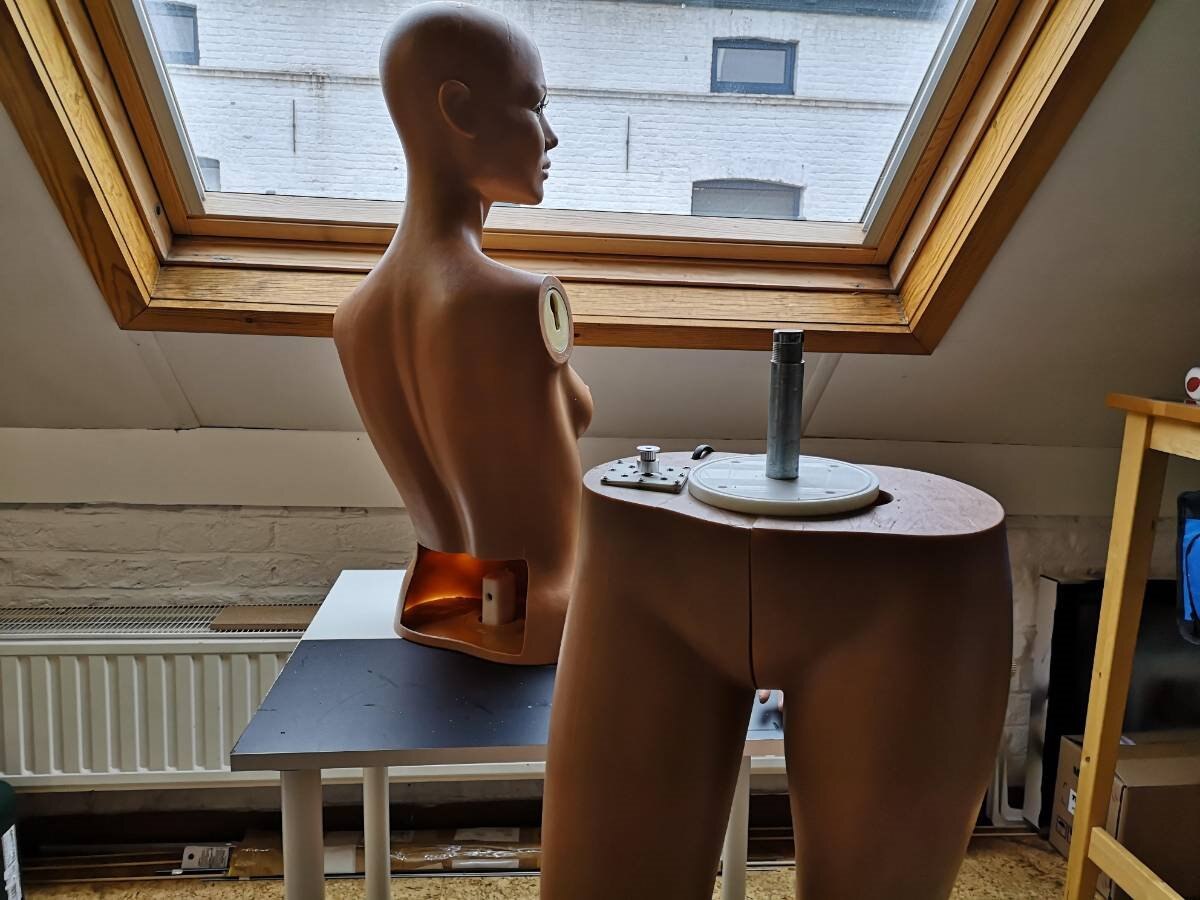
The Base and the Body
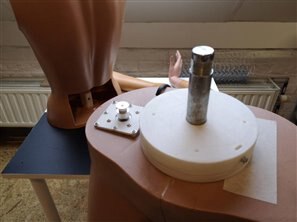
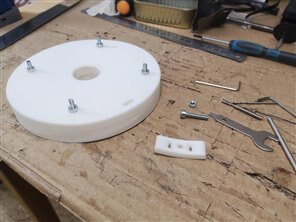
To assemble the base has not been too complex; as it is impossible to use nuts in the internal side of the legs I have used parker screws. The height of the base has been calculated to have the rotating part at the same height of the teeth pulley on the motor shaft.
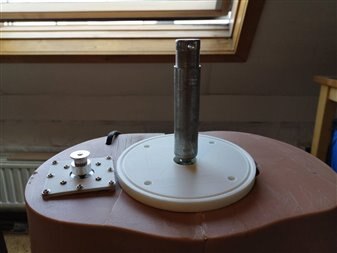
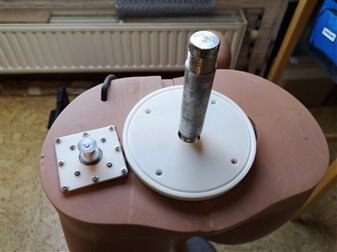
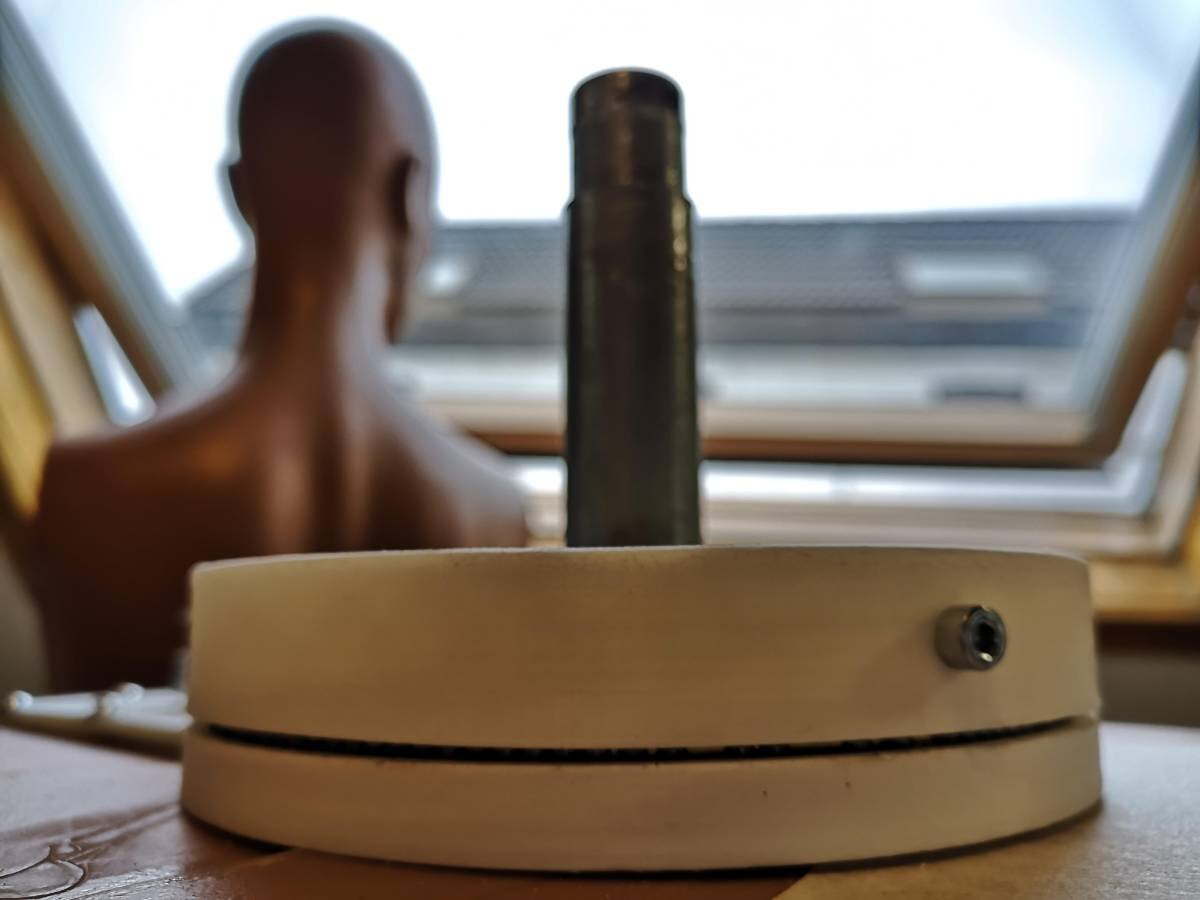
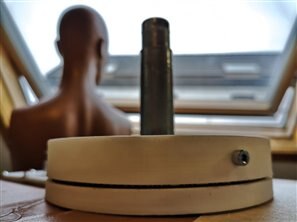
I met some difficult to center the 3D printed base to the shaft; as shown in the above images, the base of the shat is a threaded bar about half of the diameter of the shaft.
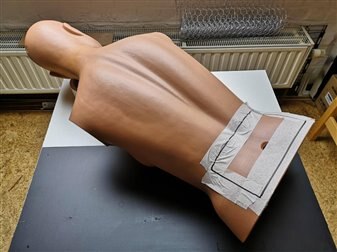
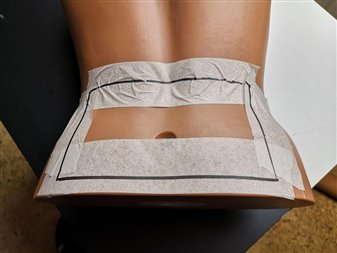
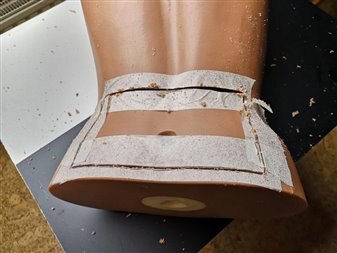

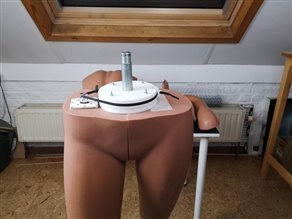
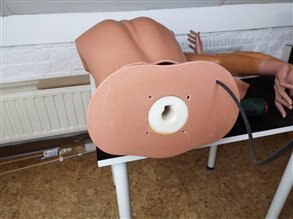
The further step has been to cut the bottom of the torso to be sure I was following the right assembly procedure. I never had seen how the interior of the mannequin body is built. Frankly, I never saw the interior of a mannequin. This surgical operation revealed that the body is 5 mm thick; this measure influences the length of the locking screws of the rotating support.
At this point, it is time to test the fixed base with the steel spheres.
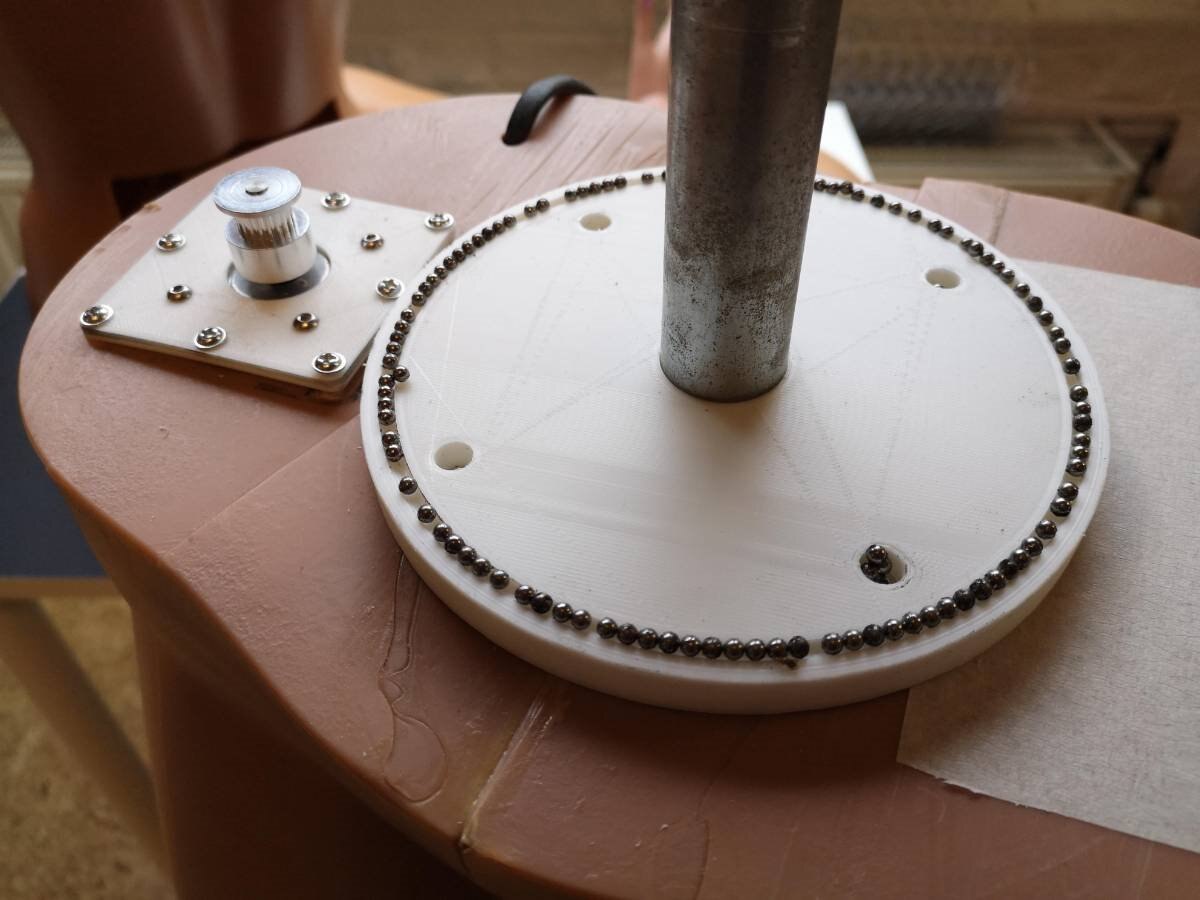
The design was right and the Lazy Susy bearing works as expected.
The Rotating Support
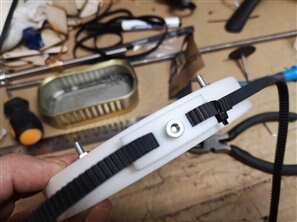
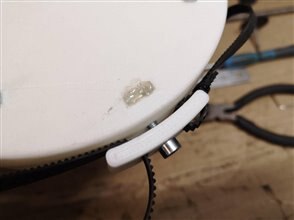
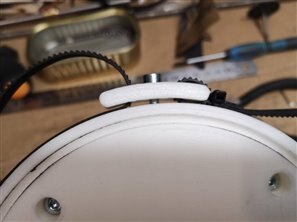
The images above show how the teeth belt is fixed to the rotating platform with the clamp. One of the two sides of the belt is locked with a cable tie while the other side is locked closing the clamp when the belt has the right tension connected to the motor pulley.

All the parts fit perfectly and motion is smooth. Next episode, the motor in action!
Top Comments
-

DAB
-
Cancel
-
Vote Up
+2
Vote Down
-
-
Sign in to reply
-
More
-
Cancel
Comment-

DAB
-
Cancel
-
Vote Up
+2
Vote Down
-
-
Sign in to reply
-
More
-
Cancel
Children