


Introduction

Everything is easy when the test boards are wired on the bench but I should admit that finding the way to fit everything inside the body of the mannequin – the bottom torso area – was a challenging task, as well as assembling the internal of the head.
The real problem was that from that point onward it was necessary to develop the project, software included, with the assembled body for two reasons: the first is that at least a beta prototype of 7 of 9 was expected to be seen at the exhibition opening on April 5 and the second is the need to see immediately the result of the software implementation of the components (Arduino and Raspberry Pl 3B+)
So, the work proceedings followed three steps:
- Assembly of the bottom side of the torso (Arduino based)
- Assembly o of the Head (Raspberry Pl based)
- Properly dress 7 of 9
In this episode, we’ll see how I faced the task of the bottom side.
Note that choosing the distribution of the components (electronic boards, sensors, wiring) I have avoided using the legs bottom side; this has reduced the upper-lower sides connections to a single cable: the stepper motor signals. One of the "must" I had always in mind was making an assembly easy to change and eventually update in the future, as well as to maintain for future changes.
The other important conditioning factor has been to reduce as much as possible the cutting parts of the mannequin, an original '60s piece offered by Depot09 that also hosts the Art-a-Tronic exhibition for two months.
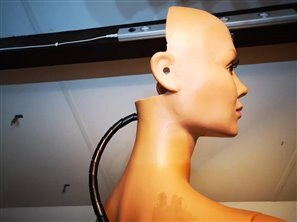
Above: one of the two cut part to the bottom of the belly. The only other part I cut was the back of the head, hosting the Raspberry PI brain controlling all the body behaviors.
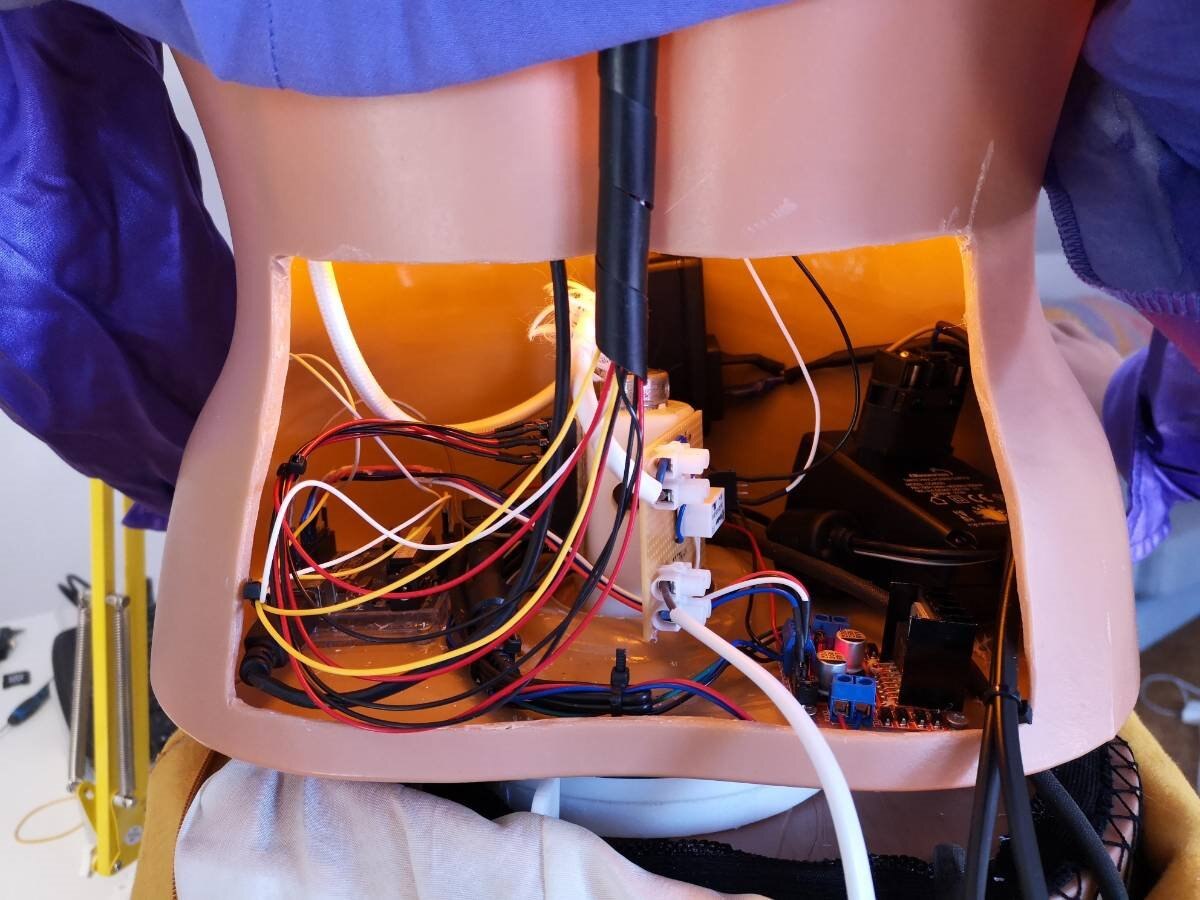
Populating the Body Bottom
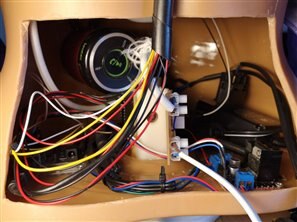
This is the case when an image is worth than thousands of words.
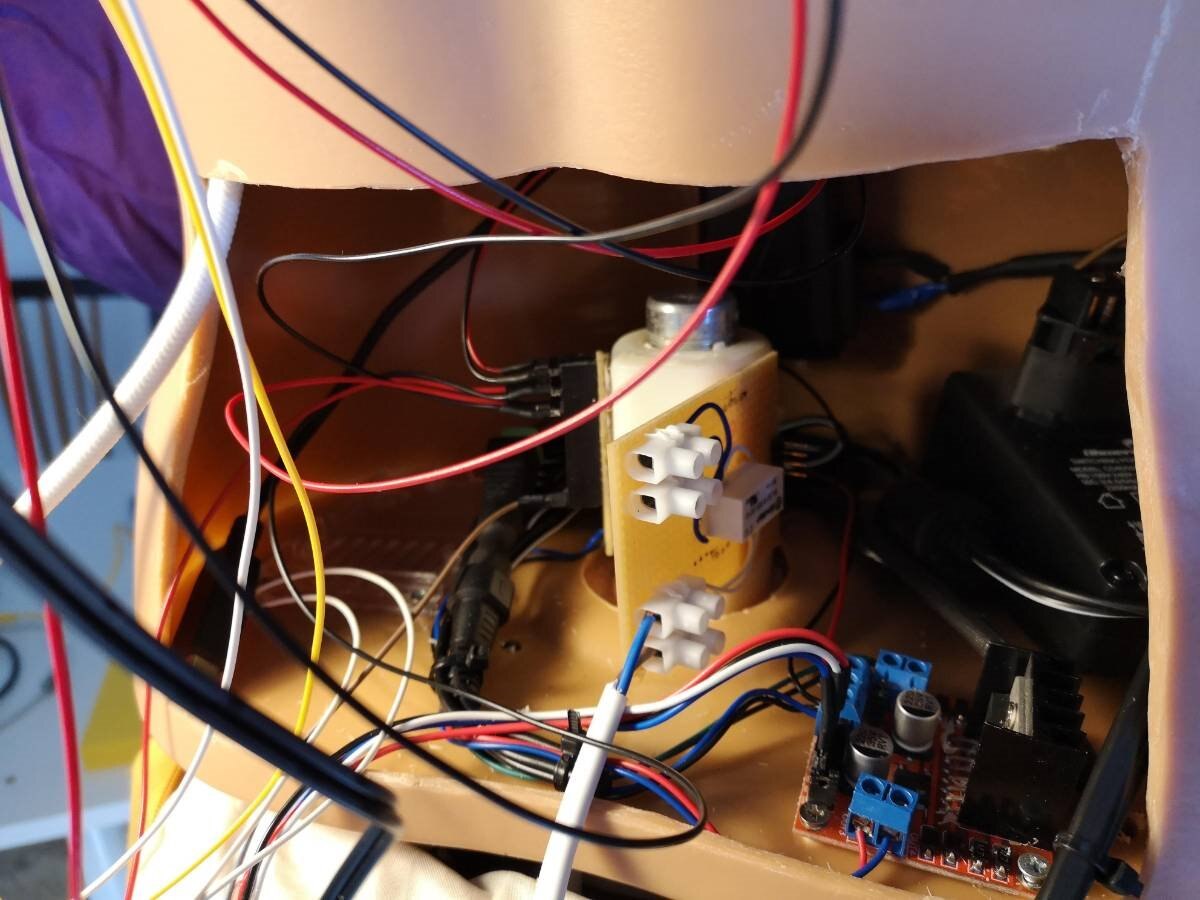
On the left side of the torso base, I fixed the Arduino Uno – covered in the above image by the connection wires – and on the opposite side, I connected the L298 motor controller board, the red PCB with the blue screwed connectors in the image.
The motor controller board is powered by a 2,5 A power supply hot glued to the right side, near the controller.

As the controller also provide a regulated 5 Vcc output I have created a small power rail where to connect the sensors and other components with a small PCB glued to the torso rotating support, easy to access by the connectors.
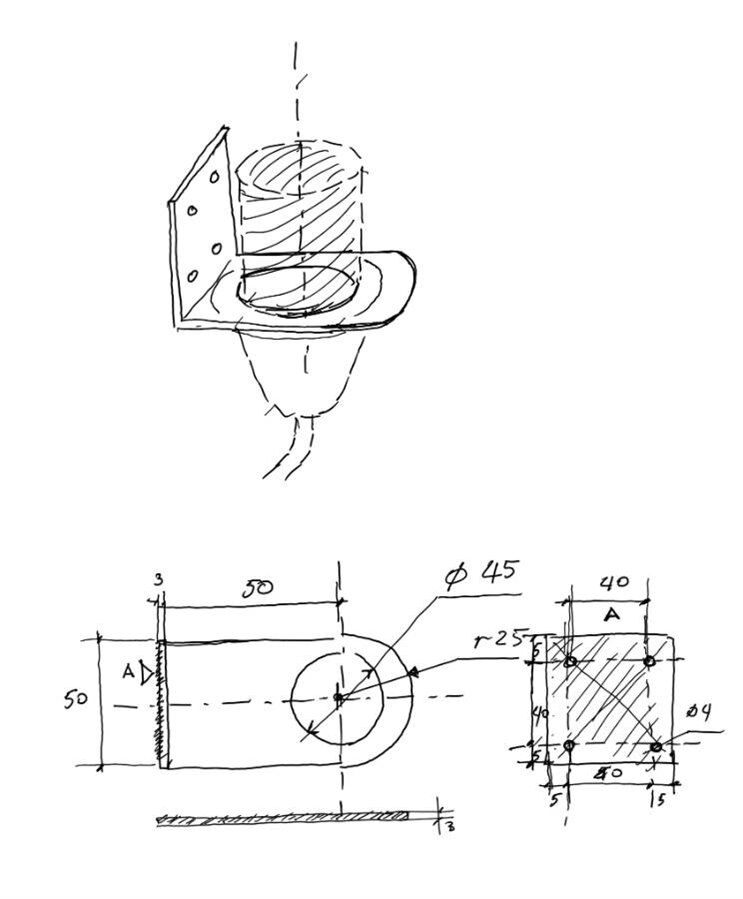
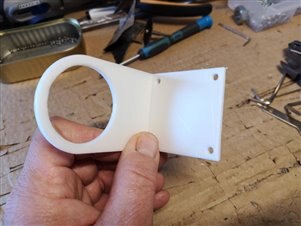
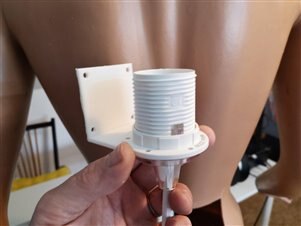
The Fire Light Lamp
The fire-light lamp is fixed by a custom designed the 3D printed support, locked with two Allen screws about to the middle of the back, internally to the body; when the light is on it creates a suggestive effect of “pulsing heart on fire” visible in front of 7 of 9.
The initial idea was to power the lamp by software with one of the two PiFace Digital 2 relays. Unfortunately, the PiFace relays can drive max 30V devices, while the lamp operates at 220-240 Vac. I have solved the problem using a 5V powered relay by Finder that can drive up to 300 Vac. The model is listed in the attached data sheet.
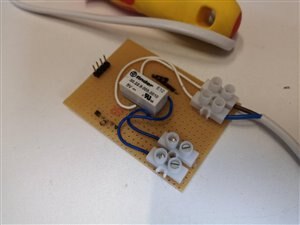
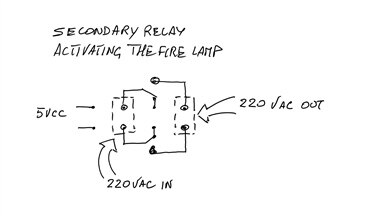
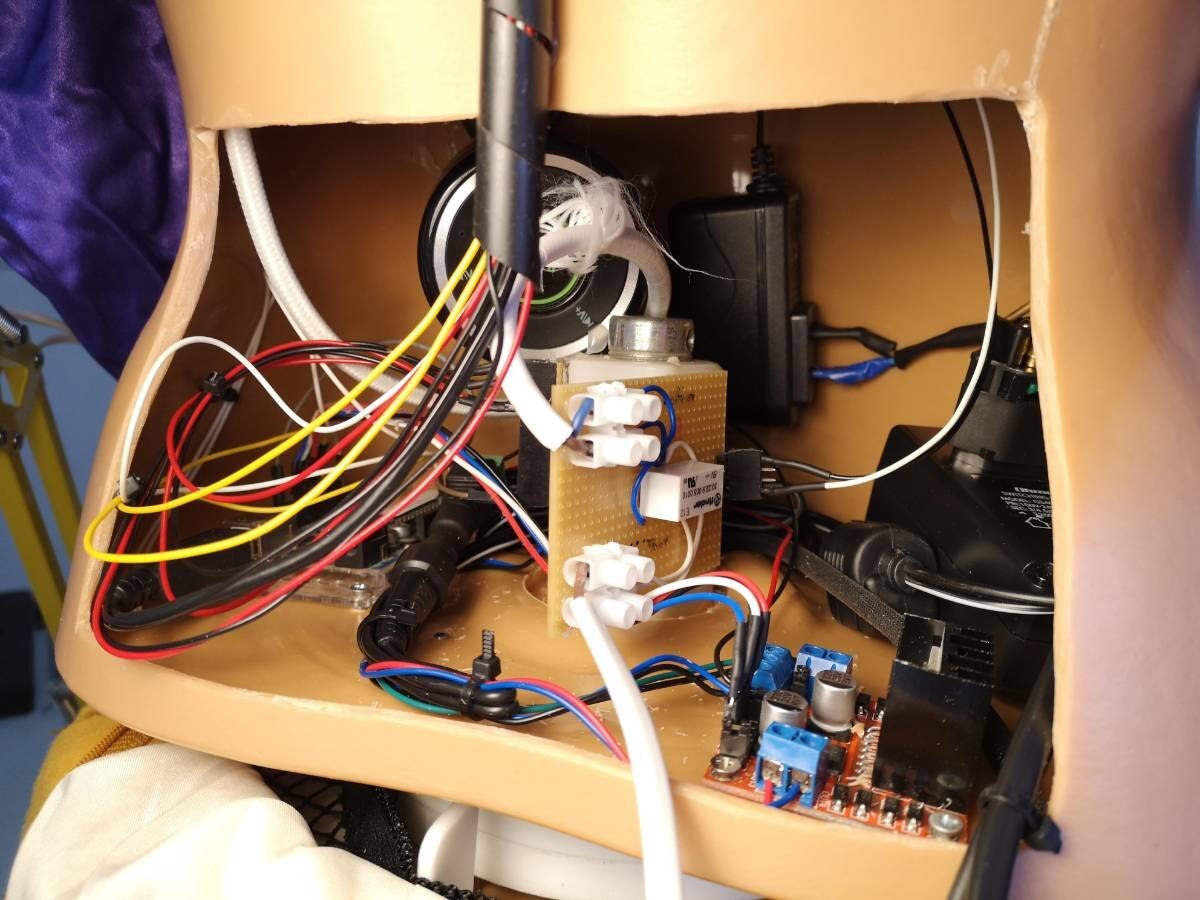
The resulting wiring will be a chained relay: the Pi face relay, when switched on powers the Finder relay with the 5V available on the PI that closes the 220 VAC circuit and power the lamp. The relay circuit and cabling connectors were glued to the other side of the central shaft support using another small PCB.
Above: the relay PCB glued to the shaft. To the opposite side, you can see the power rail for the sensors, getting the current from the regulated 5Vcc of the motor controller.
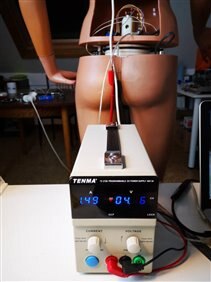
The Third Power supply and High Voltage Wiring
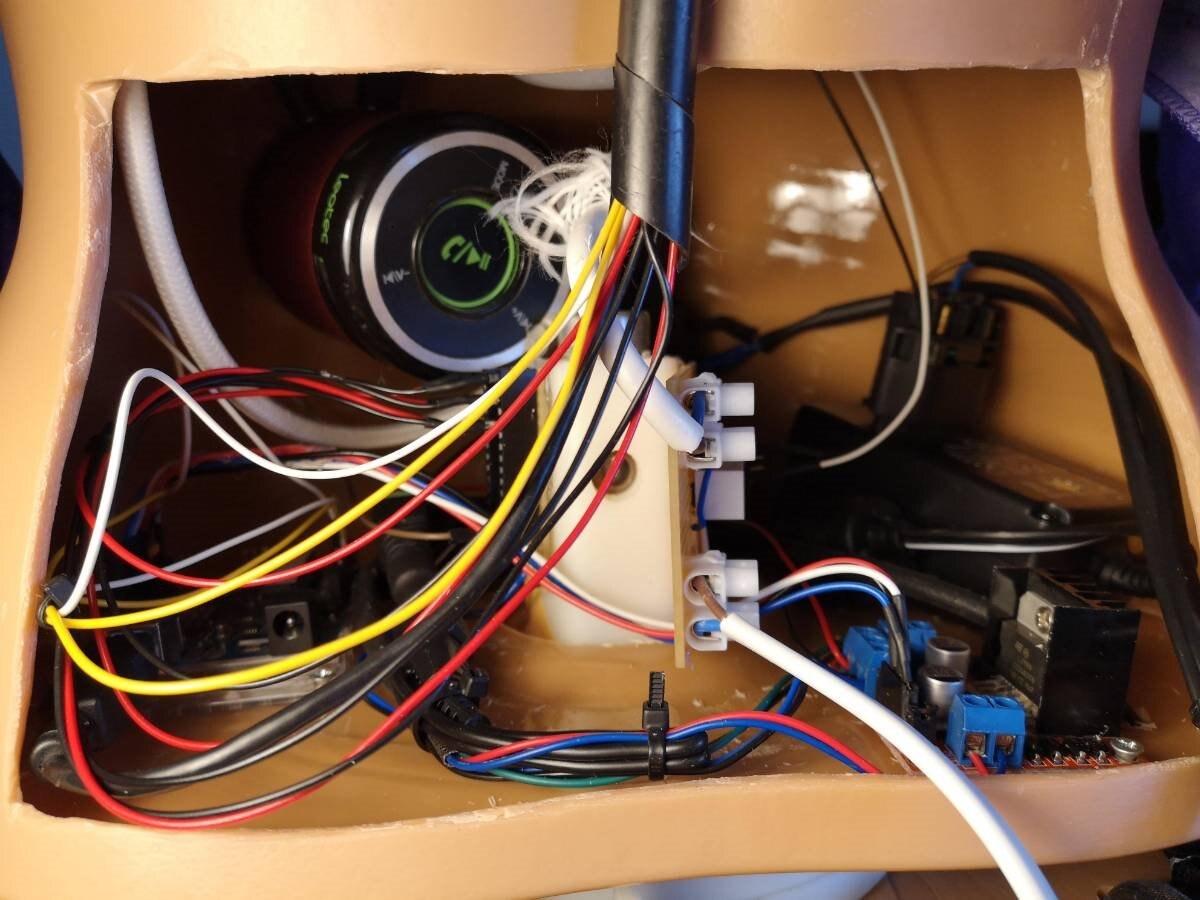
Also, the Raspberry PI should be part of the internal supply chain. The below image shows the PI power supply glued to the belly, to the right of the audio box.
And also this second power supply has been hot-glued to the front-bottom side, corresponding to the internal side of the belly of 7 of 9.
As I want only one high voltage power supply going outside to power all the building, the internal high voltage lines have been connected using a group of Mammut fixed to the back cover, as shown in the images below.
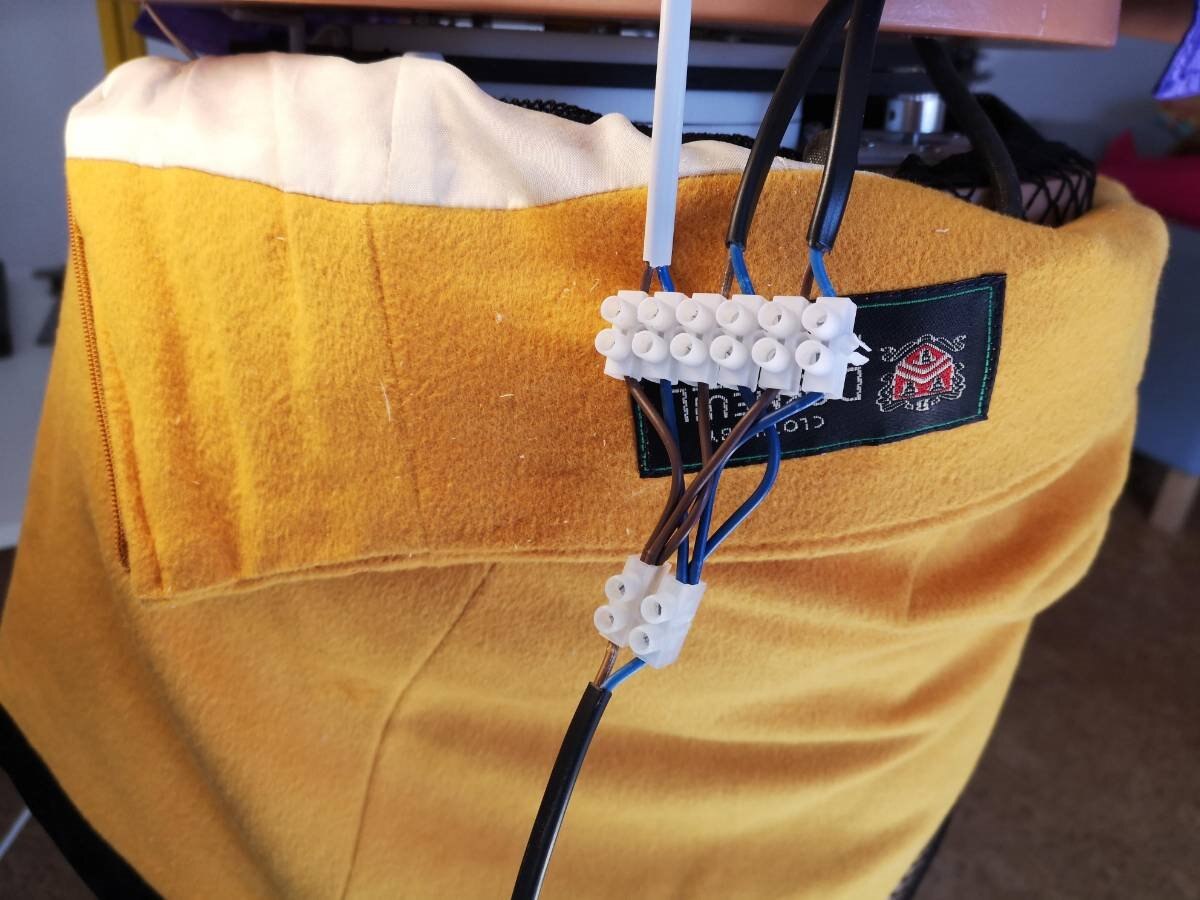
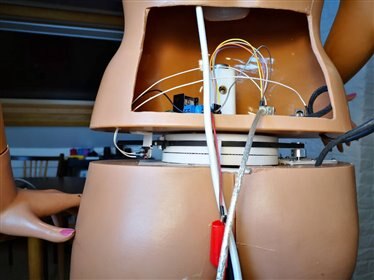
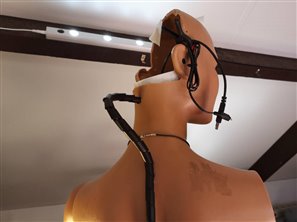
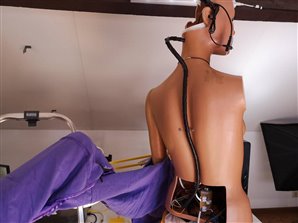
Finishing the Back Spine Implant (External Wiring)
The images below show the finished back spine implant hosting the external wires connecting the top side to the bottom side of the body torso.
Previous Episodes
Next Episodes
- Art-a-Tronic Episode 8
- Art-a-Tronic Episode 9
- Art-a-Tronic Episode 10
- Art-a-Tronic Episode 11
- Art-a-Tronic Episode 12
- Art-a-Tronic Episode 13
- Art-a-Tronic Episode 14
- Art-a-Tronic Episode 15
- Art-a-Tronic Episode 16
| finder-relays-series-30.pdf |

Top Comments
-

three-phase
-
Cancel
-
Vote Up
+3
Vote Down
-
-
Sign in to reply
-
More
-
Cancel
-

balearicdynamics
in reply to three-phase
-
Cancel
-
Vote Up
+2
Vote Down
-
-
Sign in to reply
-
More
-
Cancel
Comment-

balearicdynamics
in reply to three-phase
-
Cancel
-
Vote Up
+2
Vote Down
-
-
Sign in to reply
-
More
-
Cancel
Children