So the last few weeks have been a carnival of trial-and-error, and I had to make use of all my available skills, and each time I had to use a different one, I thanked myself for acquiring it in the past. Most if not all of these aren't the f...
In this test, I want to be able to set up data output through the serial port to a host machine connected over the USB port. I’d see data capture as a typical use case for devices with some control over what data is sent, and when. I’m no...
Introduction
Calibration Checks
Measurement captures
Generator Test
Update 18th January 2020
Conclusions
Introduction For this blog I am going to use the 3 Series MDO to check the performance of a rotor reflectometer. This inst...
In this post, I'm using the ADC and I2C features to finalise the display and show the board/MCU interfacing with the external world. I'm particularly interested in how much more complex this is than, say, something like an Arduino which is well...
Limitations for my RoadtestThe RX65N MCU operates at a voltage from 2.7V to 3.6V. The 12-bit ADC analog input pins voltage is AVss <= Vpin <= AVcc. AVss and AVcc do not need to be tied to Vcc. On the Envision board, VCC = AVcc...
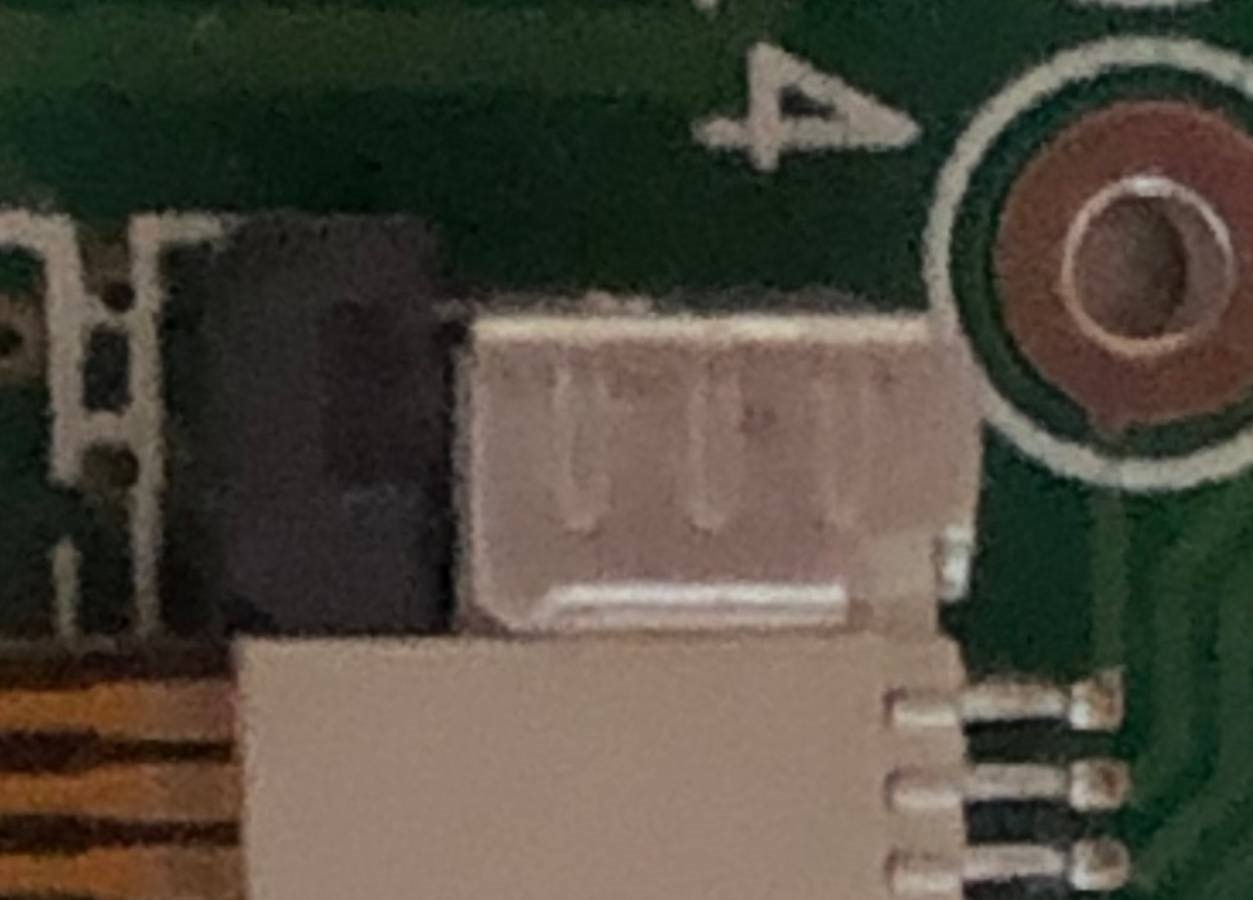
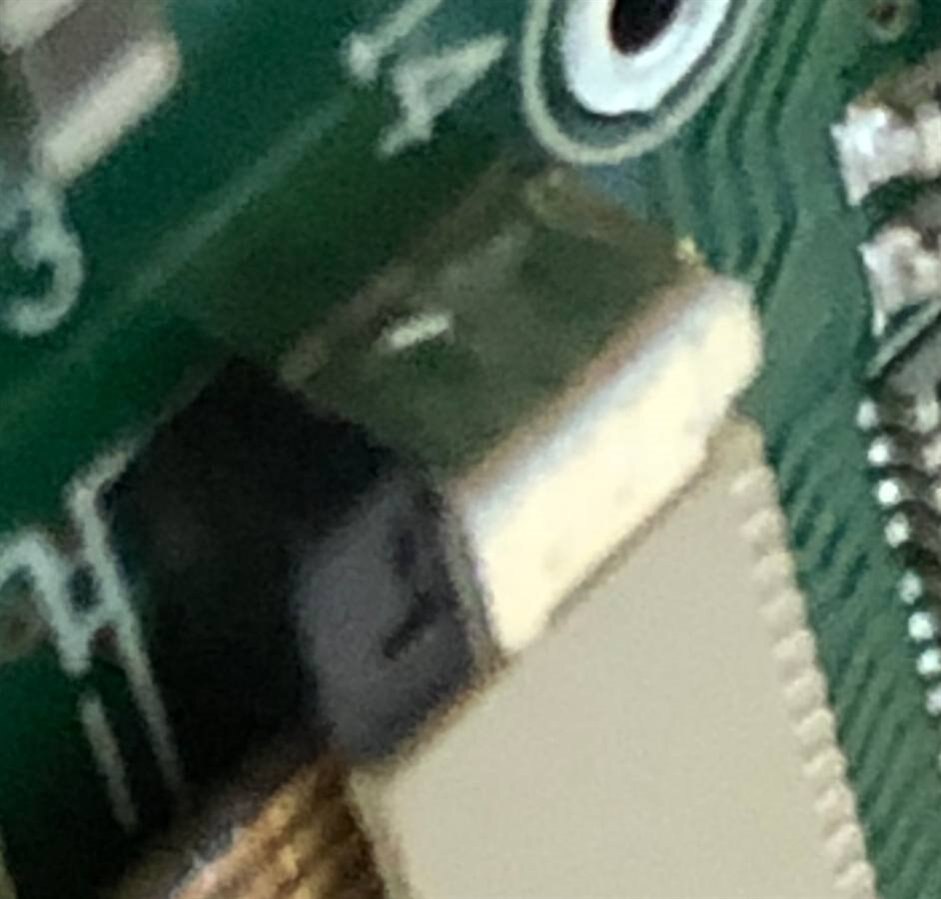
I need to solder on some headers to the board and this requires that the LCD is removed. It has two connections: one for the LCD itself and one for the touch panel:In close-up, sorry for the picture quality: I’m not sure how these disconnect as...
My Road test is to test out the development tools and features of the board in building out a version of the HMI I created for my power supply (and then extend the functionality using other board features.) TL;DR;I’m aiming these posts at those ...
Well, I want to talk about my experience with the raspberry pi 4, from the pint of view of practical - production small server. Wait a moment... have I said Production? Hell yes, is a little bit risky but let's create some awesome with our a...
EDITED 10/12/19: Resolved issue with the base build. See below. This is just a brief note on getting started with the Segger emWin gui development tool which is available free to all Envision kit users. It is necessary to register wi...
There are DNF positions on the Envision Board for users to extend the capability with Ethernet, SD card and a joystick. The User Guide details these with a set of part numbers and they are tracked up to pins on the MCU so it should just be a ca...
I want to get another simple program working that requires more effort on my part in utilising the tools available. In this brief note, it is to create a Blinky app (similar to the tutorial that failed in part 3) whilst utilising the Smart Conf...
In this instalment I’m going to cover downloading, installing and setting up the development software: TL;DR;I’m aiming these posts at those who are not familiar with MCU development to give them a feel of what they will go through. I know...
In this instalment I’m going to cover how easy it is to get to grips with the board:Setting up a Renesas accountUpdating the firmwareUndertaking the e-learning providedChecking out support options for probable future useI’ll apologise for it being a ...
I applied to road test the RX65N MCU EV kit for two reasons:I thought that I could test the product by re-producing the HMI (Human-Machine Interface) that I created for my last project - a bench power supply - which uses a 4Duino from 4D Systems.&nbs...
I was one of the lucky ones who received a Raspberry Pi 4 Model B in the 10th Birthday Celebration.What I wrote back then was:Pi4 - The Window on the WorldWhen they designed the Raspberry Pi 4 Model B, they read my mind about what new features I woul...
Getting Started
... with Argon
...and Xenons
Finally, the console screen
Having read the brochure and the product information online, I took the plunge, and after a short wait to receive my bundle of well packaged goodies I was re...
For my last part of this road test I'm looking at the stall guard function. This works by sensing the current through the motor coils so my first step was to look at the datasheet chapter 9 on sense resistors. Thanks to jancumps for reviewing the...
The next test for the TMC5161 was positional accuracy. This is where my test rig came in. I fixed the motor to one bracket and attached the 3D printed drum. A waxed cotton thread was wrapped around the drum twice for grip and then fed around the idle...
To test the accuracy of the stepper driver I am using a large test rig with a pointer to indicate the position. There is also an optical encoder mounted on the back of the stepper motor and the TMC5161 chip can read the pulses from this and make it&#...
The next neural network that I'm going to try is a variant of Tiny-YOLO. The You Only Look Once (YOLO) architecture was developed to create a one step process for detection and classification. The image is divided into a fixed grid of...
Before I move on to object detection I thought I would try one more example of object classification using a more complex neural network based on the Multi-layer offload architecture. The network used is a variant of the DoReFa-Net and uses the...
After my previous blog post it was pointed out to me that the amount of whitespace (or other non-object pixels, i.e. background) that I had in my captured image was affecting the accuracy of the classification. I did a quick inverse test that w...
In the previous blog PYNQ-Z2 Dev Kit - CIFAR-10 Convolutional Neural Network , I verified the 3 hardware classifiers against the reference "deer" test image. Now I'm going to see how the classifiers perform with captured webcam im...


